Basic Lighting
Make Beat Saber a brighter place by manually lighting your maps.
Every map needs to have lighting of some sort. Once you know the tools at your disposal, simplistic manual lighting can be very easy. This link is a video example of very simple manual lighting
NOTE
The example uses Map Color Overrides. You don't need to be an AaltopahWi or a Skeelie to make great lighting!
Lightable Objects
The following types of lanes exist in the Static Event System:
| Object | Description |
|---|---|
| Lights | Controls the light intensity of lights, lasers, etc. Events on these lanes have a color and a type associated. These events light up the environment, and other events would create minimal impact without lights. |
| Value | Events on these lanes hold an integer value from 0 to 9. The classical example of this is Laser Speed, though this lane type can be used for other things, for example the pillars in Lady Gaga environment. |
| Trigger | An event on this lane triggers a change in an object. Examples include Ring Spin and Ring Zoom. |
| Boost | Changes lighting colors between two pairs of colors. Off uses the first pair of colors. On uses the second (boost) pair of colors. There is no fade option for this effect. |
Objects in the Group Lighting System (GLS) may have the following properties controllable:
| Object | Description |
|---|---|
| Lights | Controls the intensity of lights, lasers, etc., like in the Static Event System. |
| Rotation | Unlike the randomized trigger in environments before Weave, the Group Lighting System allows for more granular control of rotation. |
| Translation | Debuting in The Weeknd environment, controls the position of an object in the environment. |
In environments before Weave, the set of objects controllable are generally consistent, though may be in different positions or may be missing altogether. The controllable objects are as follows:
| Object | Description |
|---|---|
| Center Lights | Generally lights along the side of the track, underneath the track, and sometimes a chevron at the back of the track. Sometimes called "Bottom/Back/Side" or "BBS" lights. |
| Side/Top Lasers | Sets of rotating lasers to the sides of the track or above/below the track, depending on which environment you've selected. Rotation is set using the Laser Speed function. |
| Back Lasers | Static lasers, often in an "X" pattern at the back of the track, behind the chevron. |
| Ring Lights | Lights attached to the inside of the large outer rings that spin in almost all environments. |
| Ring Spins | Used to create movement in the rings. In environments with both an inner and an outer ring, rings spins rotate both rings together. |
| Ring Zooms | Used to zoom and unzoom the inner ring in environments that have it. Does not affect the outer ring. |
| Laser Speed | Changes the speed of the side laser rotation from stationary (0) to very fast (20). Set independently for the right and left side lasers. Back top lasers do not move. Laser speed increases linearly so 2 is twice as fast as 1 and 5 is five times as fast as 1. |
| Boost Event | Changes lighting colors between two pairs of colors. Off uses the first pair of colors. On uses the second (boost) pair of colors. There is no fade or flash option for this event. |
In environments that use the v3 Group Lighting System (Weave and later), the set of objects controllable are unique to each environment.
Lighting Events
Lighting has went through several revisions. Originally, only the Static Event System is available. v3 introduces the Group Lighting System, usable with specific environments.
Static Event System
There are two major revisions of the Static Event System.
Lighting v1 is the version of lighting that has general support from community editors. It supports the following light events:
| Event | Description |
|---|---|
| On | Turns a light on that will stay on until you place a different event type. |
| Off | Turns a light off that will stay off until you place a different event type. |
| Flash | Briefly flashes brighter than a standard "on" event then stays on until you place a different event type. |
| Fade | Briefly flashes brighter than a standard "on" event then fades to off after a couple of seconds. |
A light event have one of three available colors associated. Prior to v3.1, only two colors are available. v3.1 introduced a third color; it is currently white for all built-in environments.
Lighting v2 fully overhauls the lighting system. The official editor is generally used to create v2 lights; support by community editors are currently under development. While v2 can be used with all classic environments, similar to v1, the four-event system has been replaced with only two types of events:
| Event | Description |
|---|---|
| Static | Sets a light to a specified level. The light will stay at the level, until the next event. |
| Fade | Fades a light to a specified level. The fade starts at the event immediately before, or at the start of the song if there is none, and ends on the fade event. |
The level of a light ranges from 0 to 120. 0 means no light, 100 is the level of a v1 On event, and 120 is the maximum.
Group Lighting System (v3)
v3 environments, in addition to Static Event System objects, introduces a new class of objects, hereby known as Group Lighting System (GLS) objects, that offers more granular control.
A GLS object can have one or more of lights, rotation and translation being available for control. In addition, a GLS object can have multiple segments, and each segment can be controlled individually.
Events in v3 must reside in groups. Each group can contain one or more lanes, each lane controlling one or more segments, on which events are placed.
The Official Editor features two views: the top view in which all groups for all objects are visible, and the group view showing individual events in a single group. The group view is entered by clicking a group, and can be exited by pressing Esc.
A group defaults to controlling all lights at once. If you want to control individual lights, you can simply hold Shift and click the + button near the top right menu.
Light events in v3 are mostly identical to those of v2, with a few changes and additions. Firstly, the intensity of a light is no longer limited to 120 maximum, and can go above it. Another is the addition of strobing, allowing placement of a flickering light with a single event.
v3 introduces rotation events, allowing control of an object's rotation angle. Rotation events cannot be grouped together with light events. When a rotation event is placed, the object will rotate starting at the rotation event immediately before (the start of the song if none), and completes at the time of the event, similar to a fade event. A rotation event has the following parameters:
| Parameter | Description |
|---|---|
| Rotation Angle | Specifies the angle the object will finish at |
| Loop Count | Specifies the spin direction to be clockwise, counterclockwise, or decided automatically |
| Easing | Specifies the rate of change over time. Visit easings.net for a visualization of the Quad options. None - rotates instantlyLinear - rotates at a constant speedInQuad - starts slow and ends fastOutQuad - starts fast and ends slowInOutQuad - both accelerates and decelerates |
| Extension | Useable with light and rotation events it keeps the intensity of a light or the angle of a rotation fixed until this event. |
Best Practices & Techniques
"The only bad lights are NO lights.... or lightmap."
~ Skeelie
Lighting truly is an art which means that it's much more subjective than mapping. There are relatively few best practices to get started and simple manual lighting is almost impossible to do poorly.
TranquillizeMe has created a lighting tutorial, Beat Saber Lighting Techniques Tutorial, detailing useful lighting techniques and general tips for lighting.
NOTE
Lighting previews are not realistic in the editors currently available to the public so it's important to preview your lights in-game often. See Previewing Your Lights for some tools that can help.
Key Bindings
Each map editor handles lighting differently so you'll want to get to know the key bindings and how placements work in your editor of choice. Lighting keybinds vary by editor. Consult your editor's user guide or readme or refer to this helpful list Cross-Editor Keybindings.
Assigning Lighting Events
Mappers lighting their first map should start by assigning specific lighting types to specific instruments, then branch out from there as they get more experienced. This method won't usually produce the most exciting shows, but it's hard to mess up. This might look like:
- Track Lights: Bass or Kick Drum
- Lasers: Melody
- Ring Lights: Synth A or Cymbals
- Ring Zoom: Synth B
Once this type of basic structure is in place and you're more comfortable with how everything works, you can think about where you might want to change things up for emphasis. Establishing a strict pattern is necessary to create impact when you do make a change; if you emphasize everything, you emphasize nothing (this goes for block placement, too!).
An example from Lighting Mentor, LittleAsi
I usually light the melody with all three lasers (vocal and instrumental on different colors, or primary instrumental and accents on a different color), drums on the ring lights, and either bass or something harmonic like synths on the Bottom/Back/Side (BBS) (a bit much sometimes since they increased BBS intensity). If the drums are too involved to pack onto the ring lights alone, or there's nothing else appropriate for the BBS, I'll move the kick drum to BBS. If the drums are really dominant, I may put the back-top laser on snare duty to dedicate the ring lights to cymbals. The numerous avenues for changing laser behavior and appearance do make them the best candidate for tracking the melody, though. I have used speed 0 lasers for closed hi-hat with various speeds for open hi-hat and cymbal crashes, though, so it definitely doesn't have to be any specific way (just internally consistent).
Laser Speed Resets
Applying the same laser speed twice in a row will cause it to reset to a random position. For example, setting speed 1 on every snare hit will cause the laser positions to randomize in time with the snare without ever actually changing their rotation speed.
If you don't reset the laser speed it will continue to spin consistently at that speed until changed.
Off Event Placement
The sounds within a song rarely have a precise end point so there's not always a "correct" time to place the Off event. Be aware of when you're choosing to turn lights associated with specific sounds or instruments off, and apply those decisions consistently throughout the song.
Be cautious about putting off events exactly in the middle of two lights as it can sometimes create an unintended strobing effect.
Default Environments
There are various built-in environments in Beat Saber which are part of the base game and can be used easily with a few clicks.
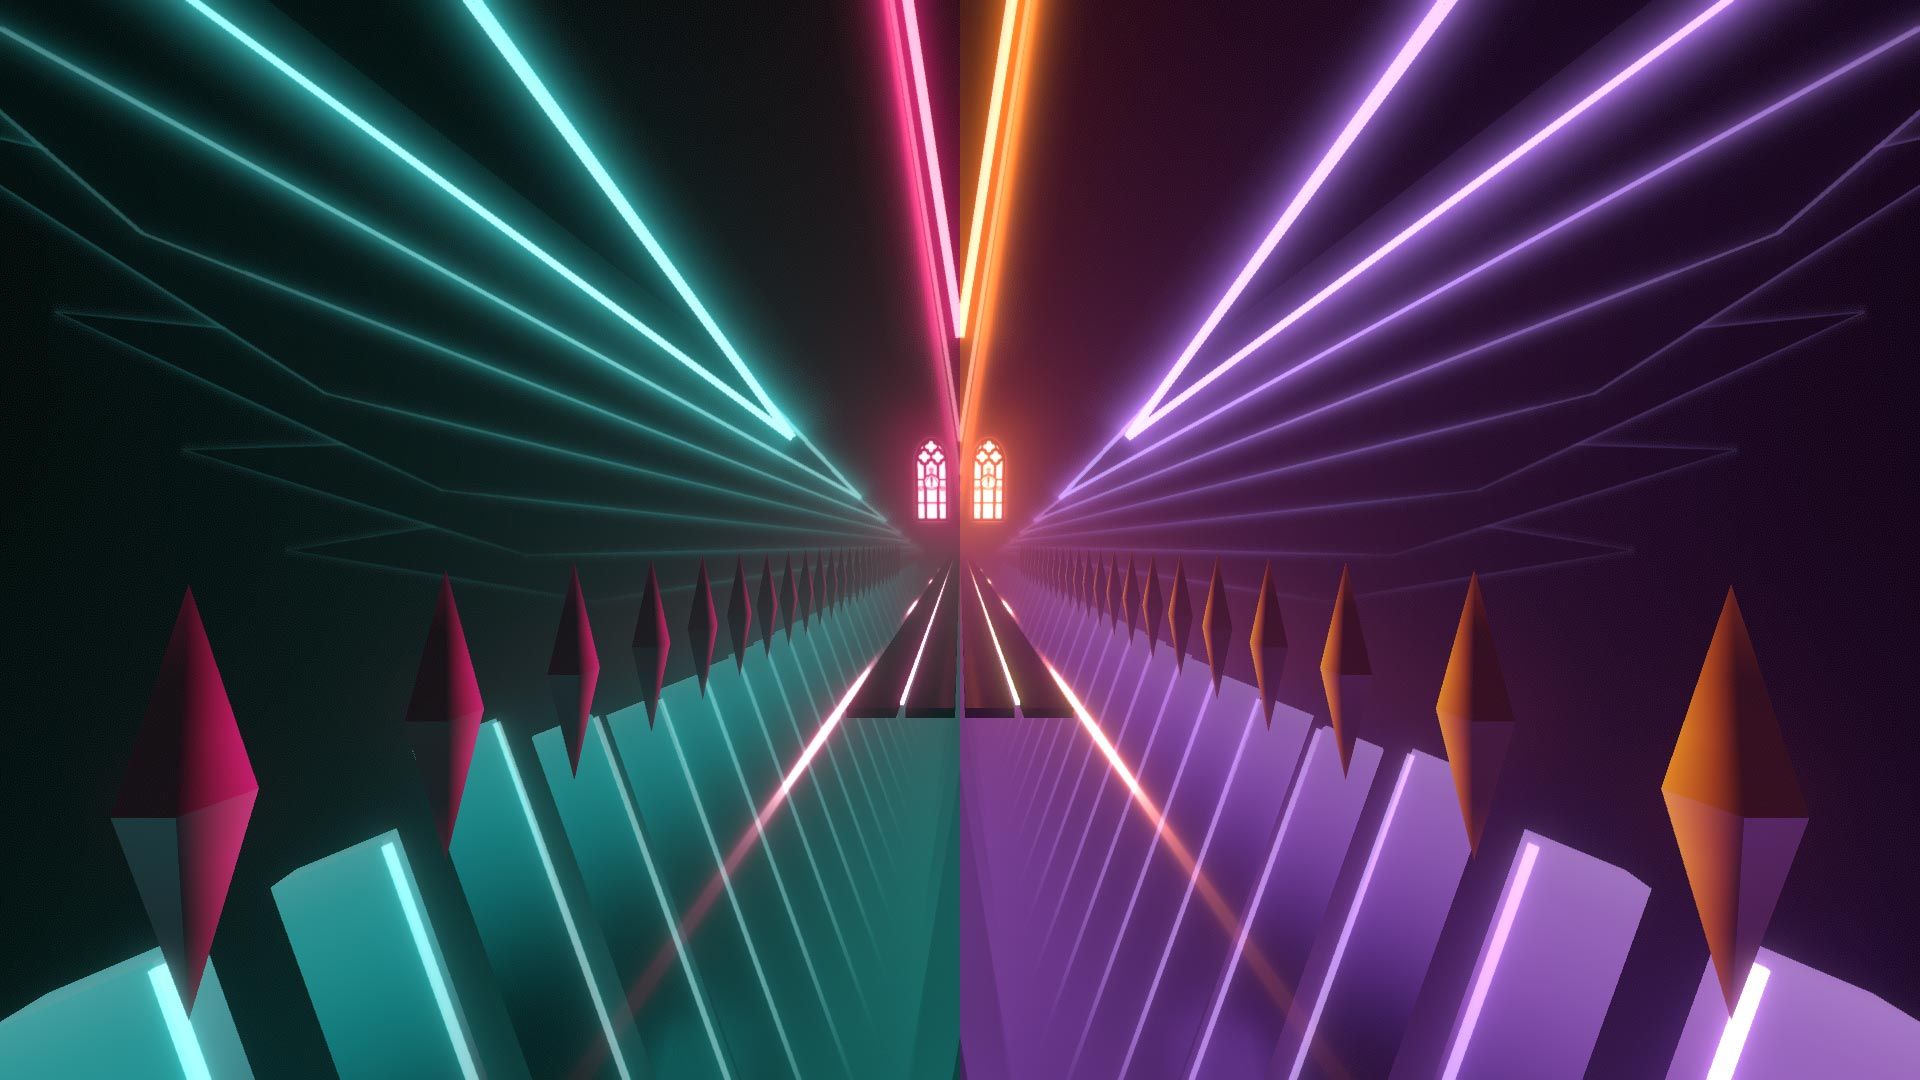
Environment Previews
Pre-Group Lighting System
| Video and Screenshot (click to open full size) | Environment |
|---|---|
| The First (Default) Environment Lights: Back lasers, ring lights, left & right lasers, center lights Video Preview: YouTube |
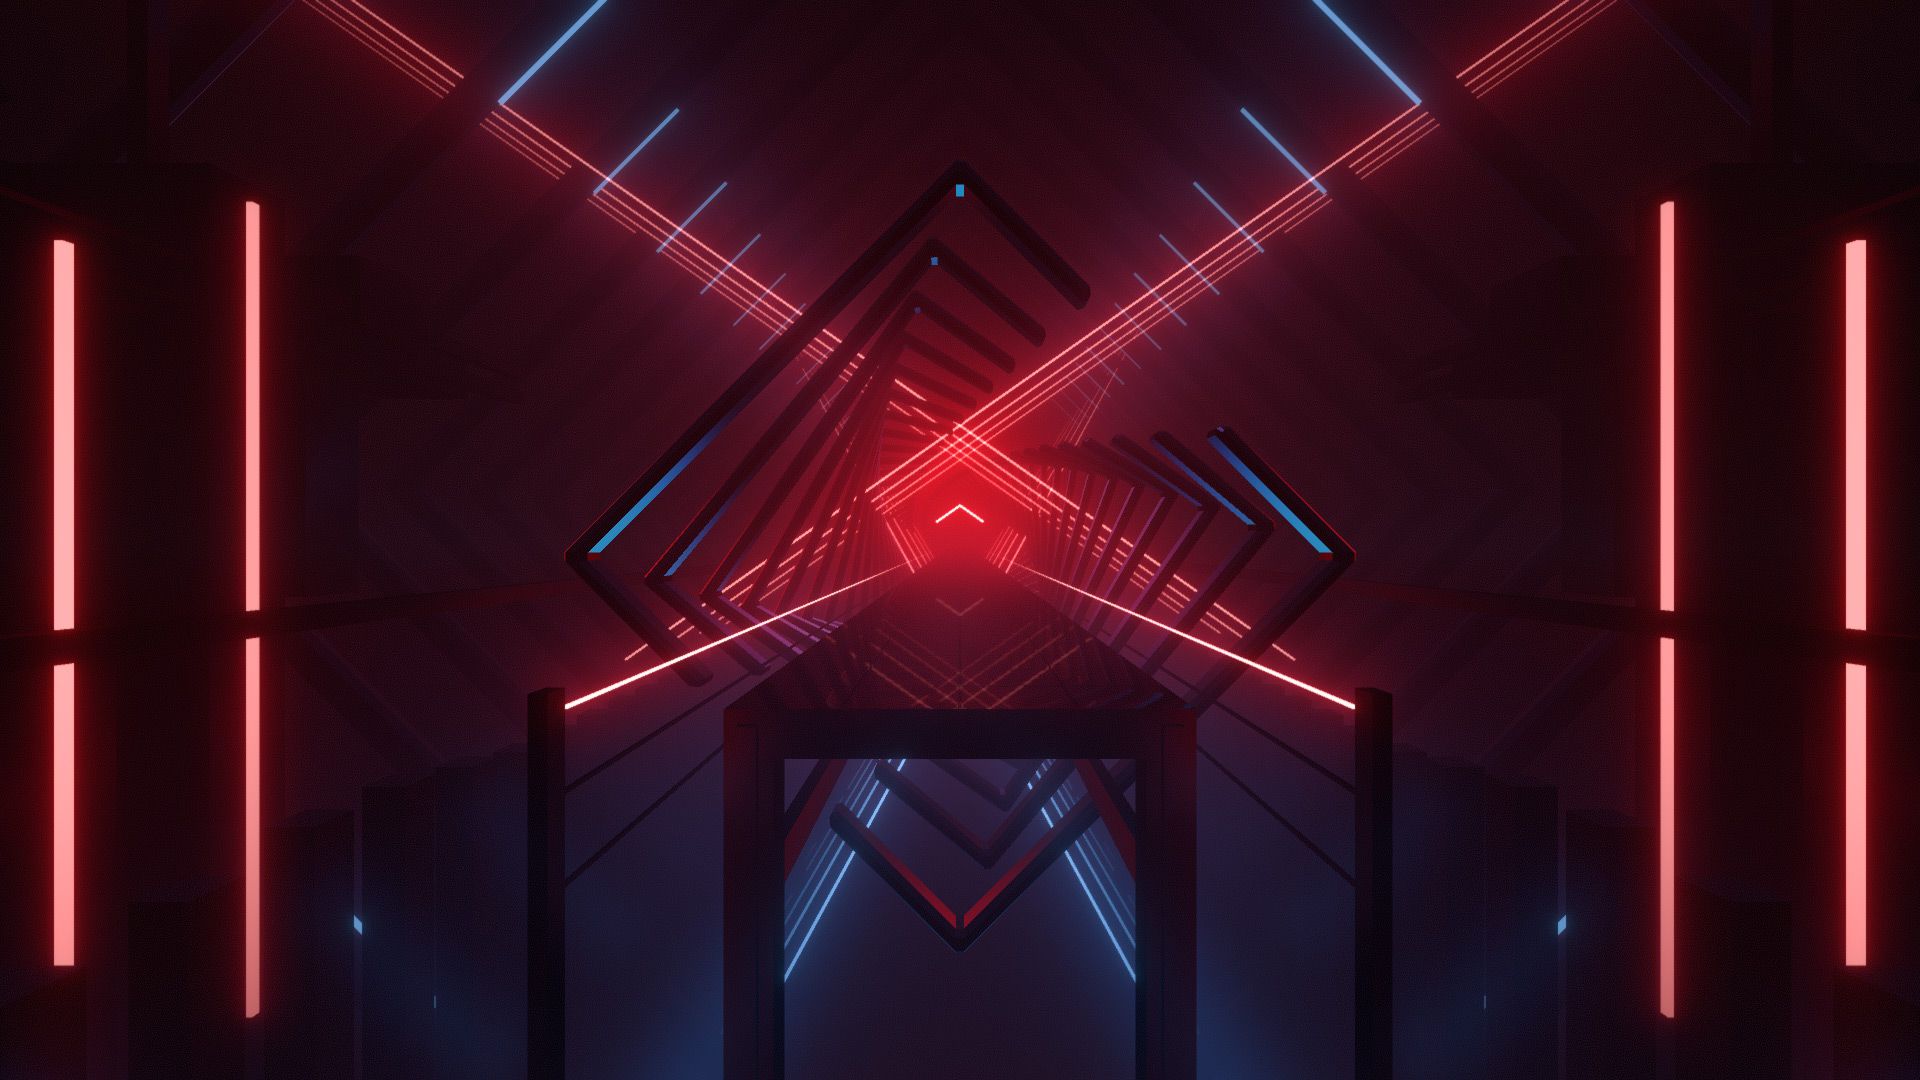
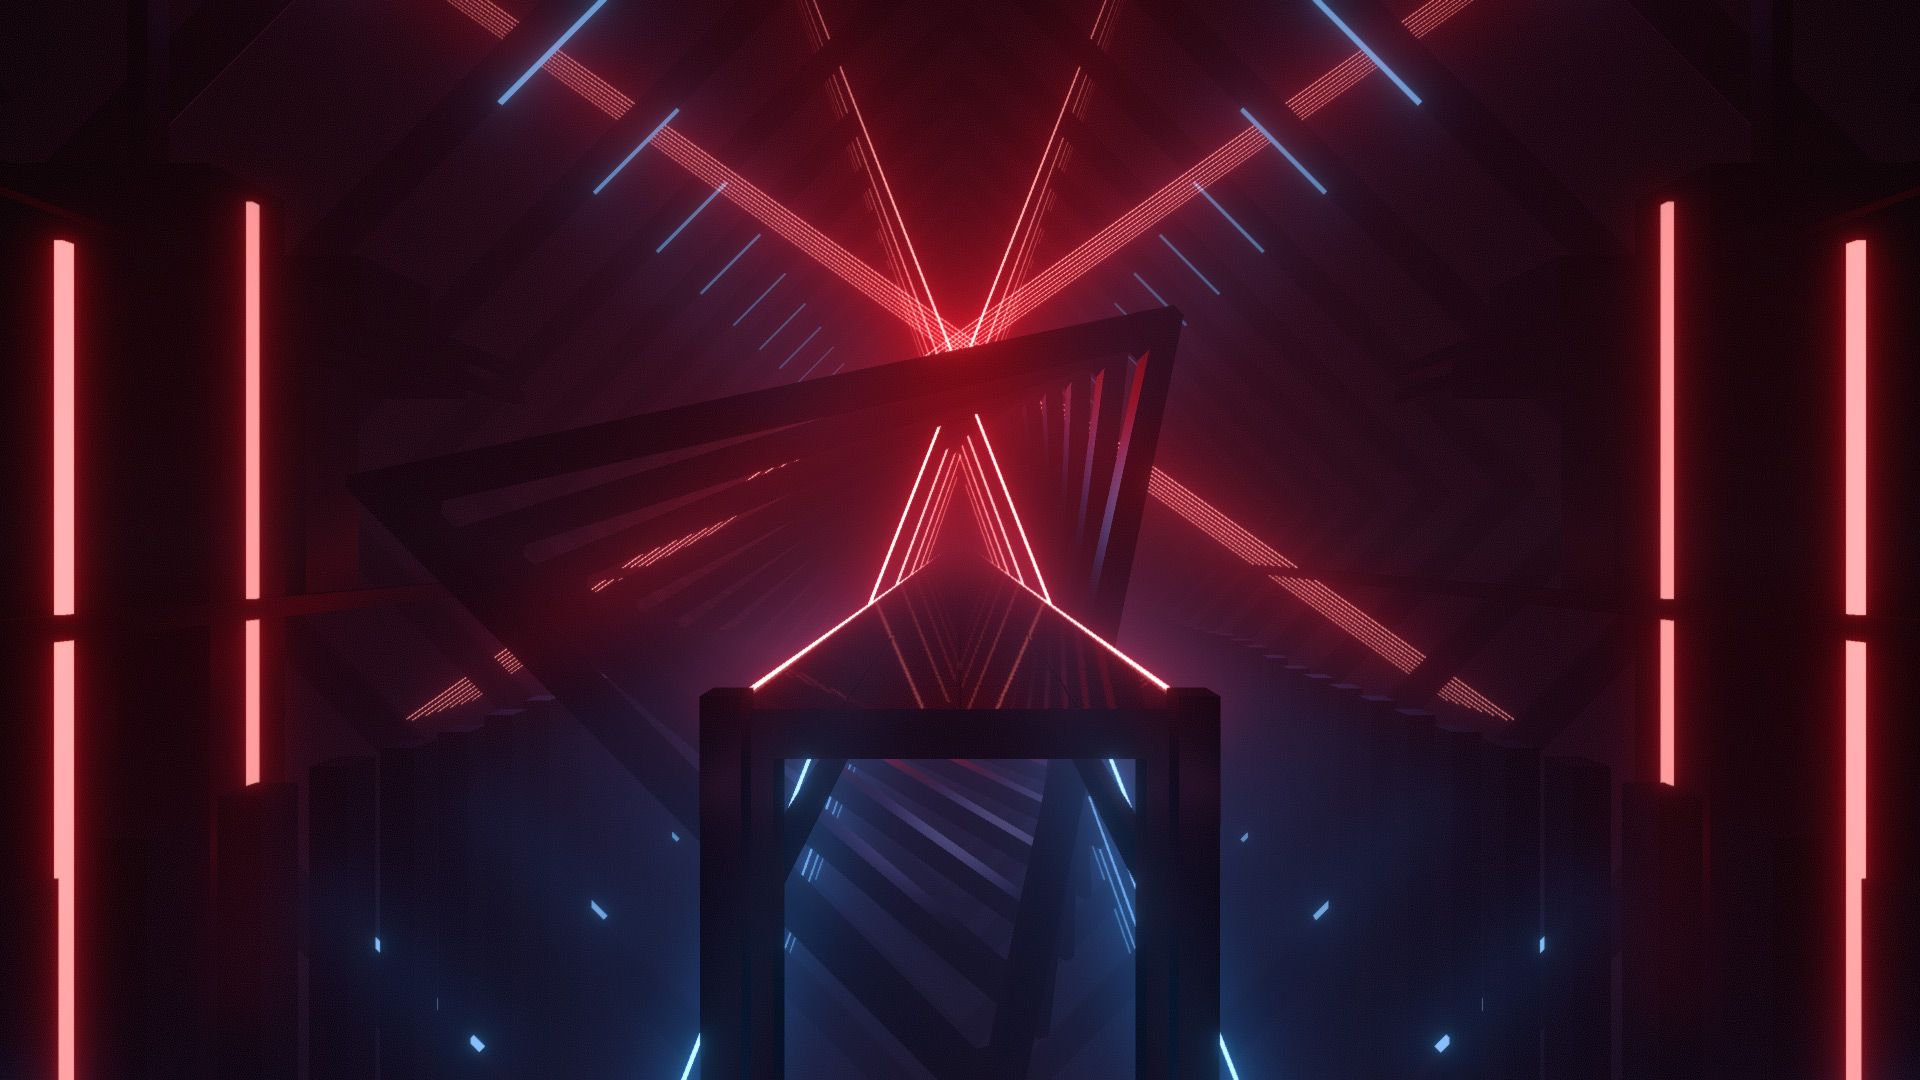
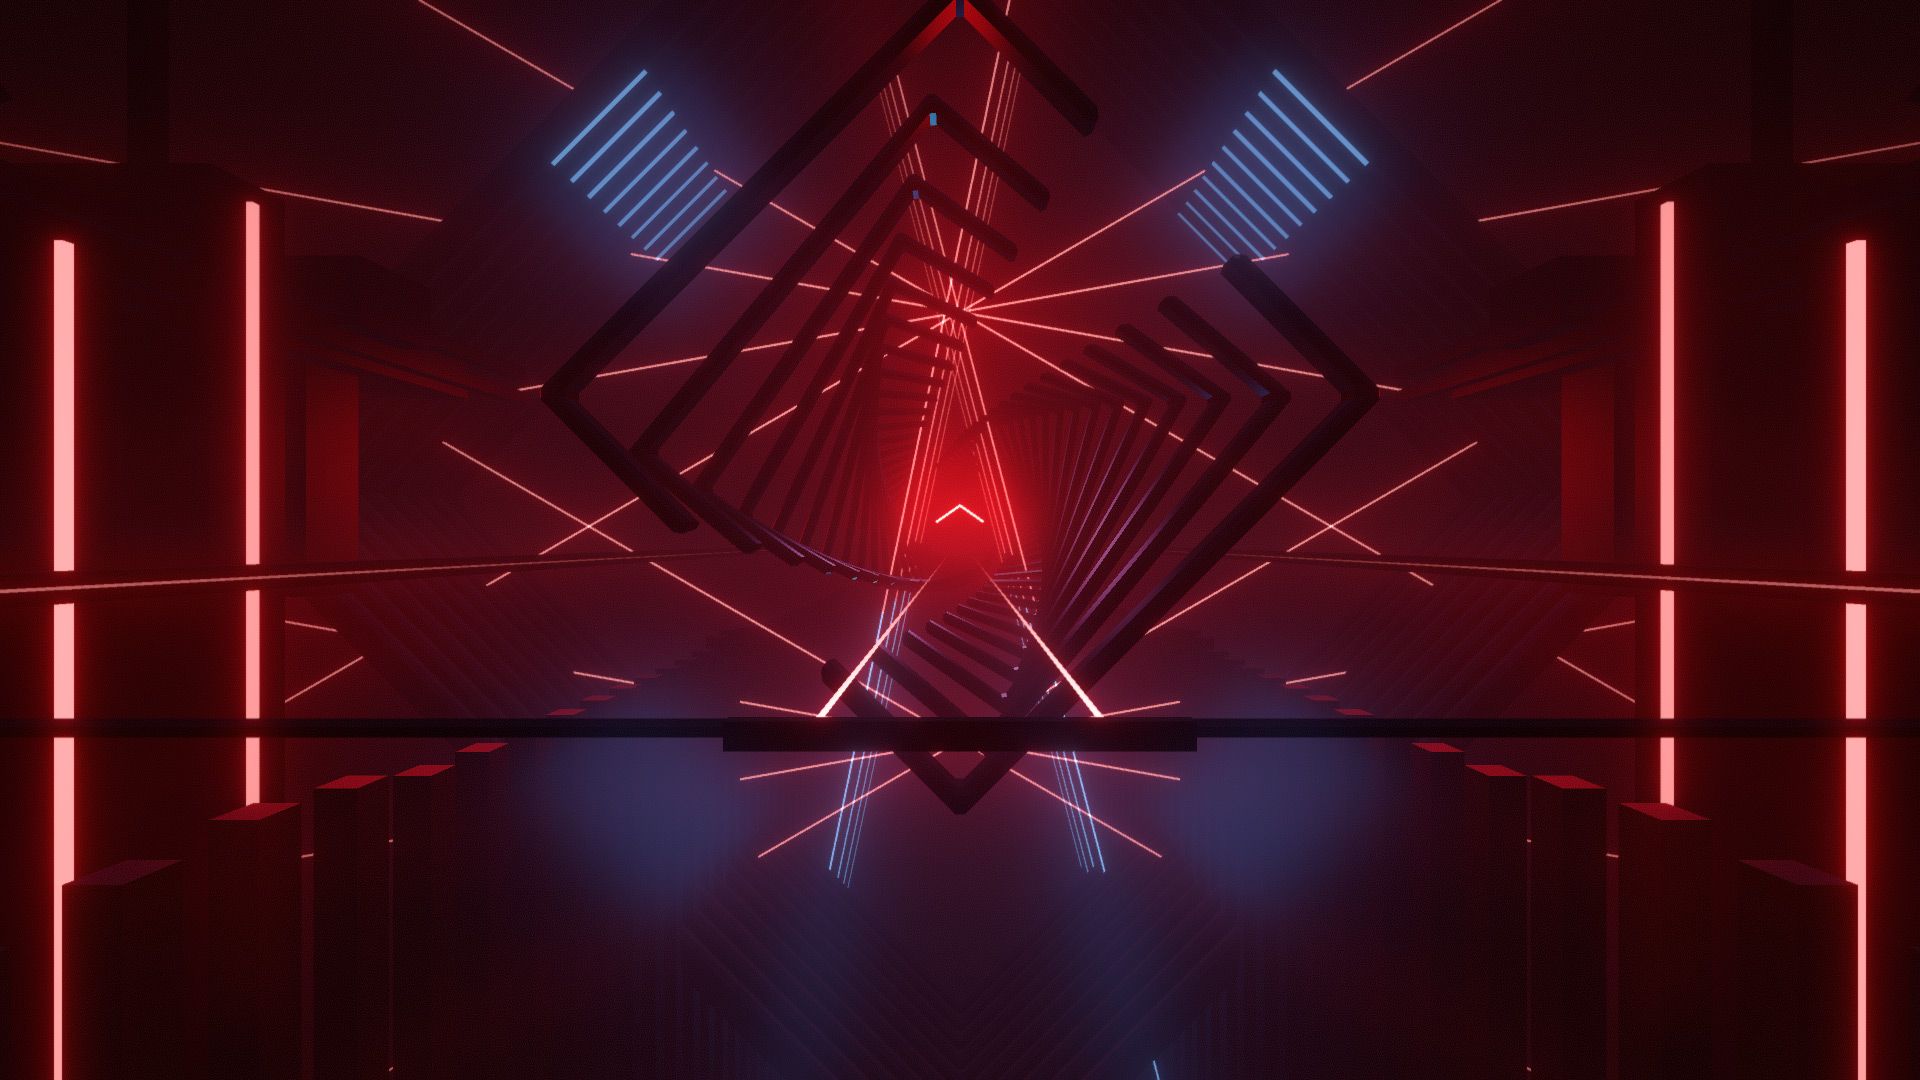
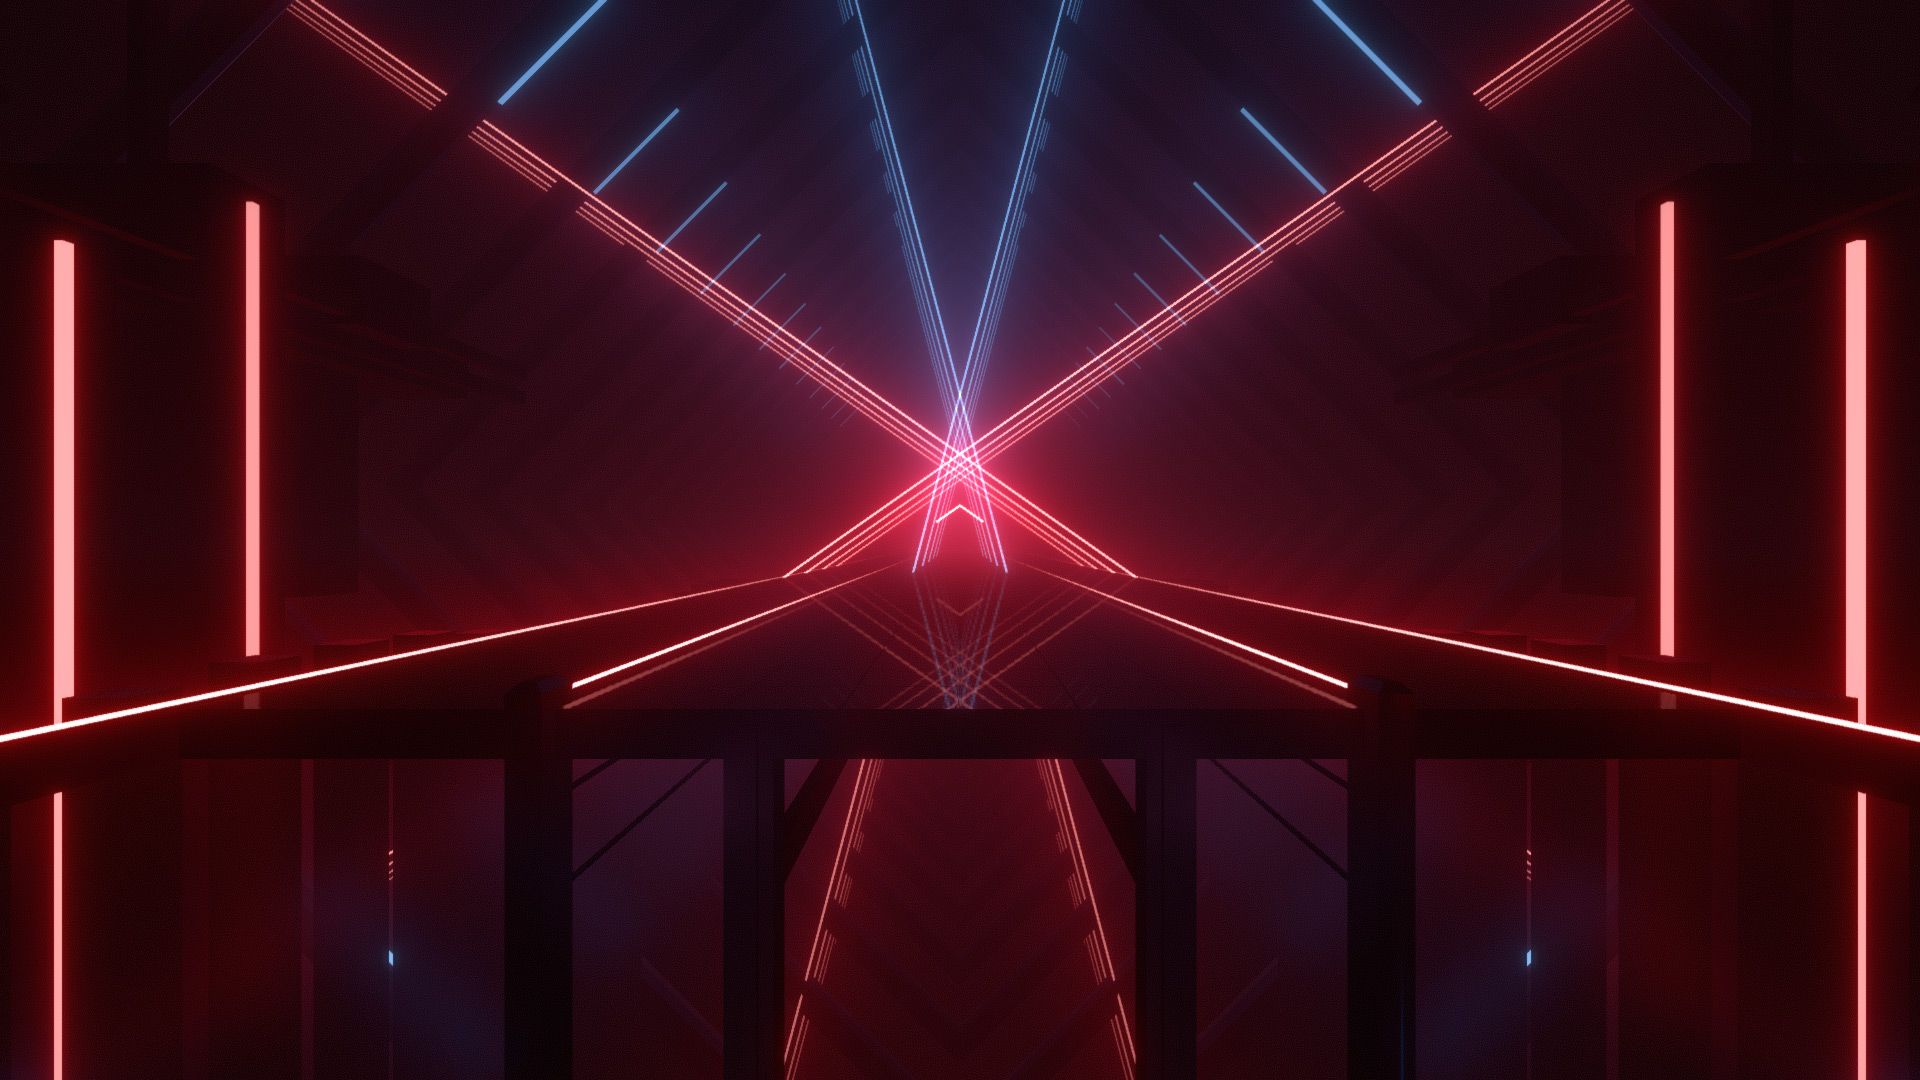
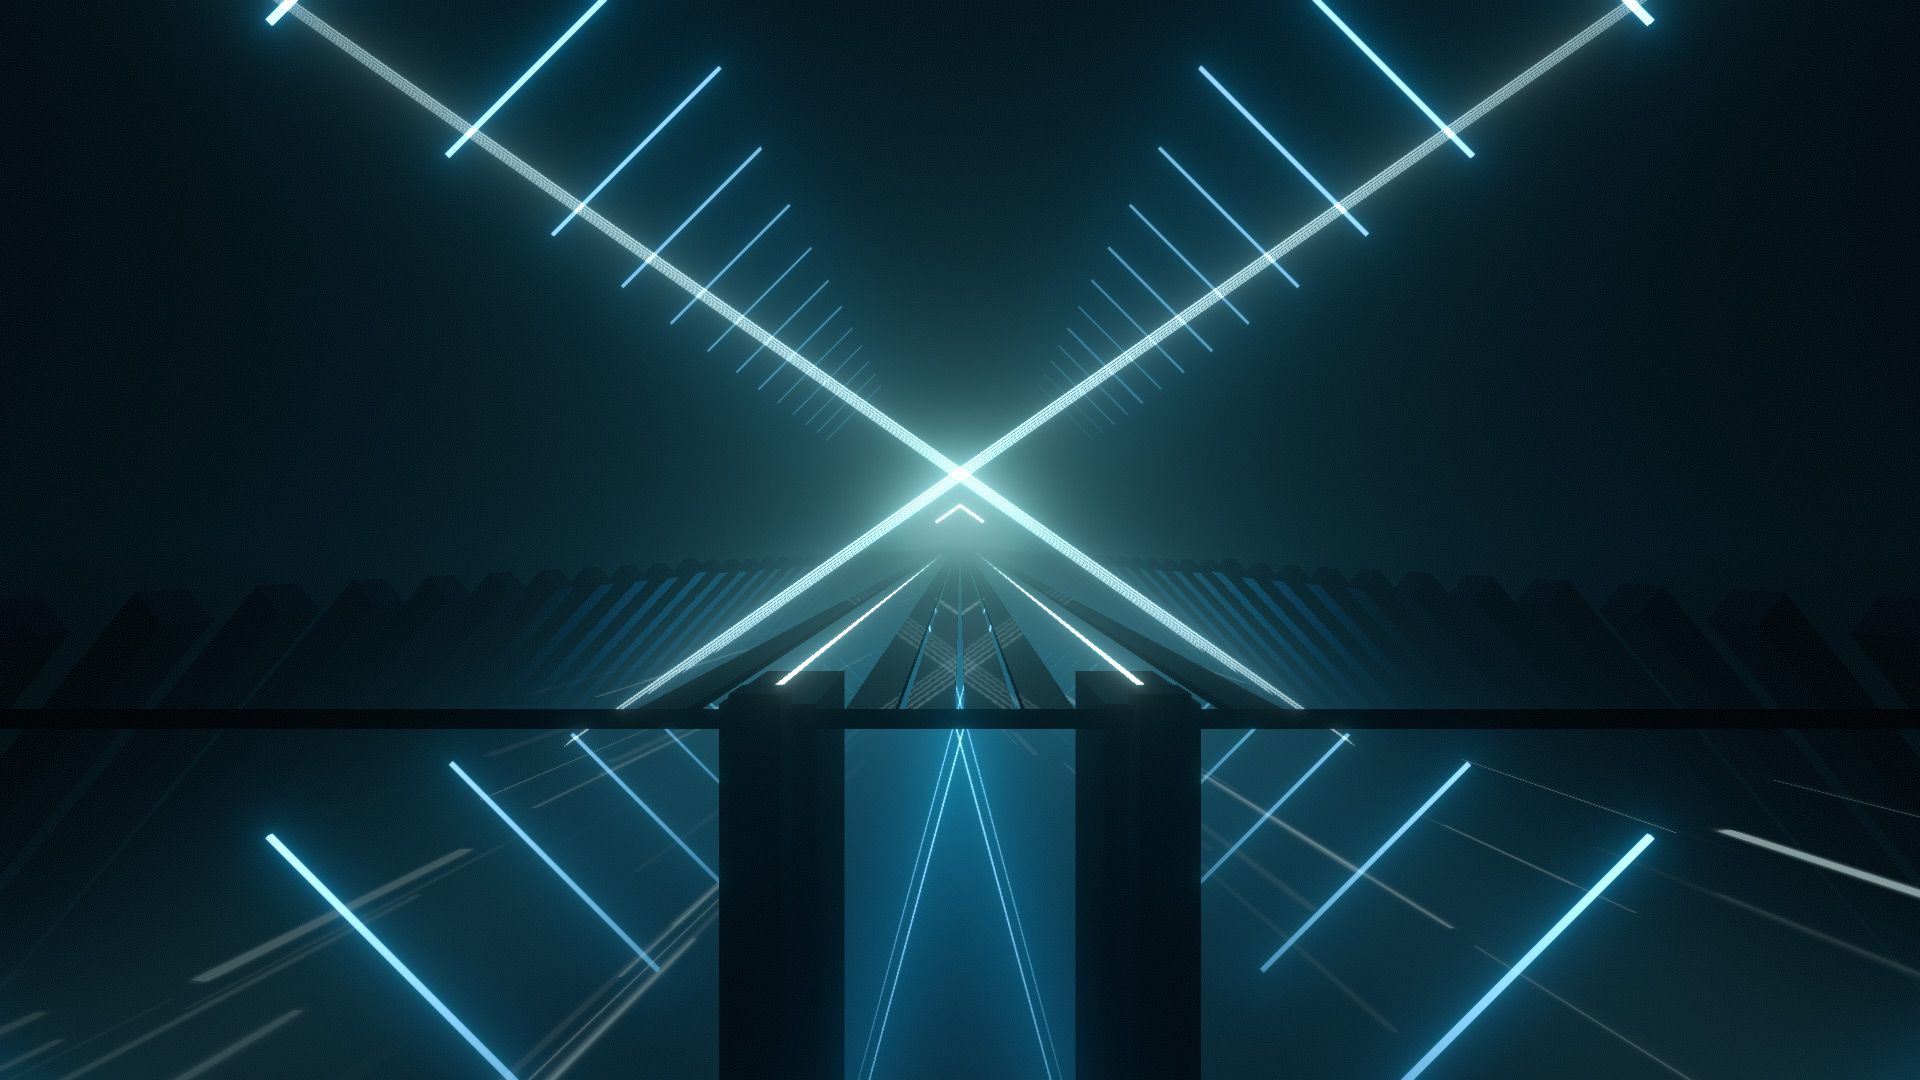
| Triangle Environment Lights: Back lasers, ring lights, left & right lasers, center lights Video Preview: YouTube |
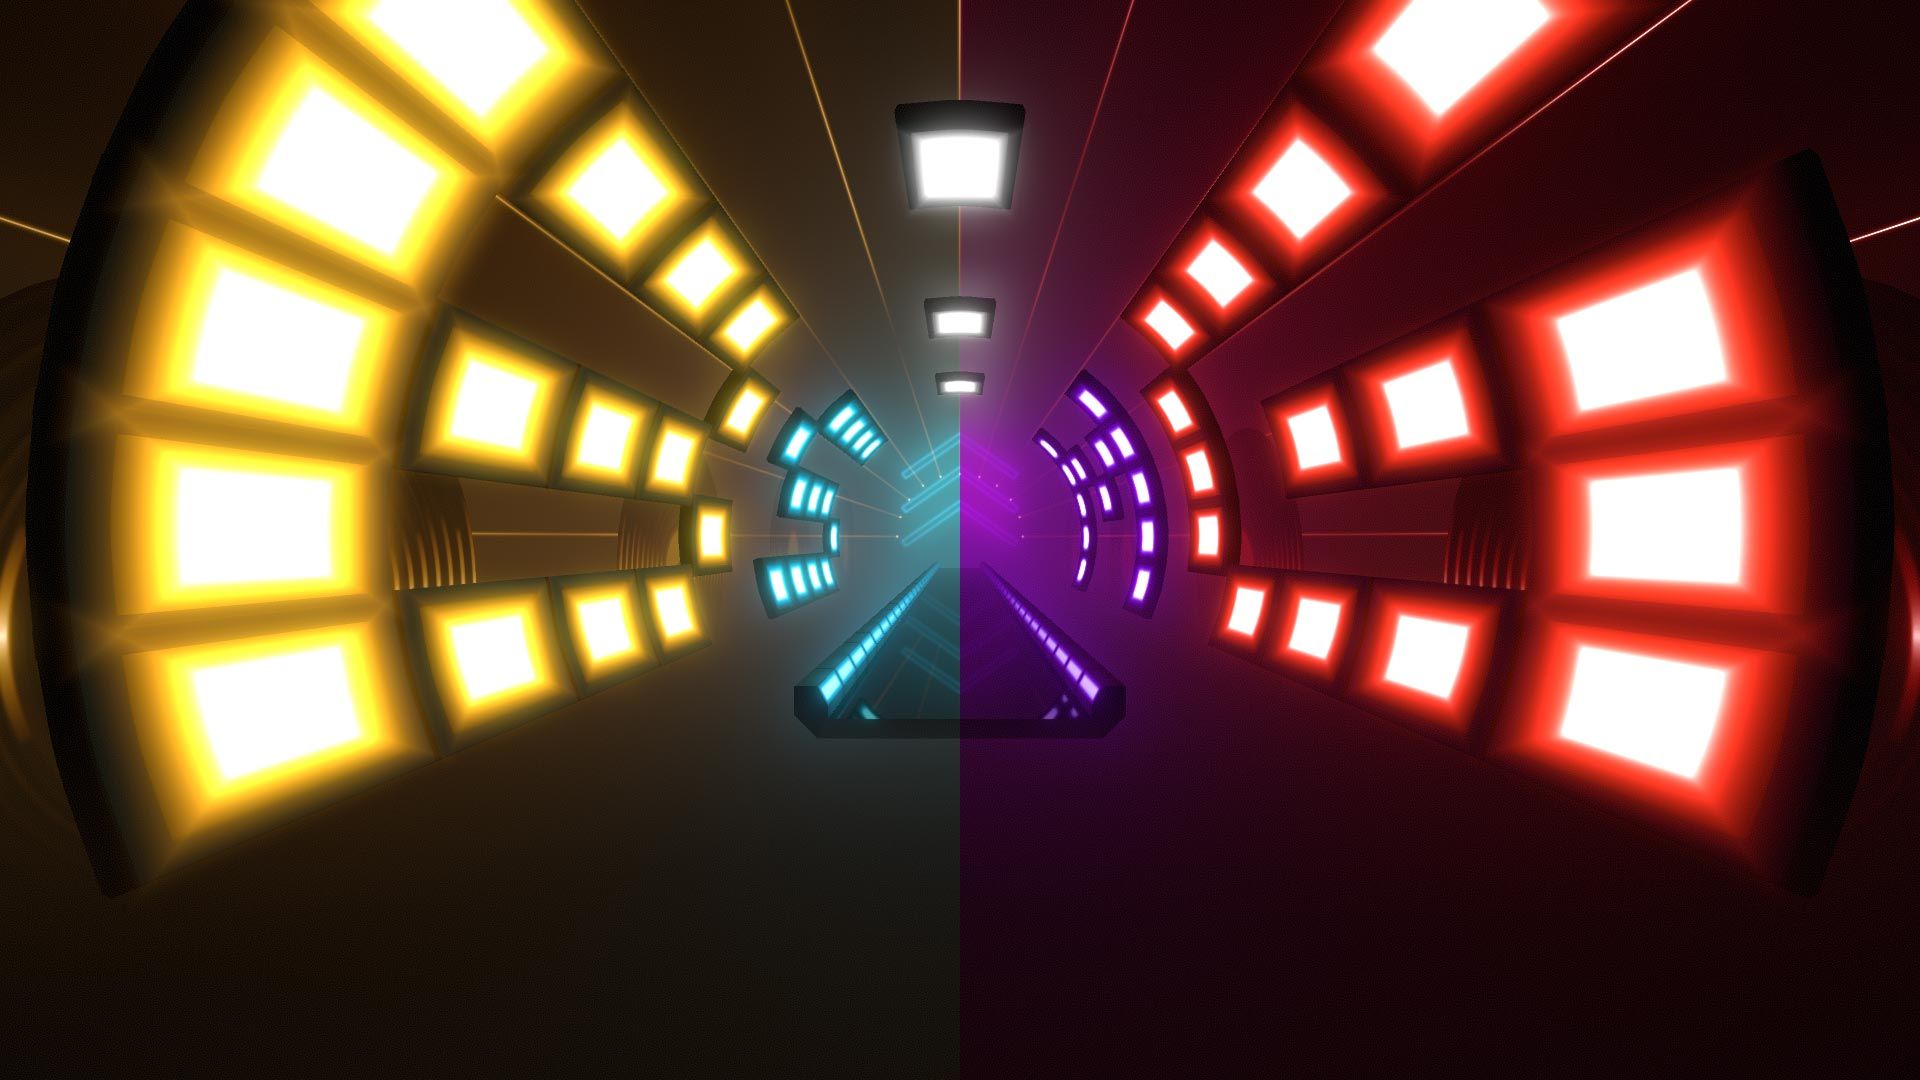
| Nice Environment Lights: Back lasers, ring lights, bottom & top lasers, center lights Video Preview: YouTube |
| Big Mirror Environment Lights: Back lasers, ring lights, left & right lasers, center lights Video Preview: YouTube |
| K/DA Environment Lights: Bottom & top lights, left & right lasers, center lights Video Preview: YouTube |
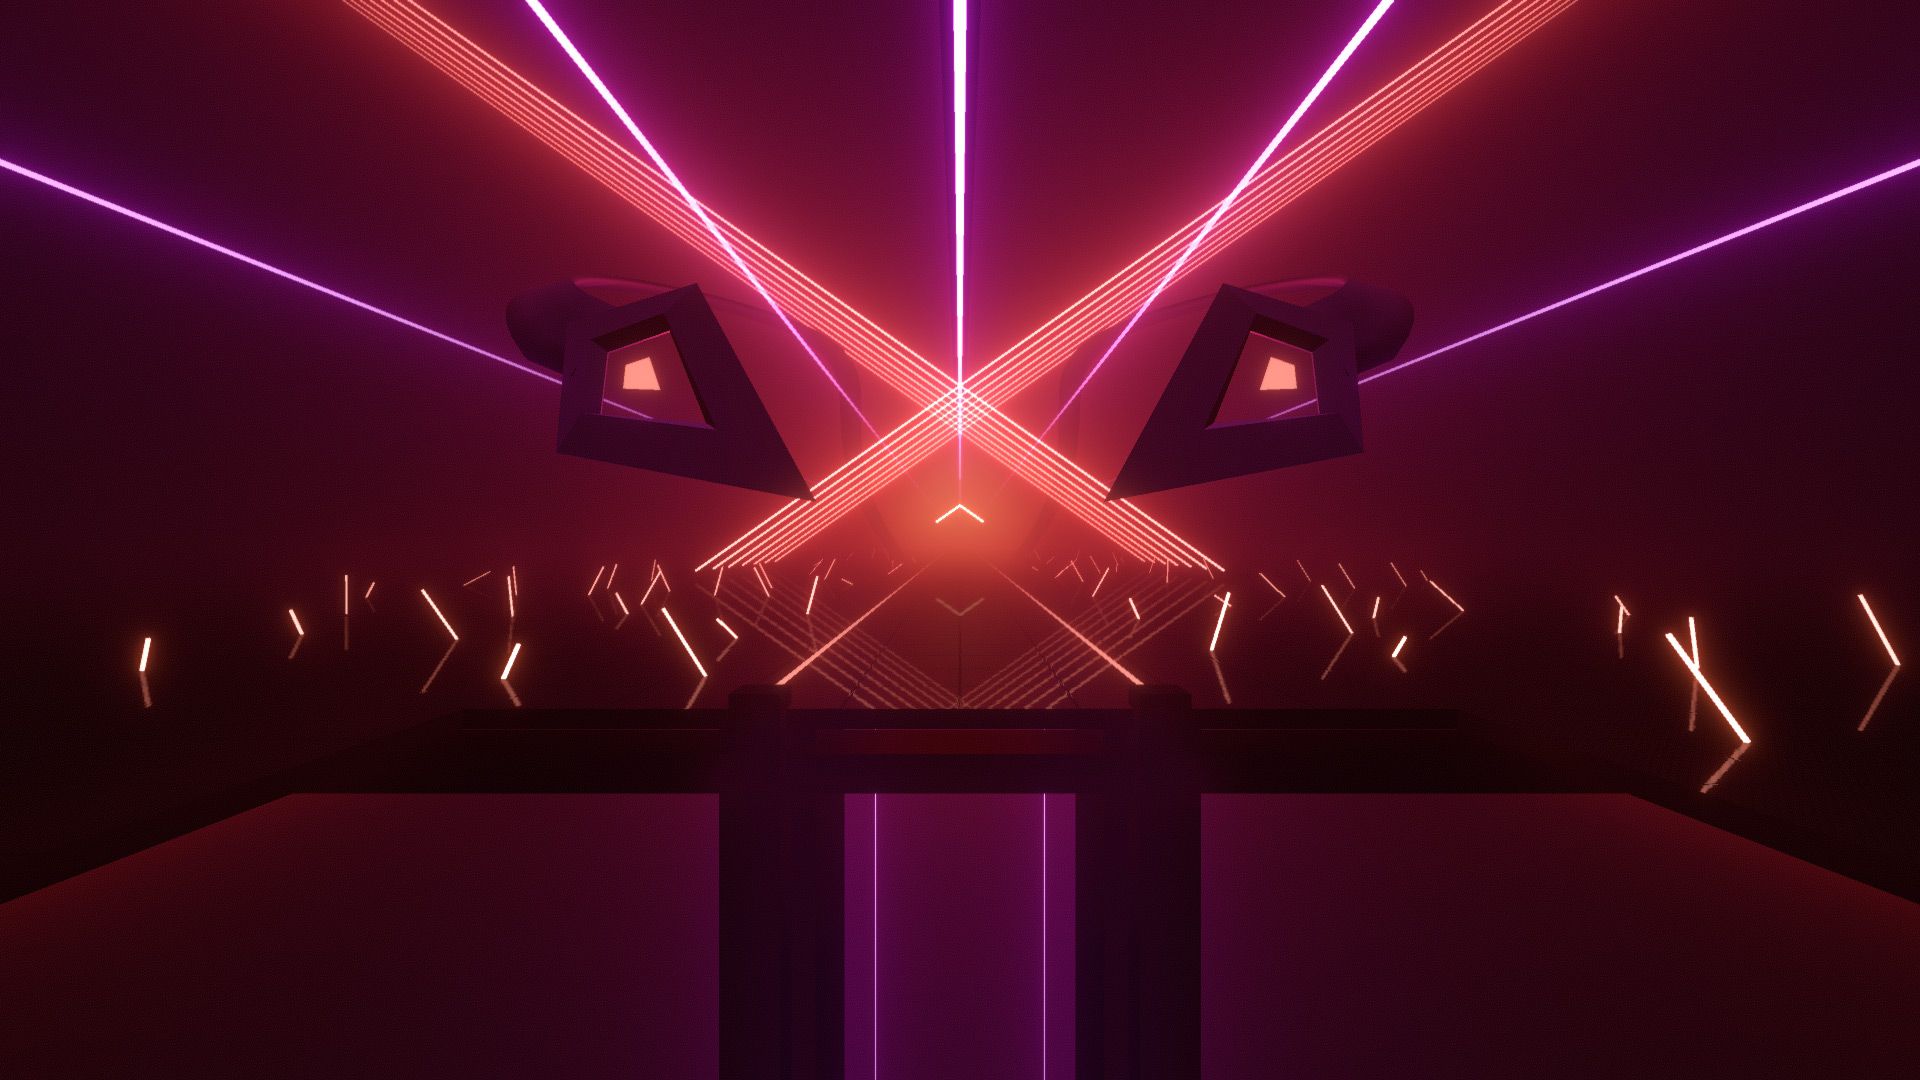
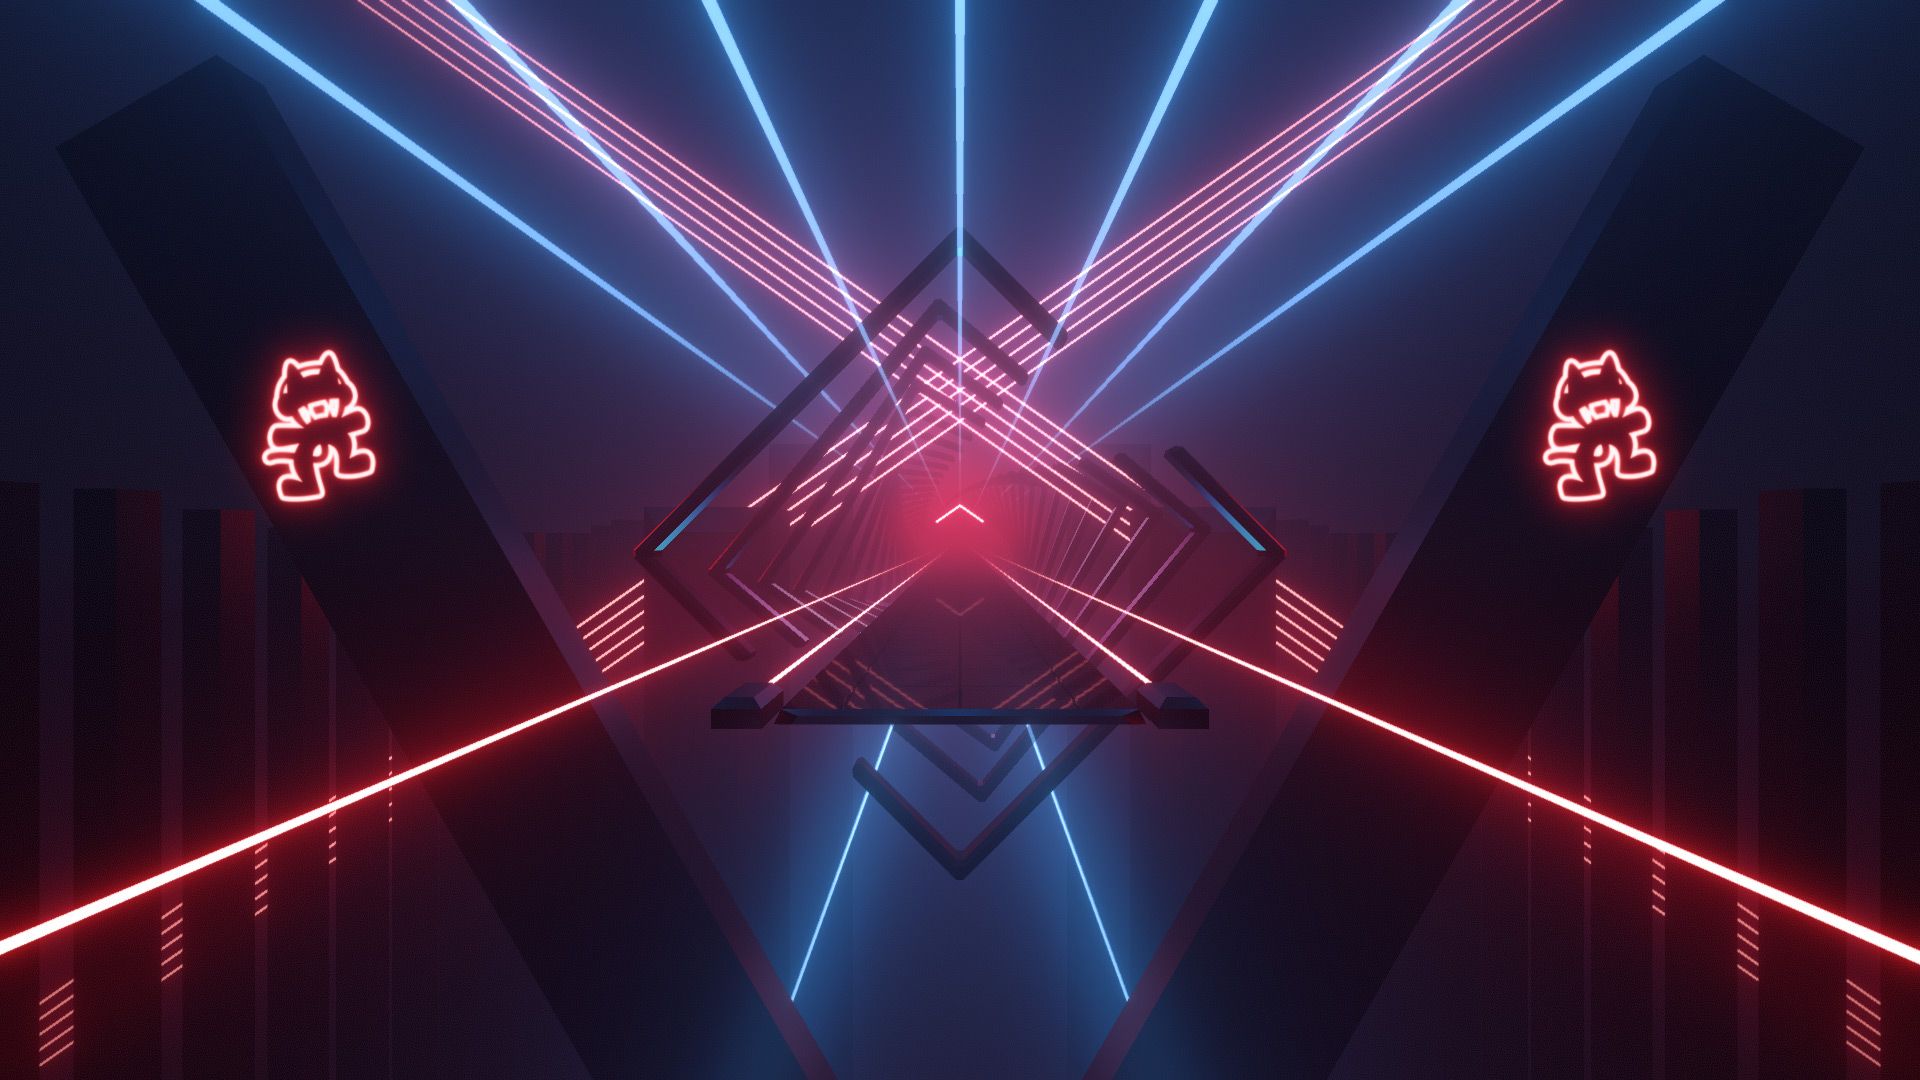
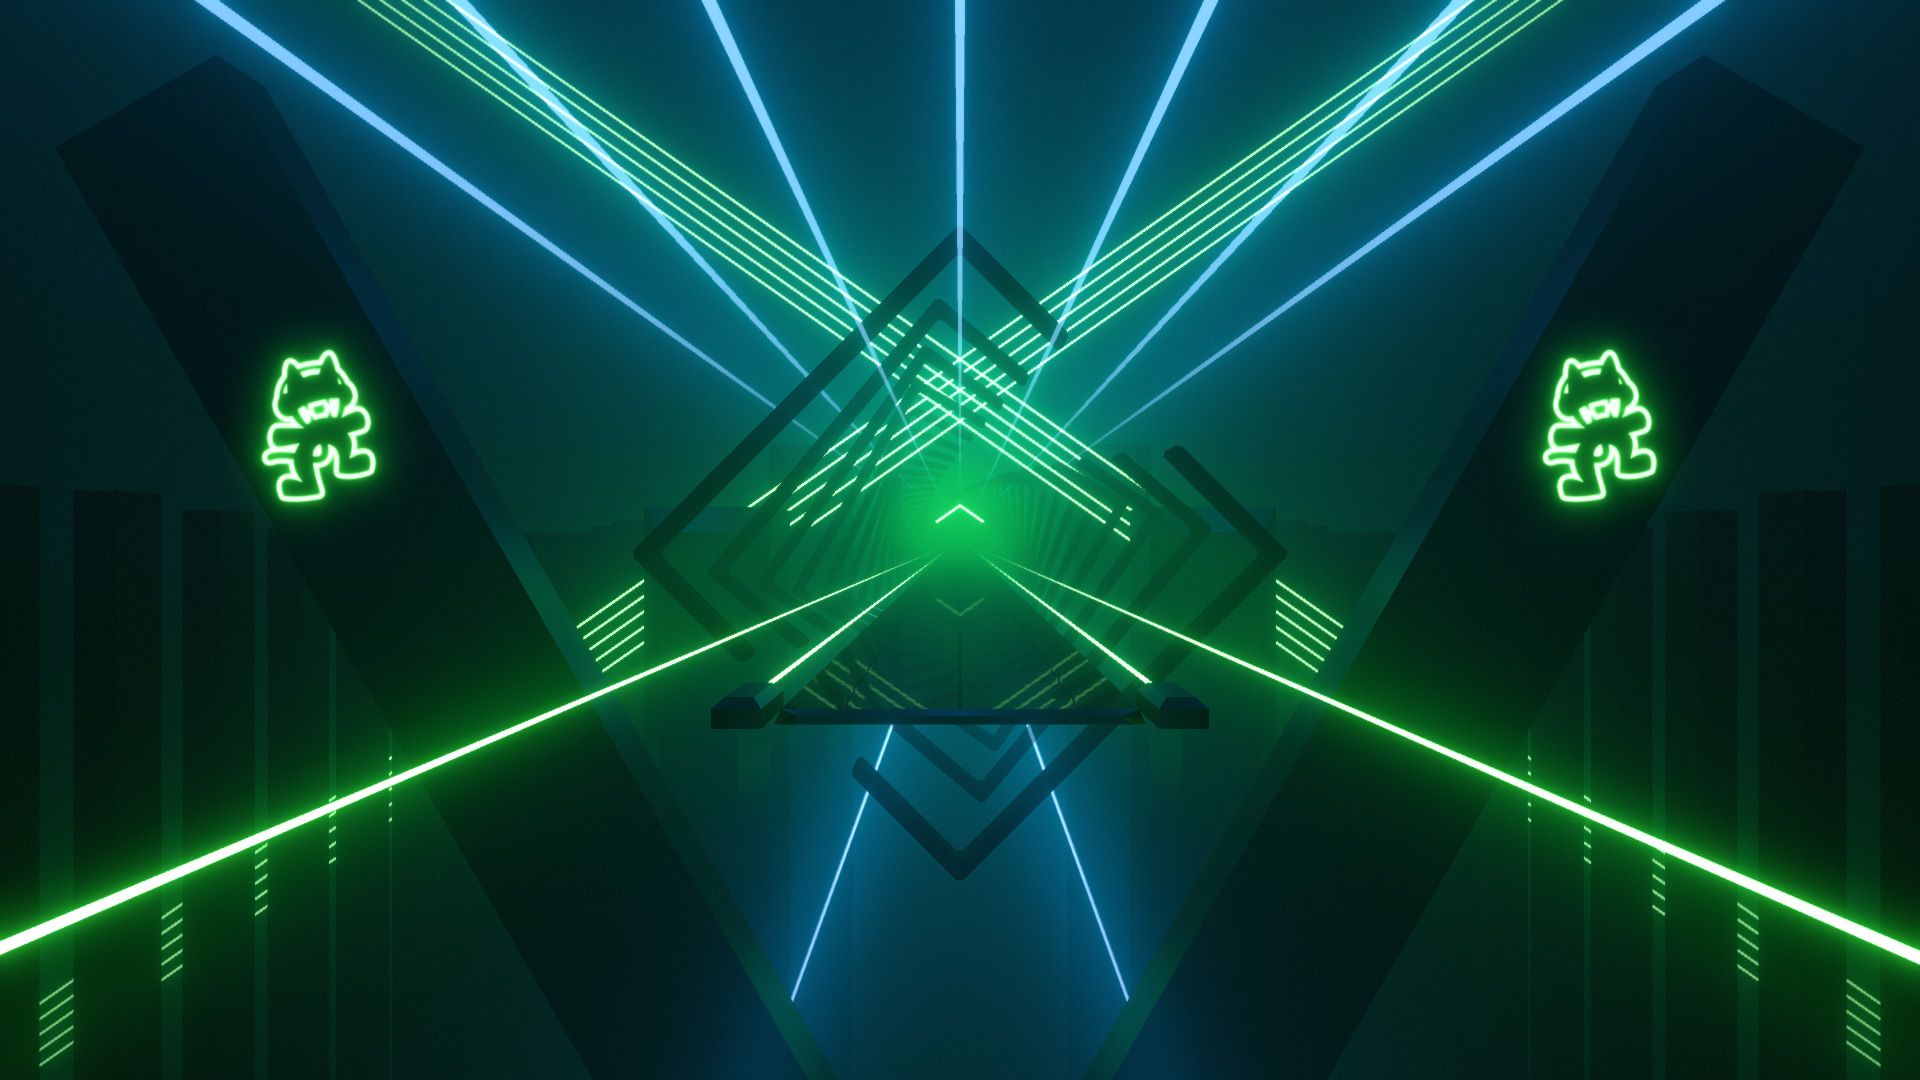
| Monstercat Environment Lights: Back lasers, top lights, left & right lasers, center lights Video Preview: YouTube |
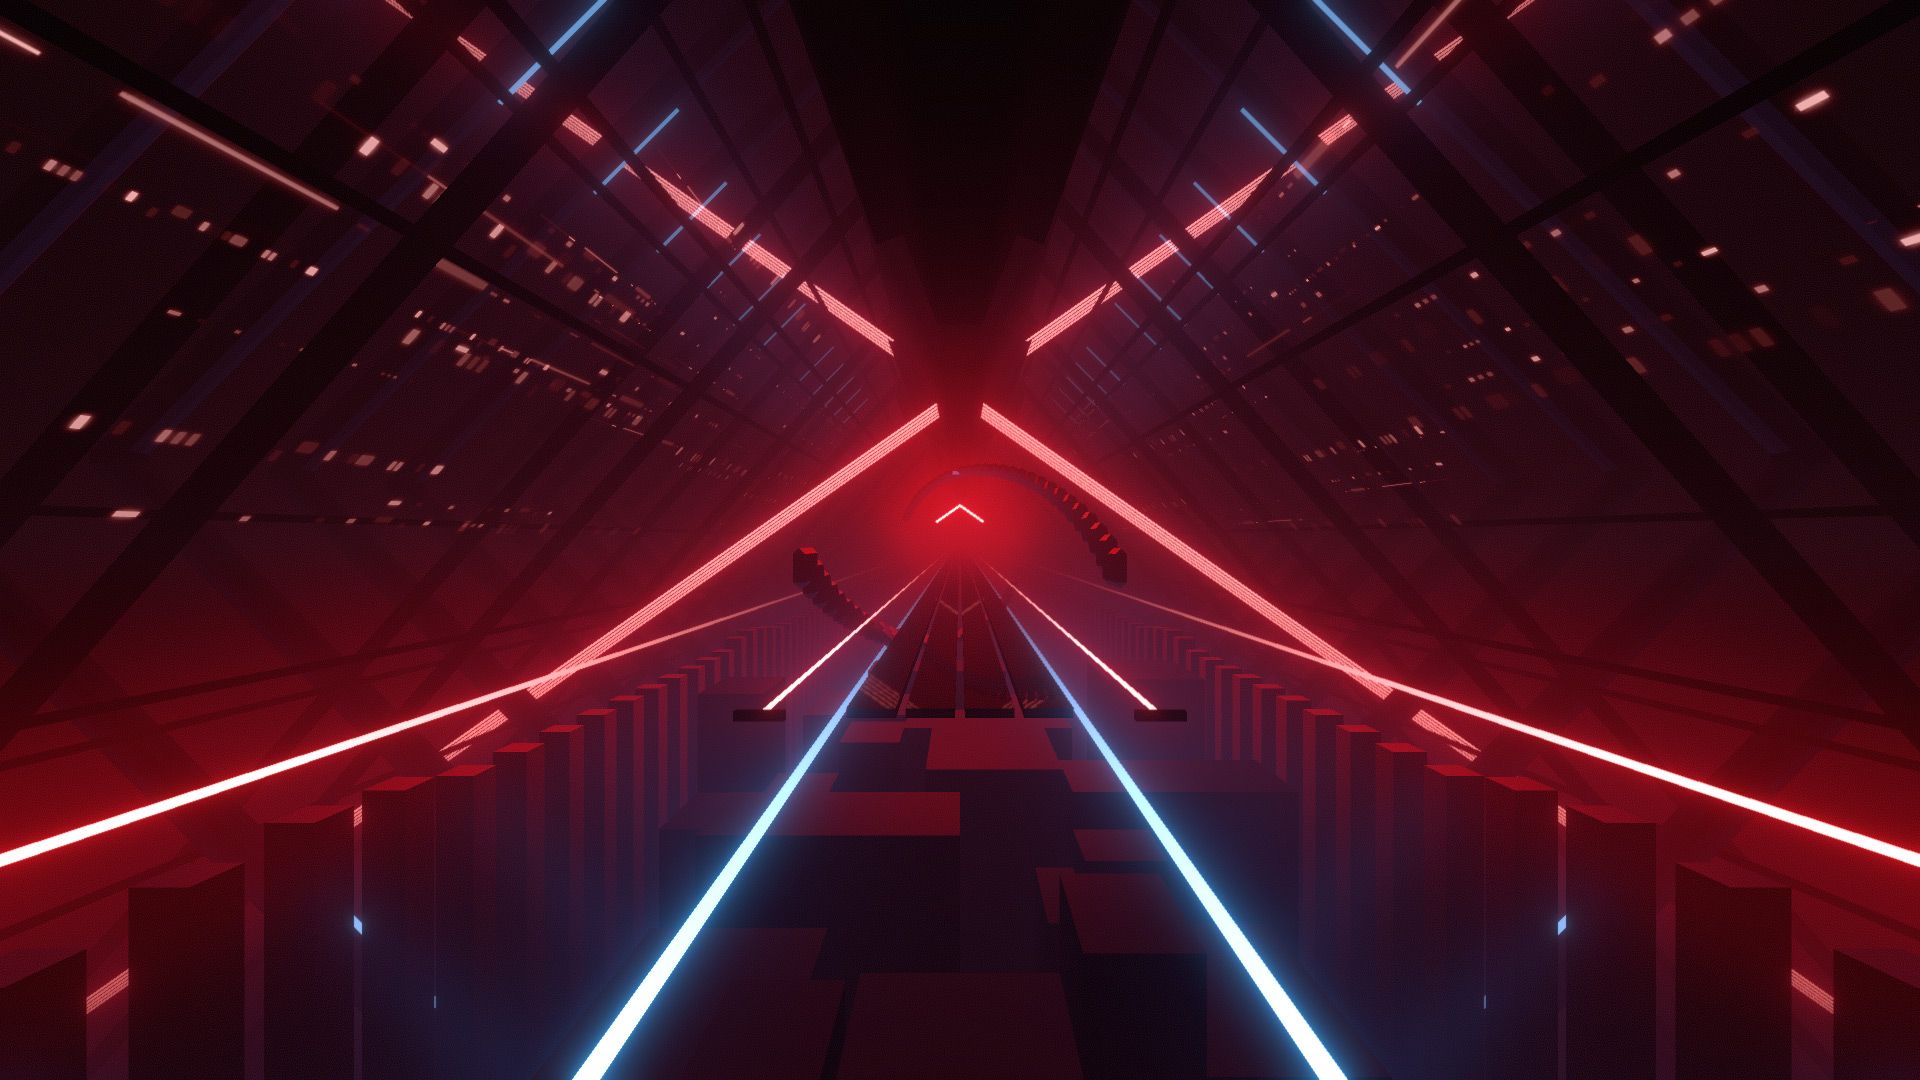
| Crab Rave Environment Lights: Back lasers, top lights, left & right lasers, center lights Video Preview: YouTube |
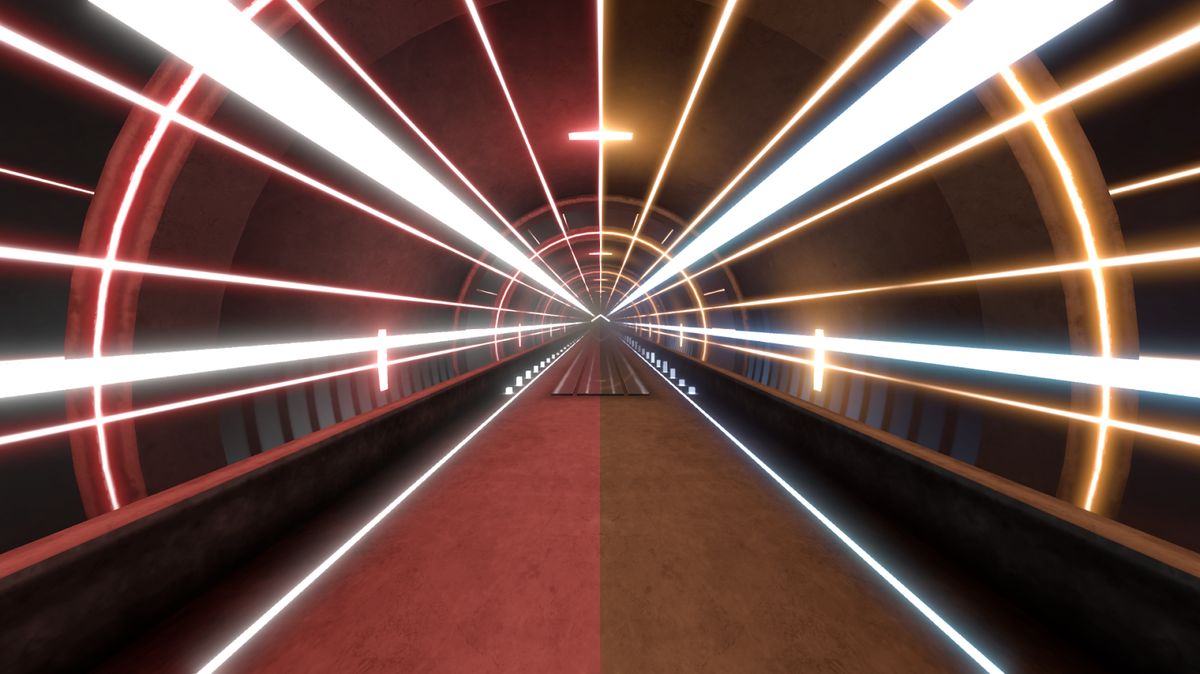
| Imagine Dragons Environment Lights: Side lights, ring lights, left & right lasers, center lights Video Preview: YouTube |
| Origins Environment Lights: Bottom lights, ring lights, left & right lasers, center lights Video Preview: YouTube |
| Panic! at the Disco Environment Lights: Bottom lights, ring lights, left & right lasers, center lights Video Preview: YouTube |
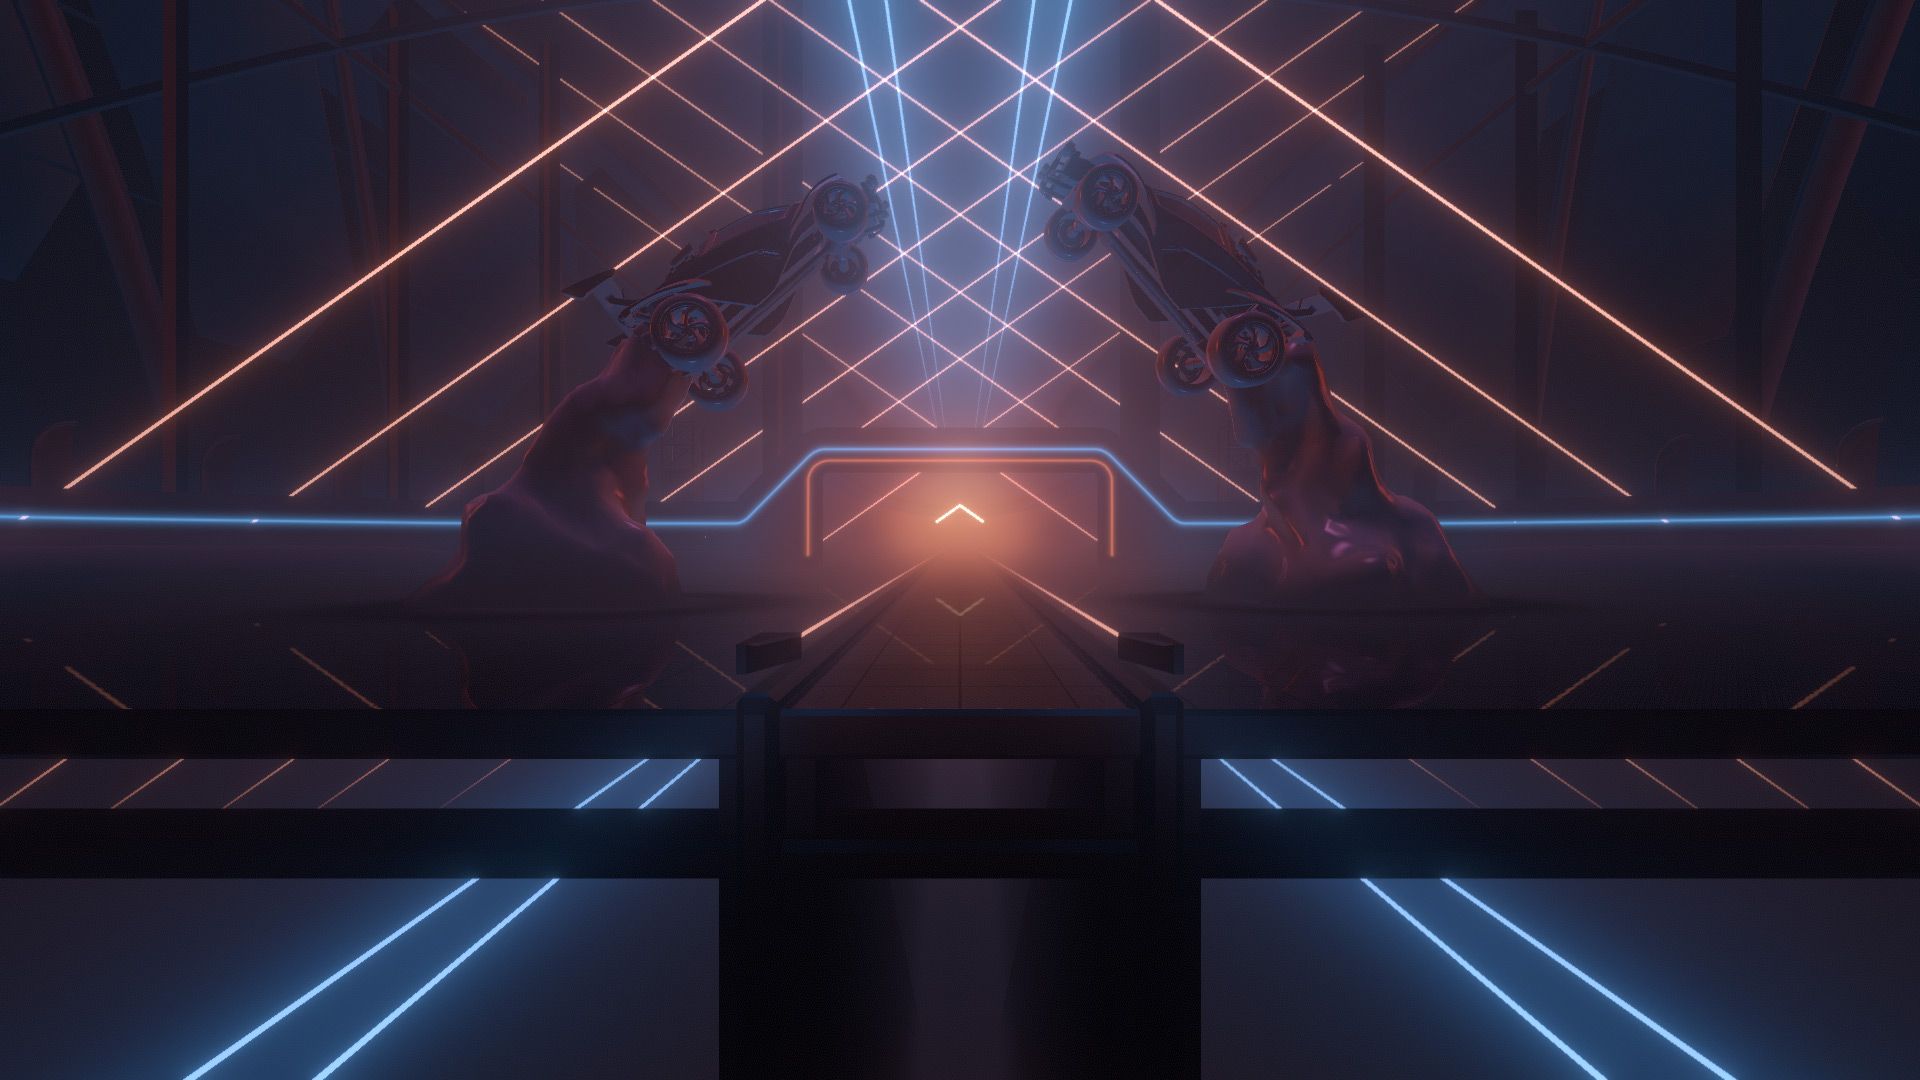
| Rocket League Environment Lights: Back lights, bottom lights, left & right lasers, center lights Video Preview: YouTube |
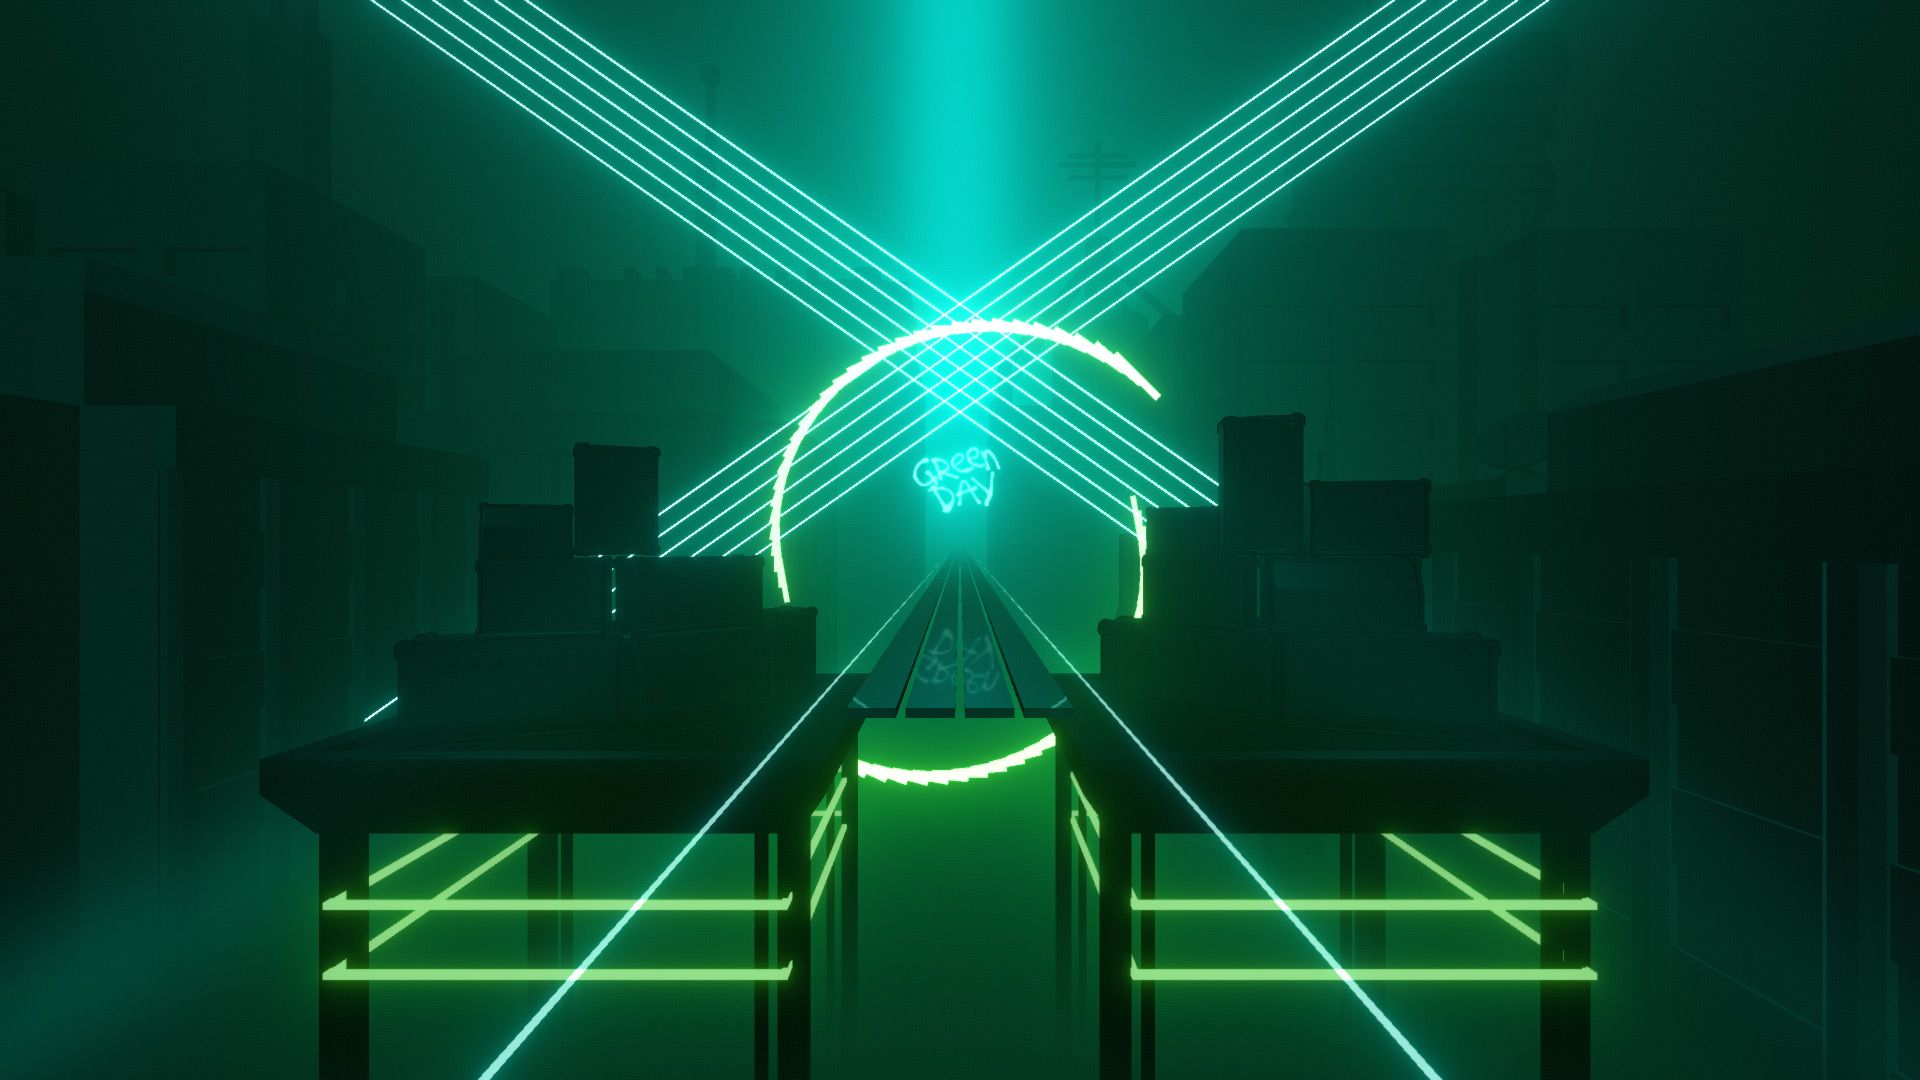
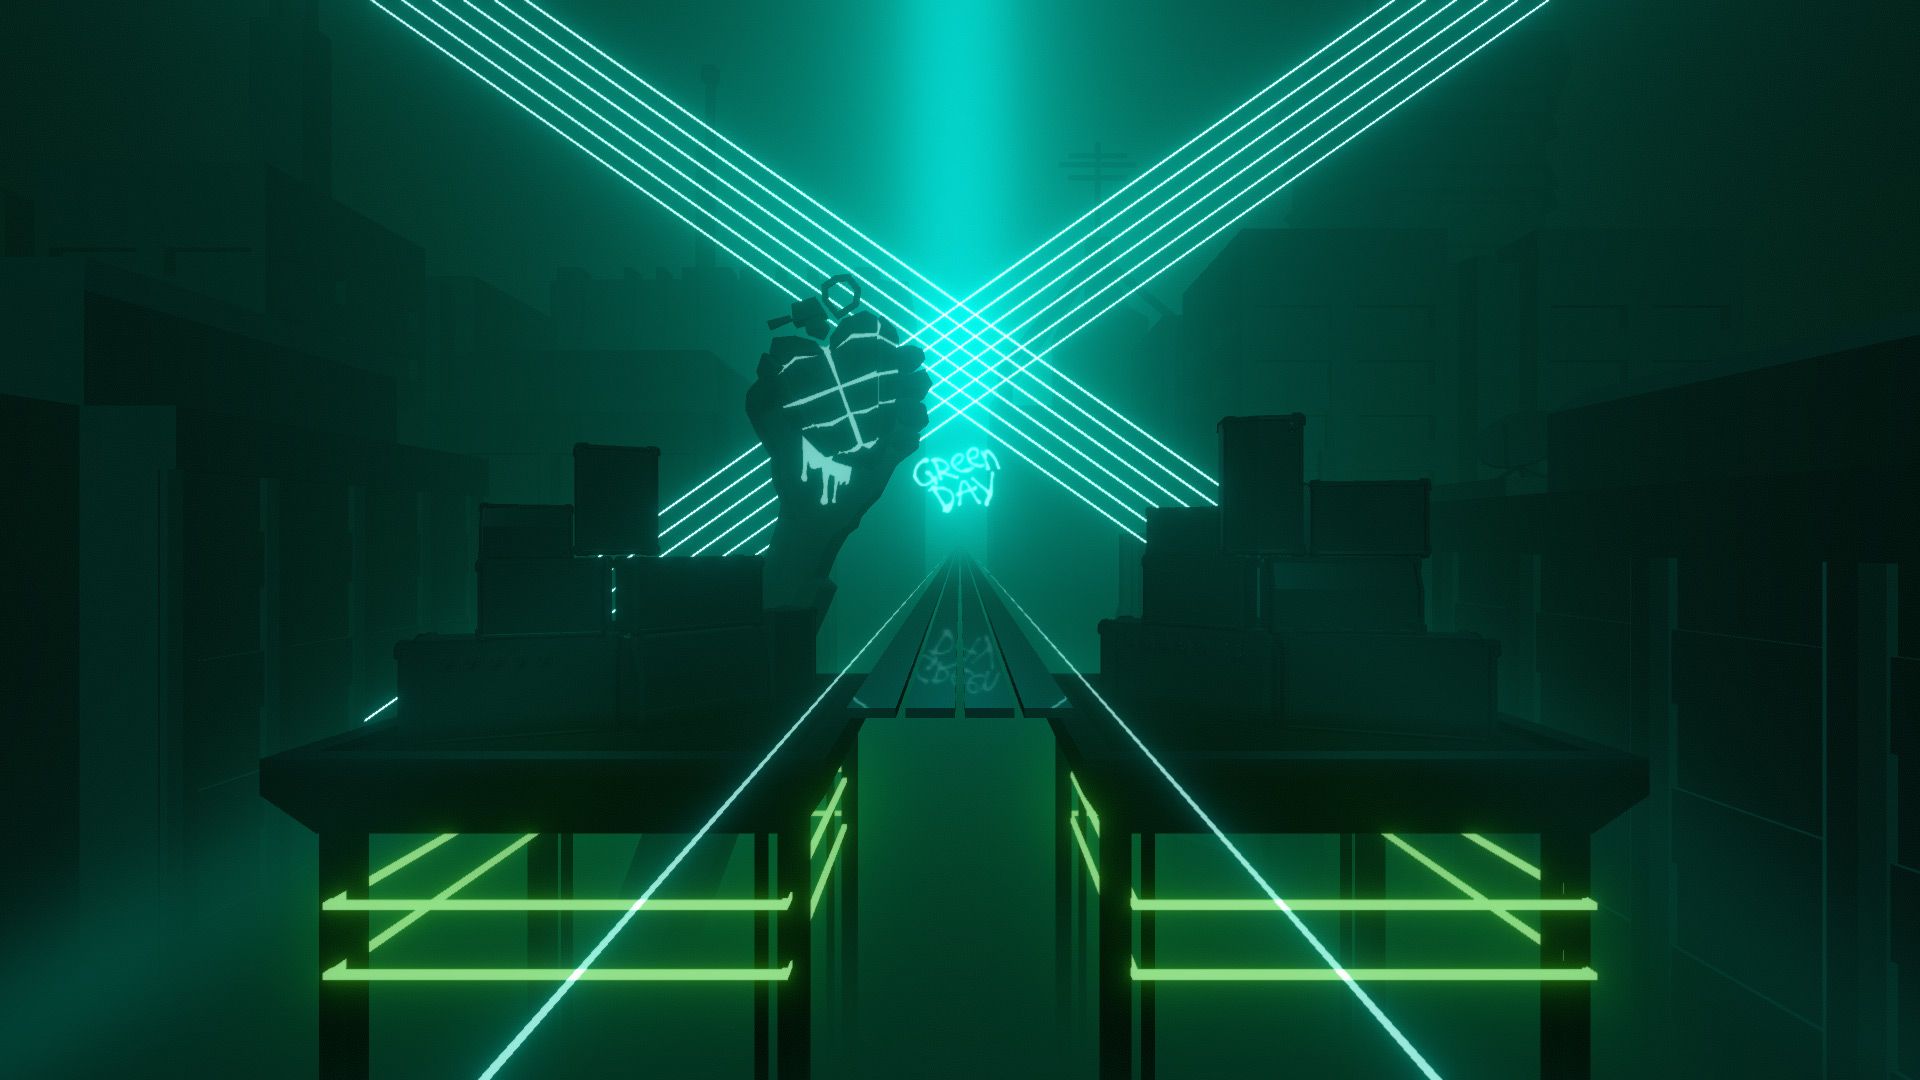
| Green Day Environment Lights: Bottom lights, ring lights, left & right lasers, center lights |
| Green Day Grenade Environment Lights: Bottom lights, ambiance, left & right lasers, center lights |
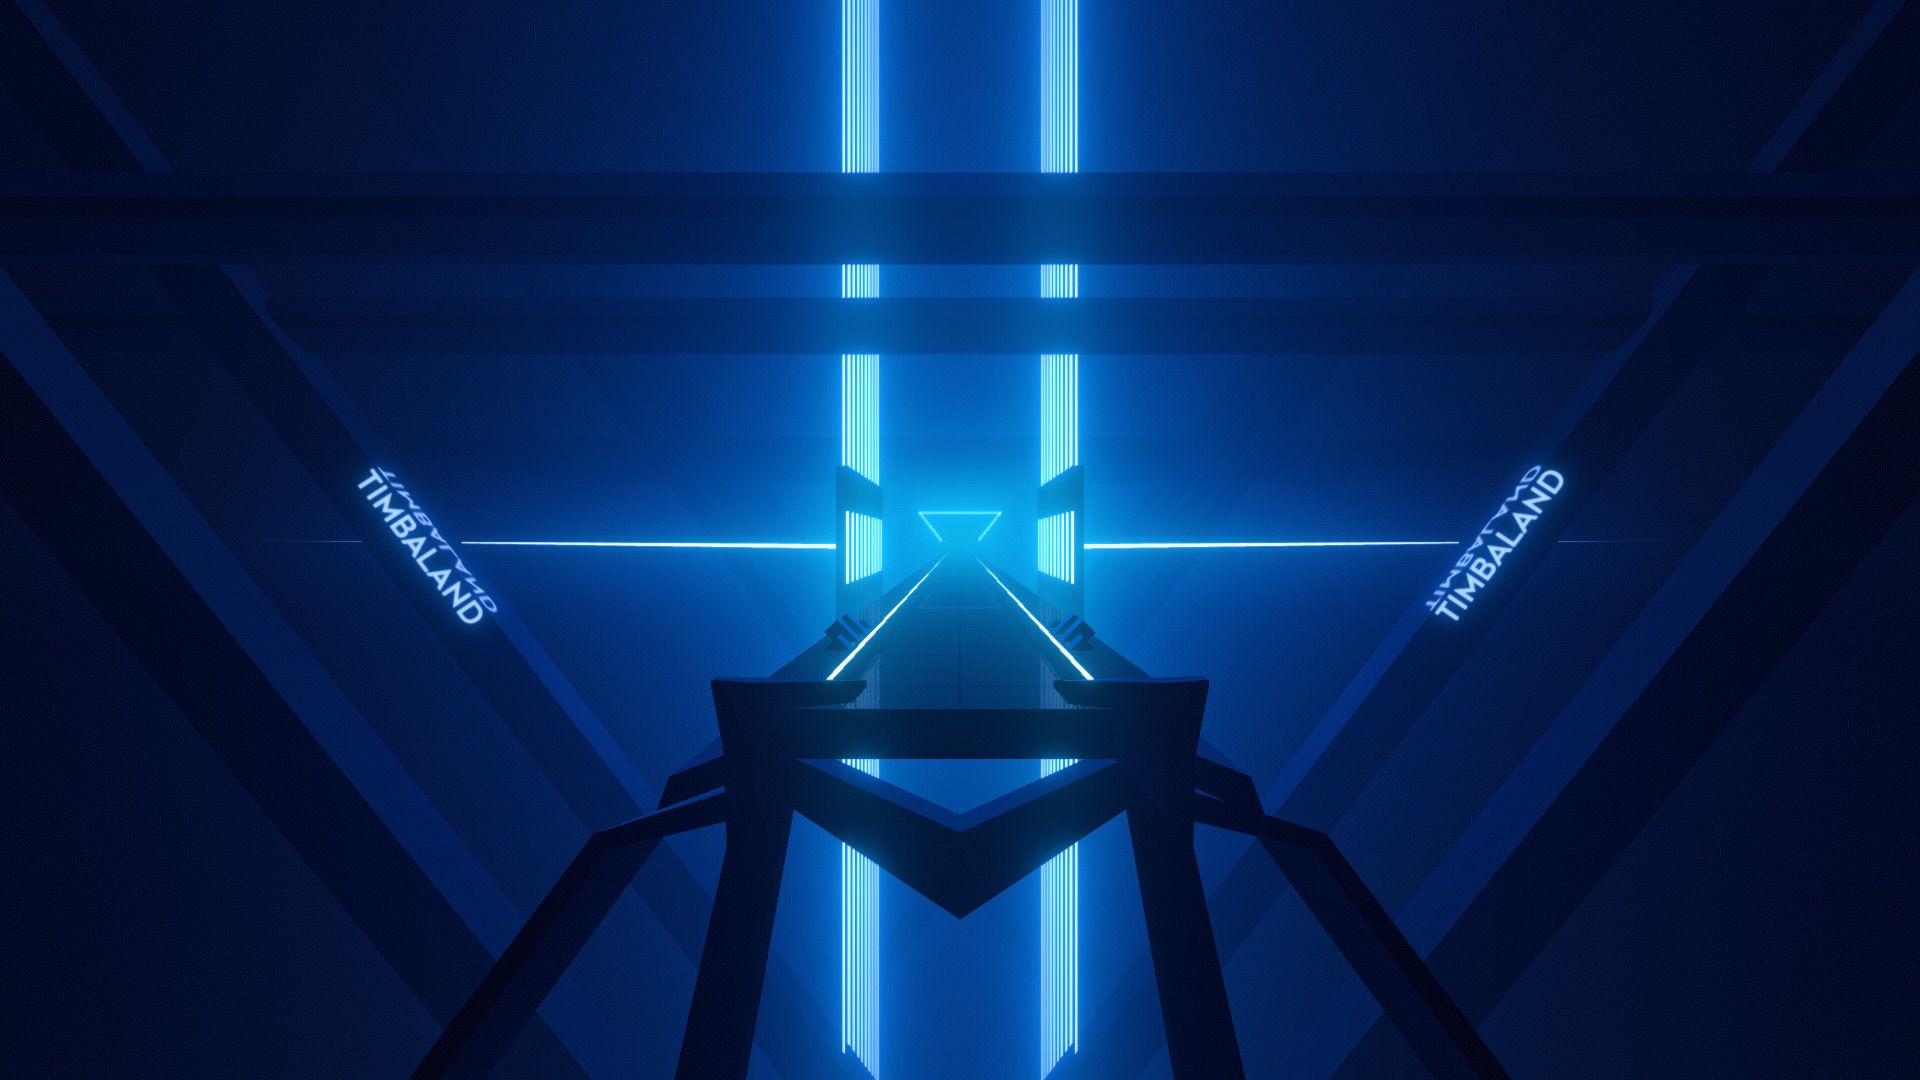
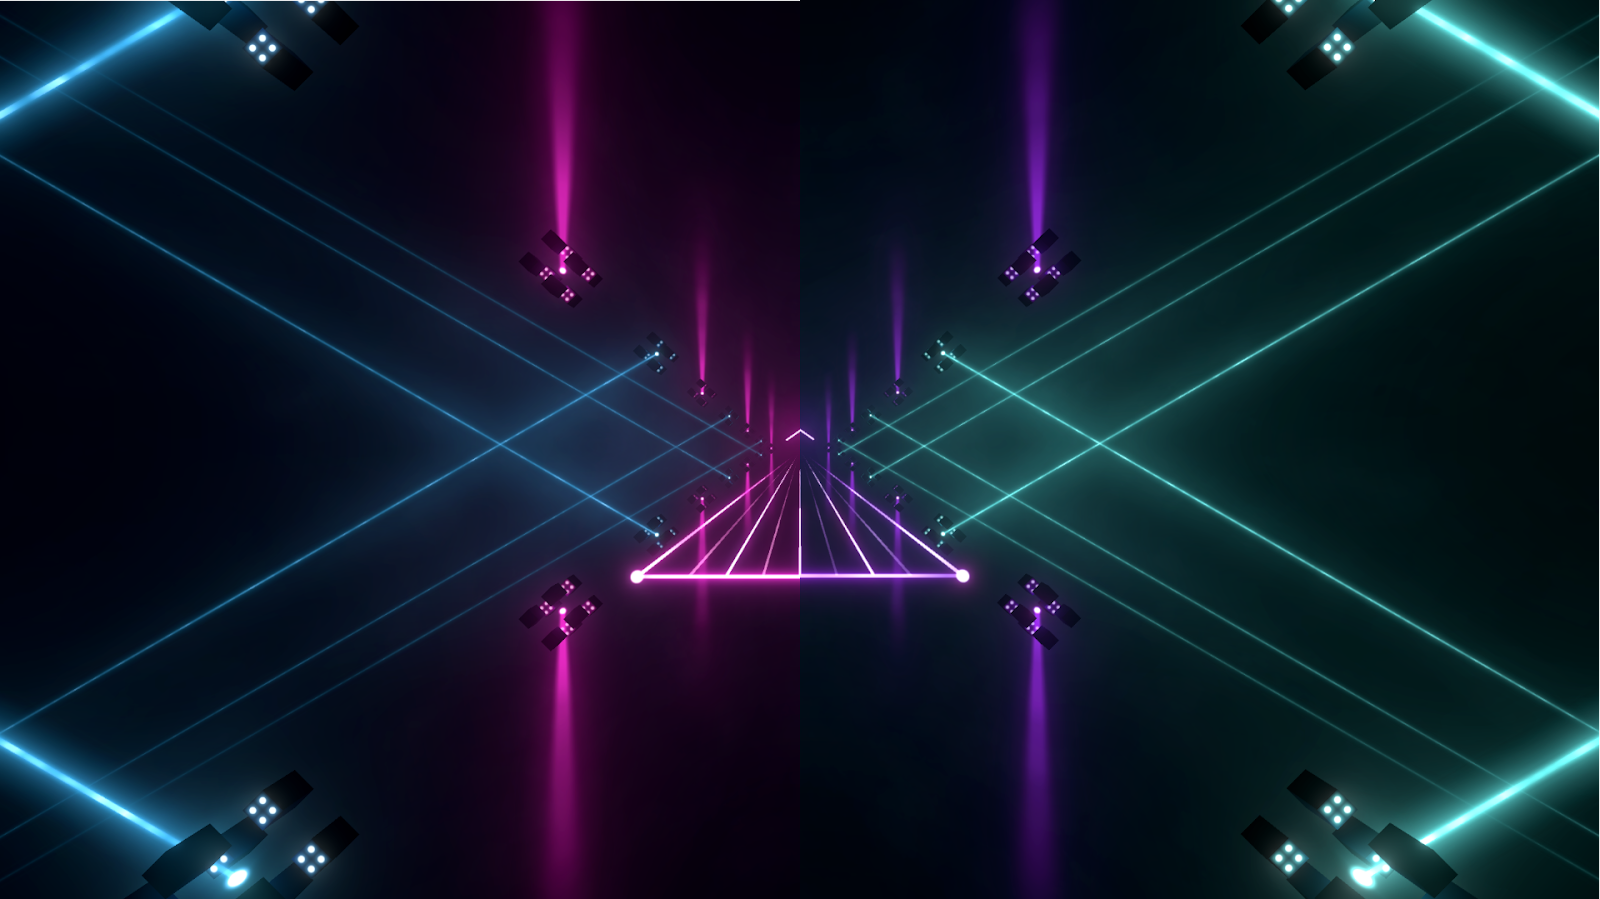
| Timbaland Environment Lights: Side lasers, intra-ring lasers, left & right ring lasers, center lights Video Preview: YouTube |
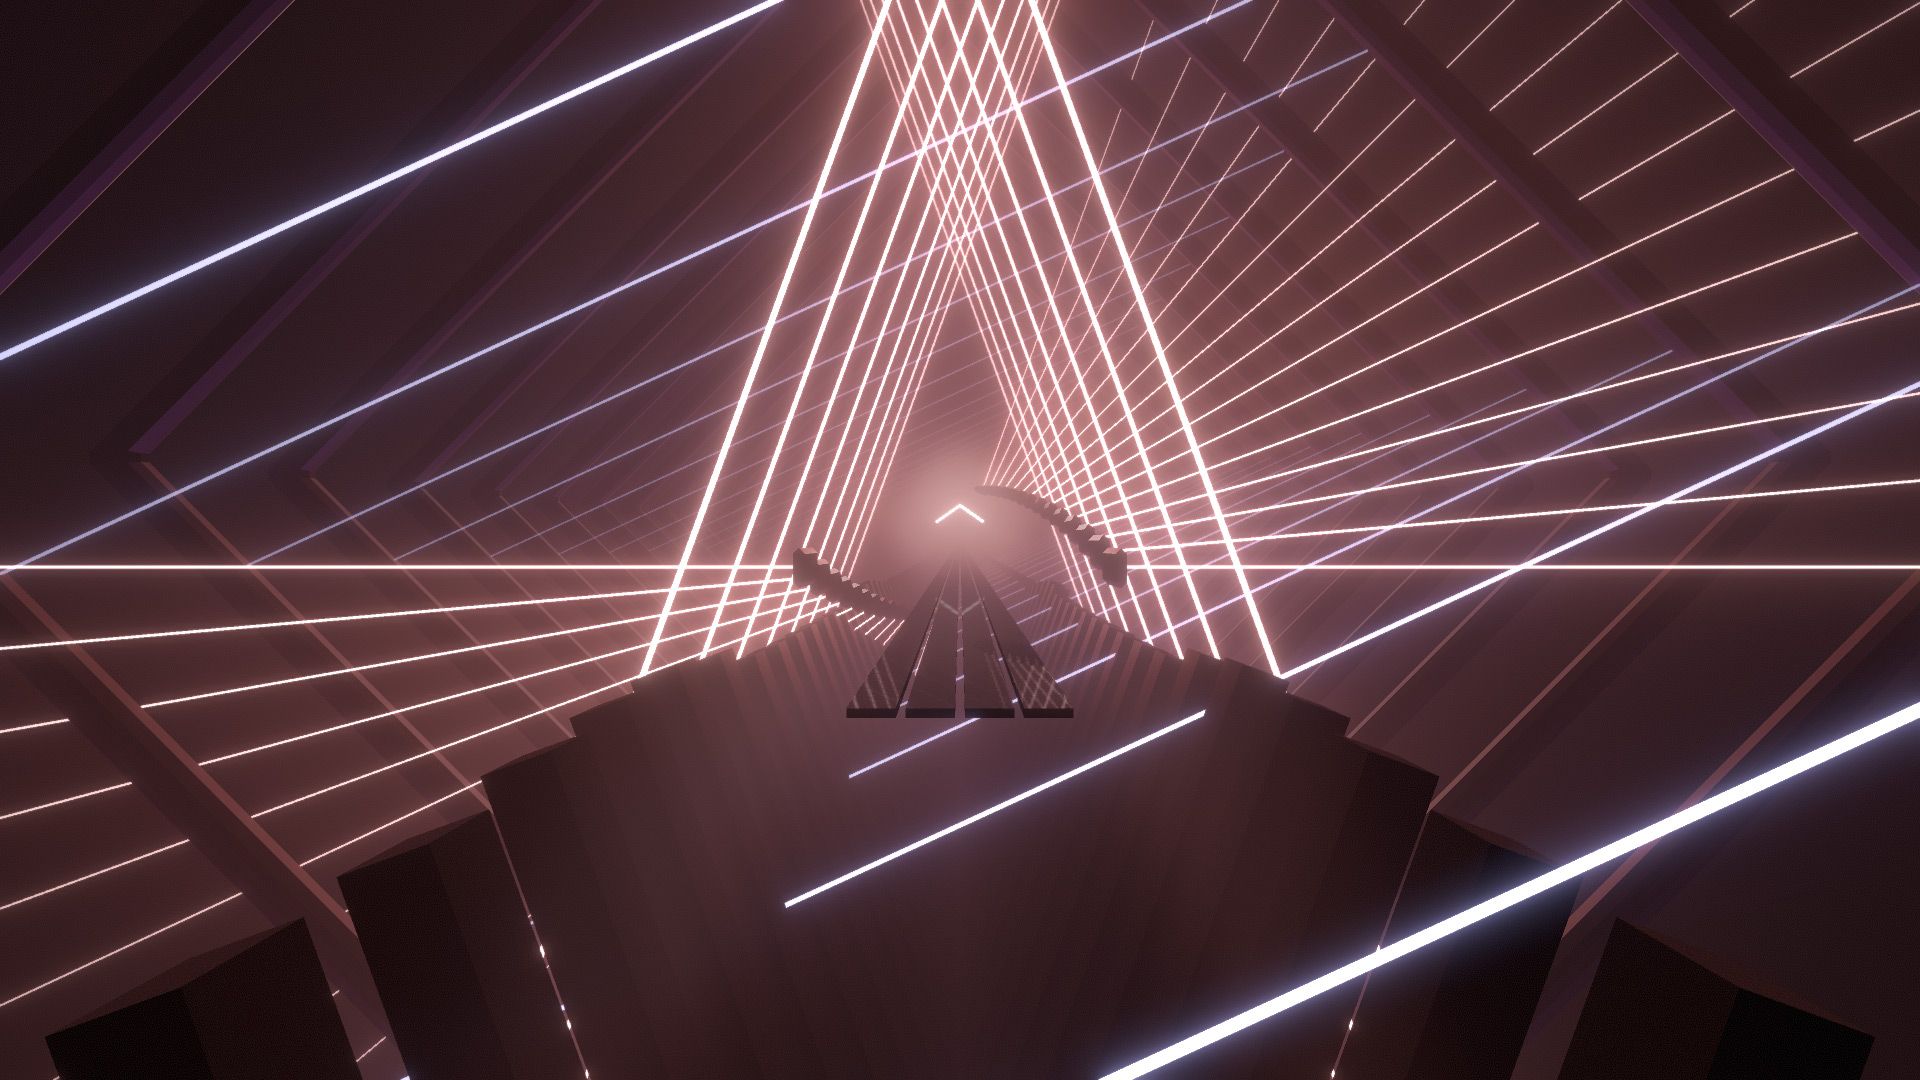
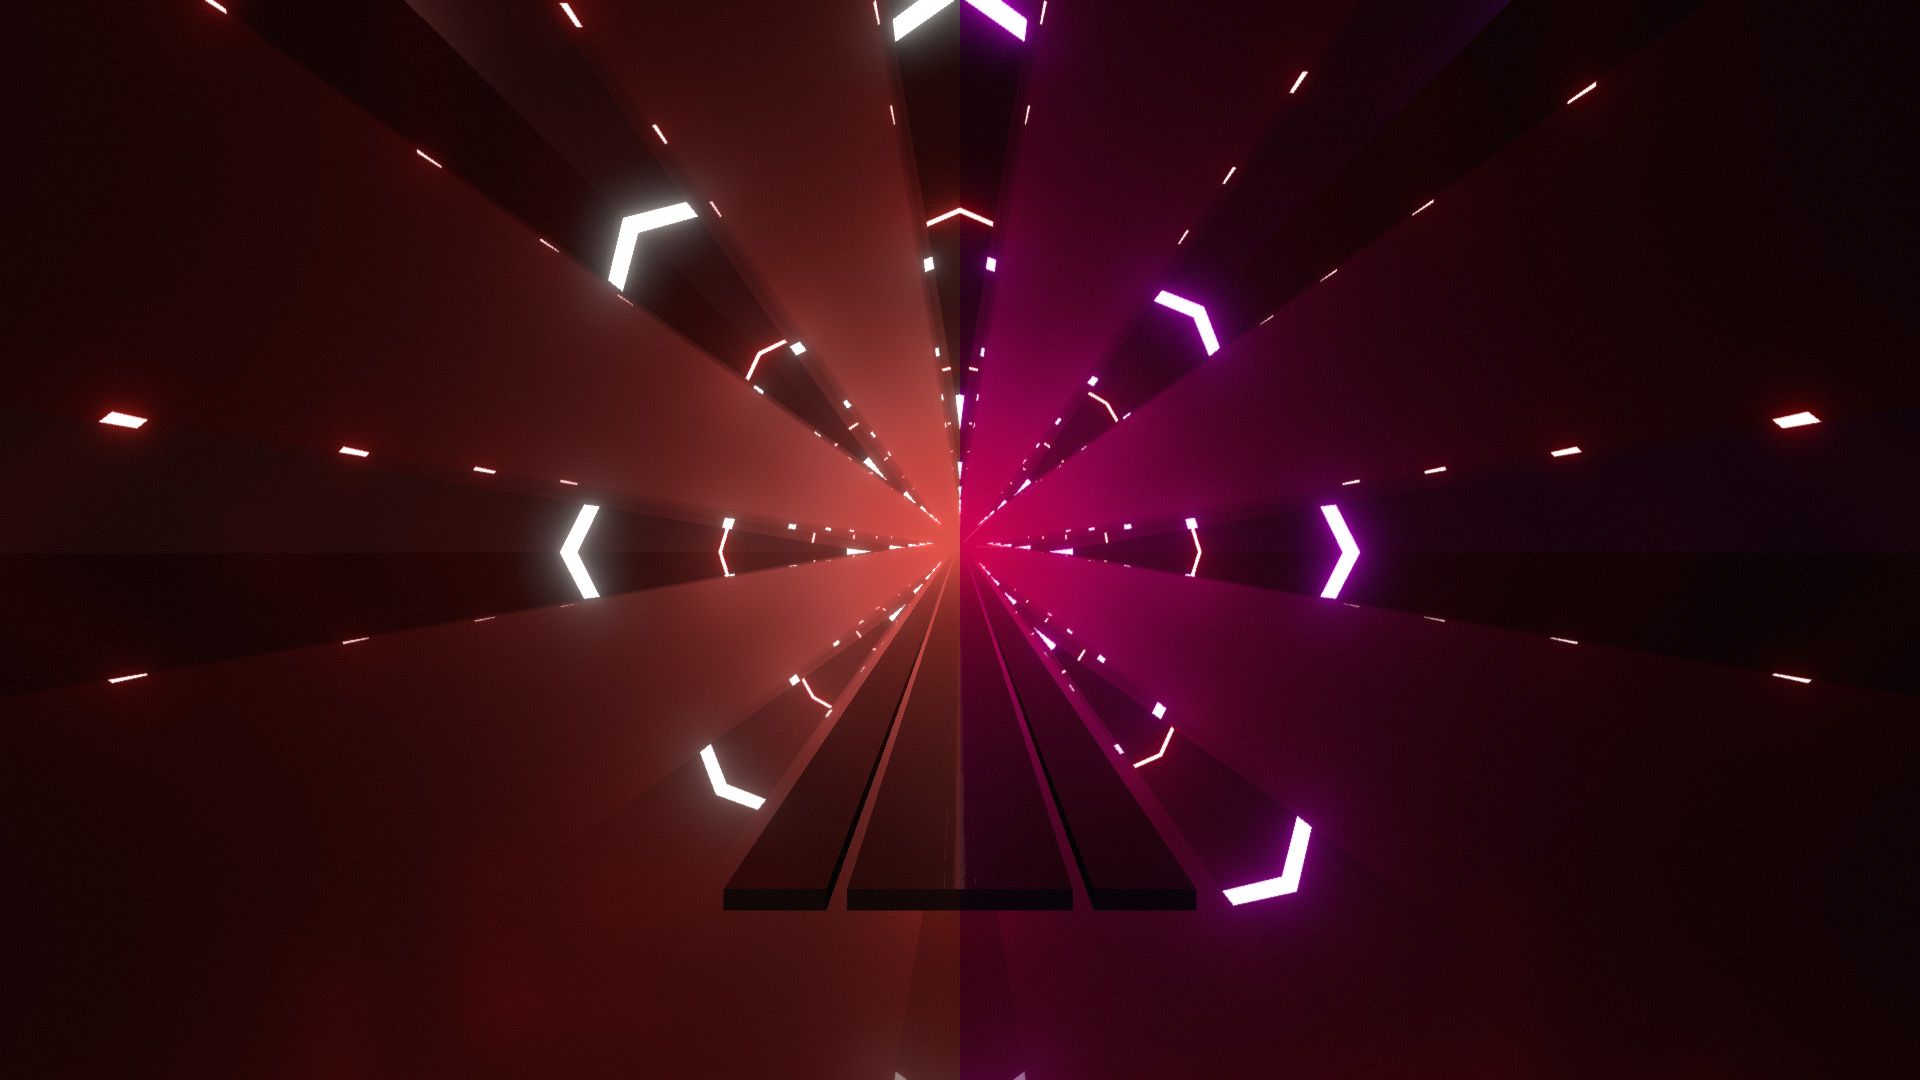
| FitBeat Environment Lights: Ring lasers, outer lasers, left & right lasers, chevron Video Preview: YouTube |
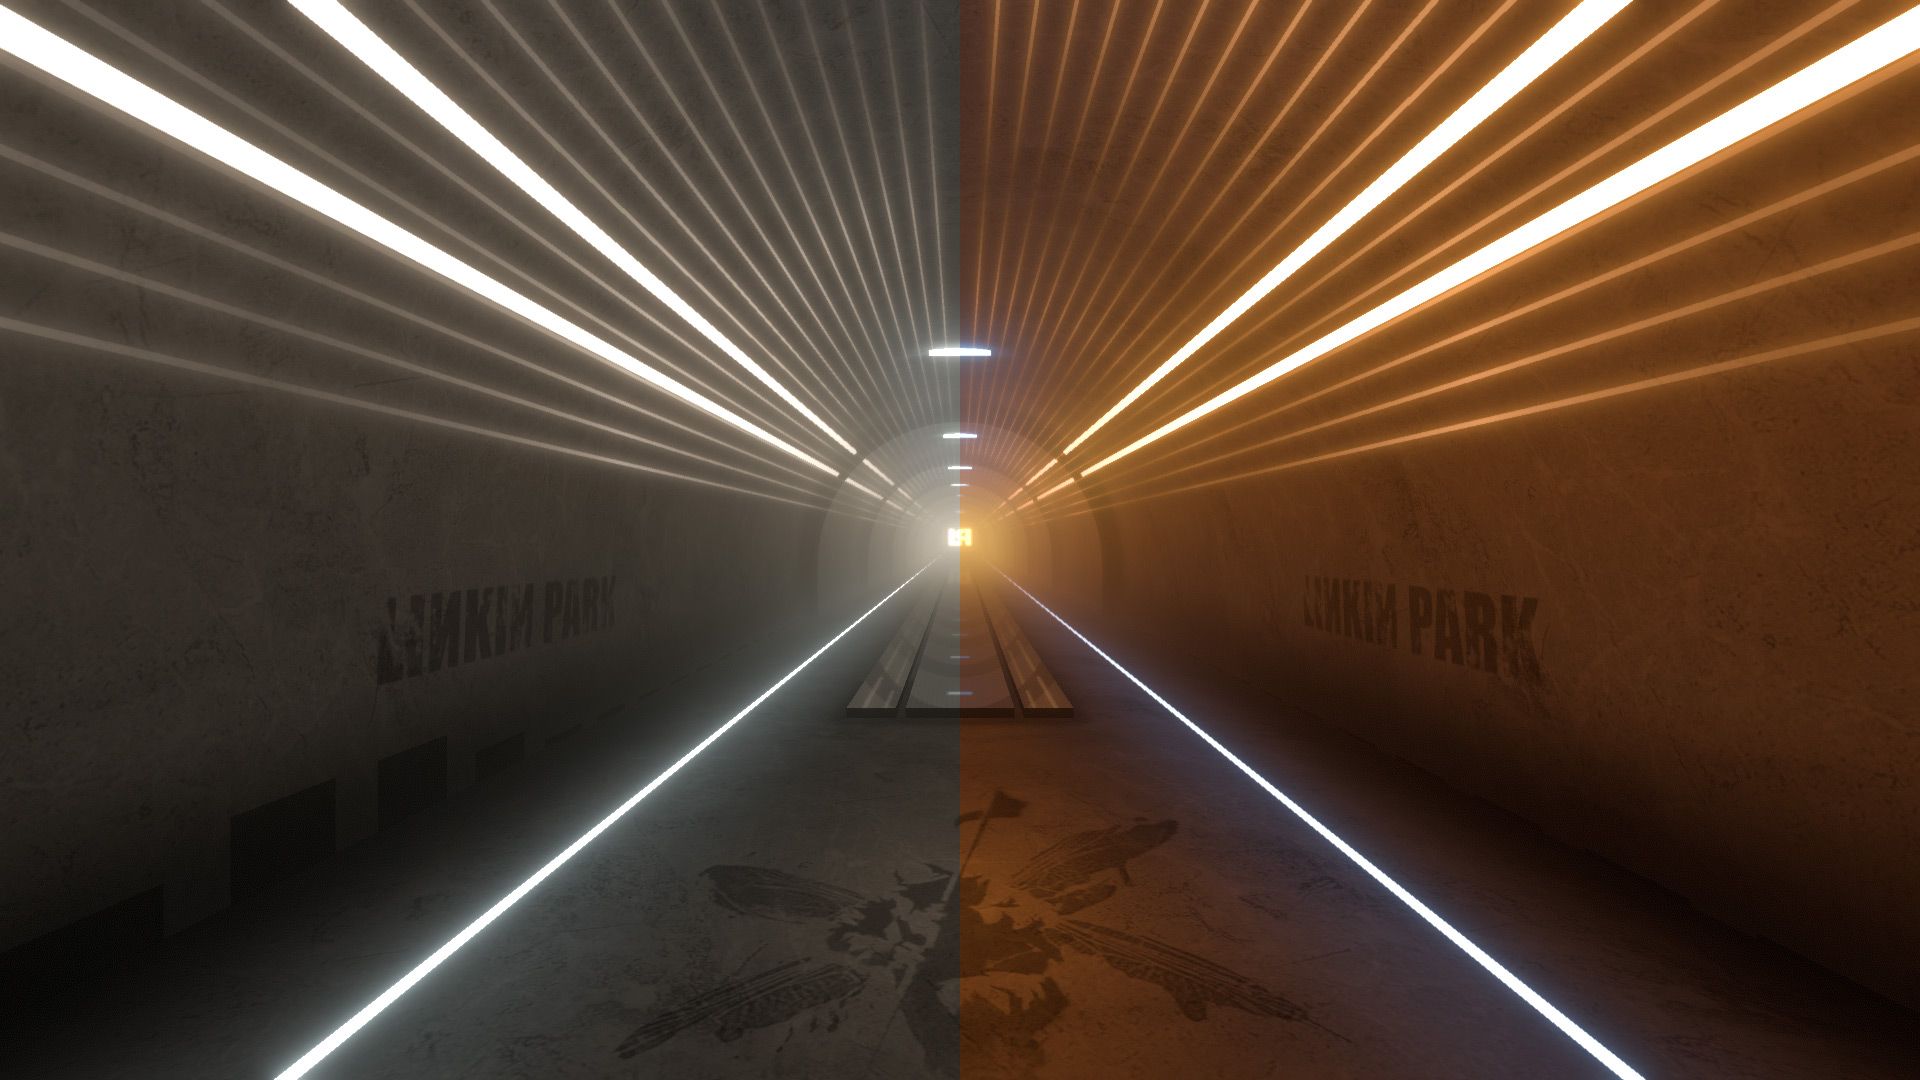
| Linkin Park Environment Lights: Floor lights, ceiling lights, left & right lasers, center lights Video Preview: YouTube |
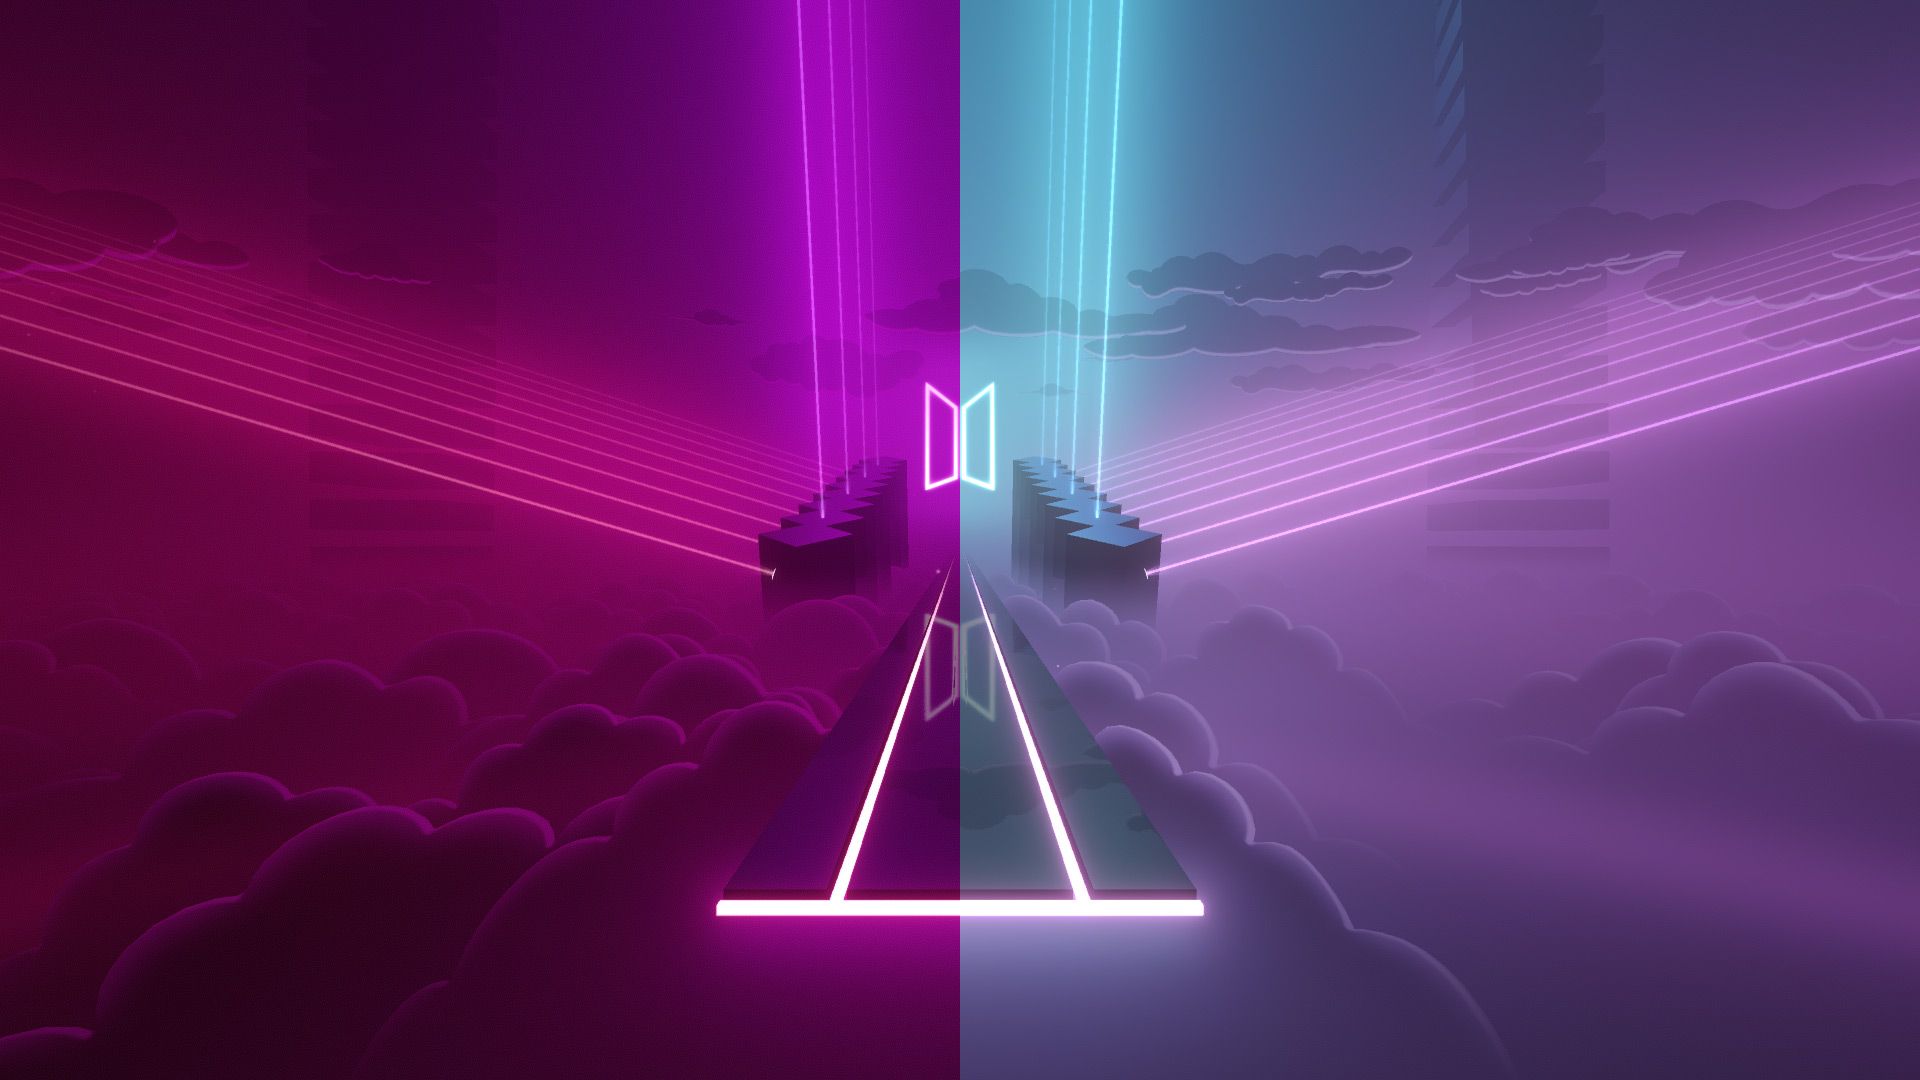
| BTS Environment Lights: Logo, center lasers, left and right lasers, runway Video Preview: YouTube |
| Kaleidoscope Environment Lights: Back lights, center lights, left & right lights, front lights Video Preview: YouTube |
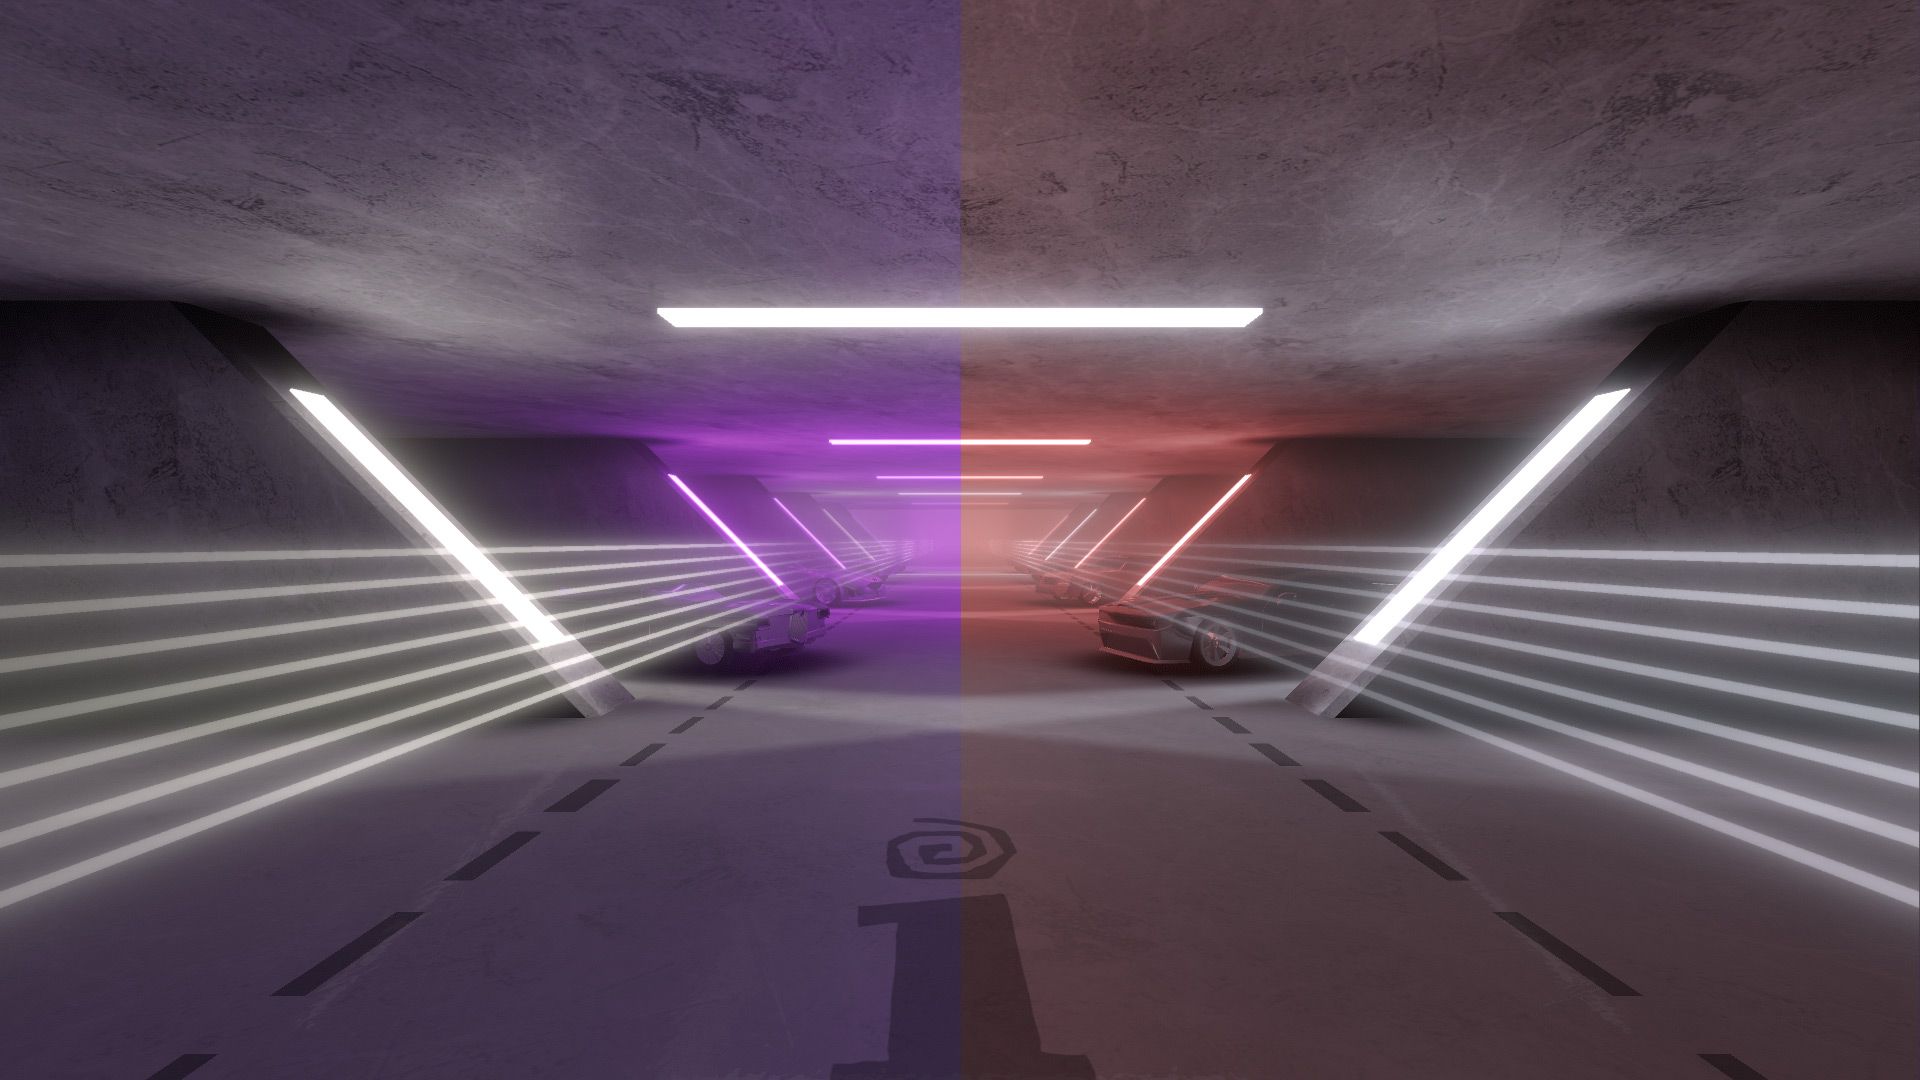
| Interscope Environment Lights: Gates, left & right lasers |
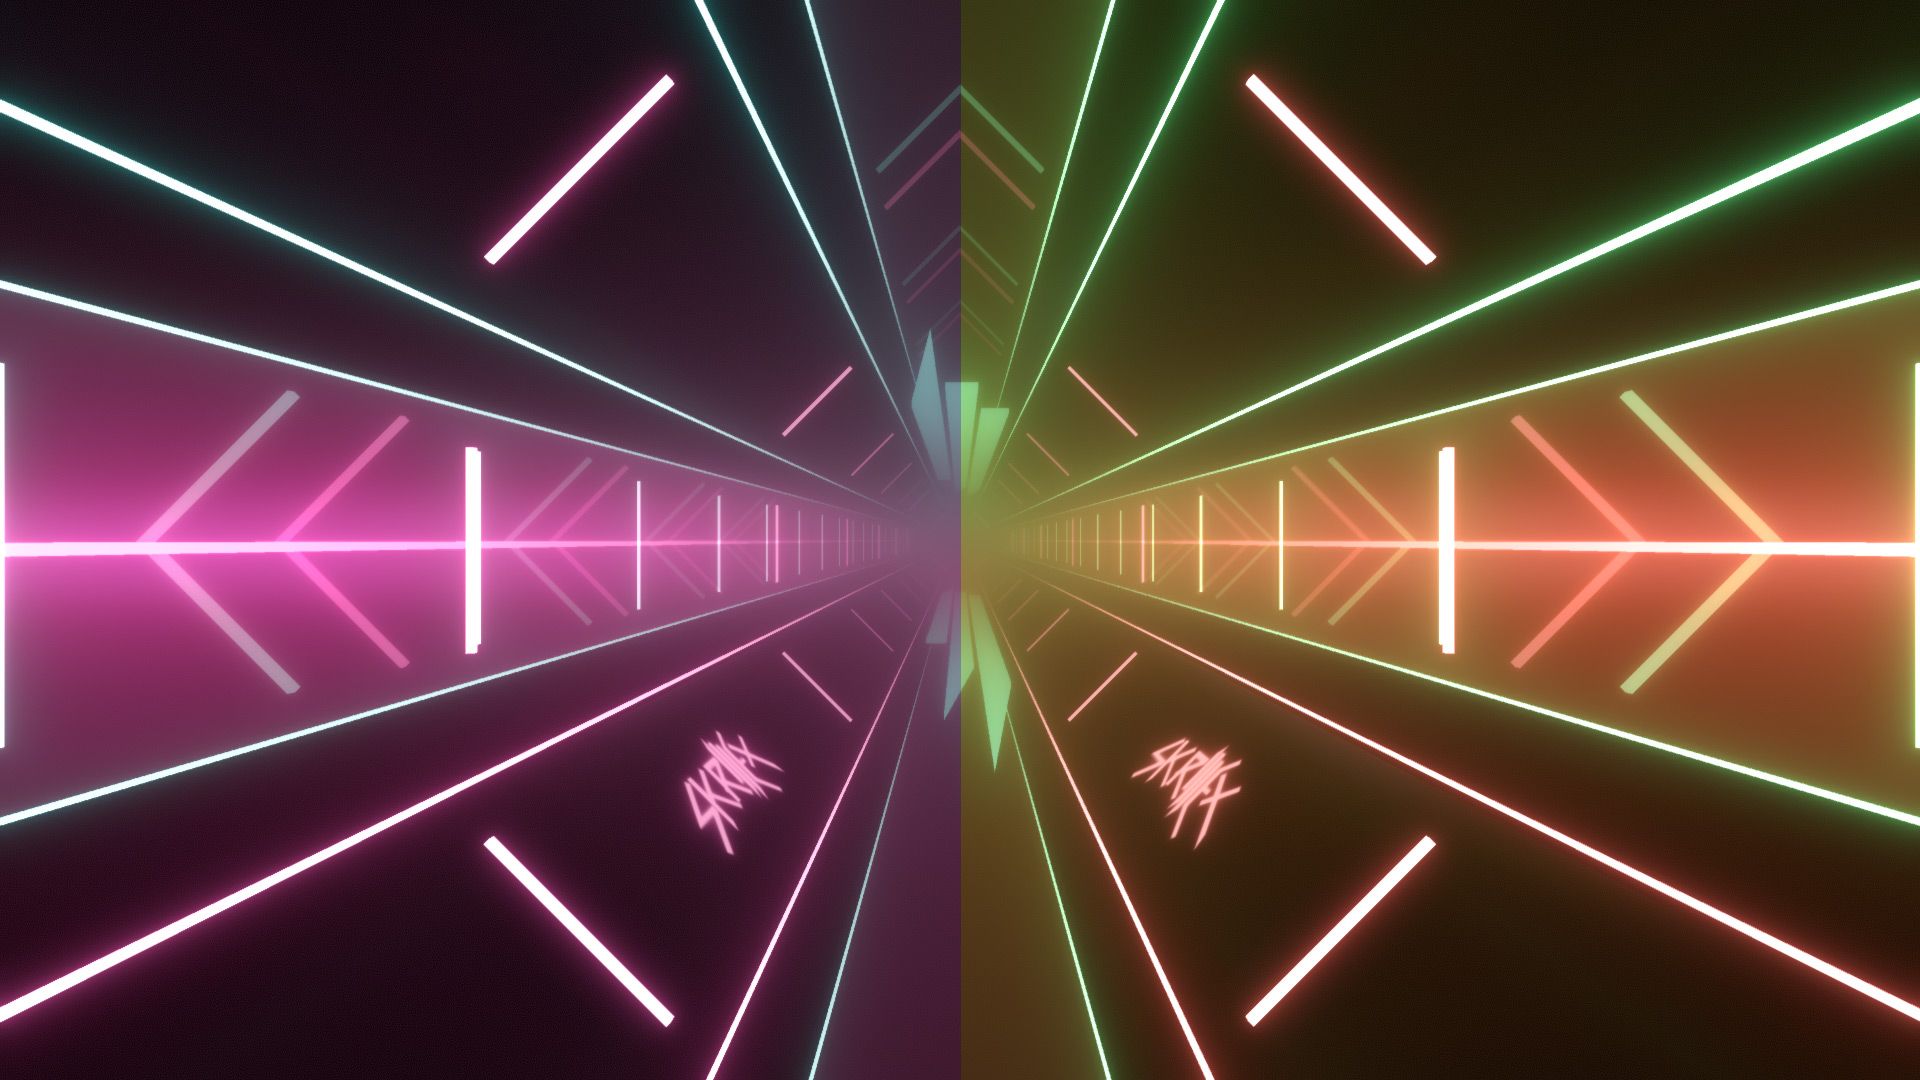
| Skrillex Environment Lights: Back lights, ceiling + primary ring lights, left & right lights, floor + secondary ring lights, left & right lasers |
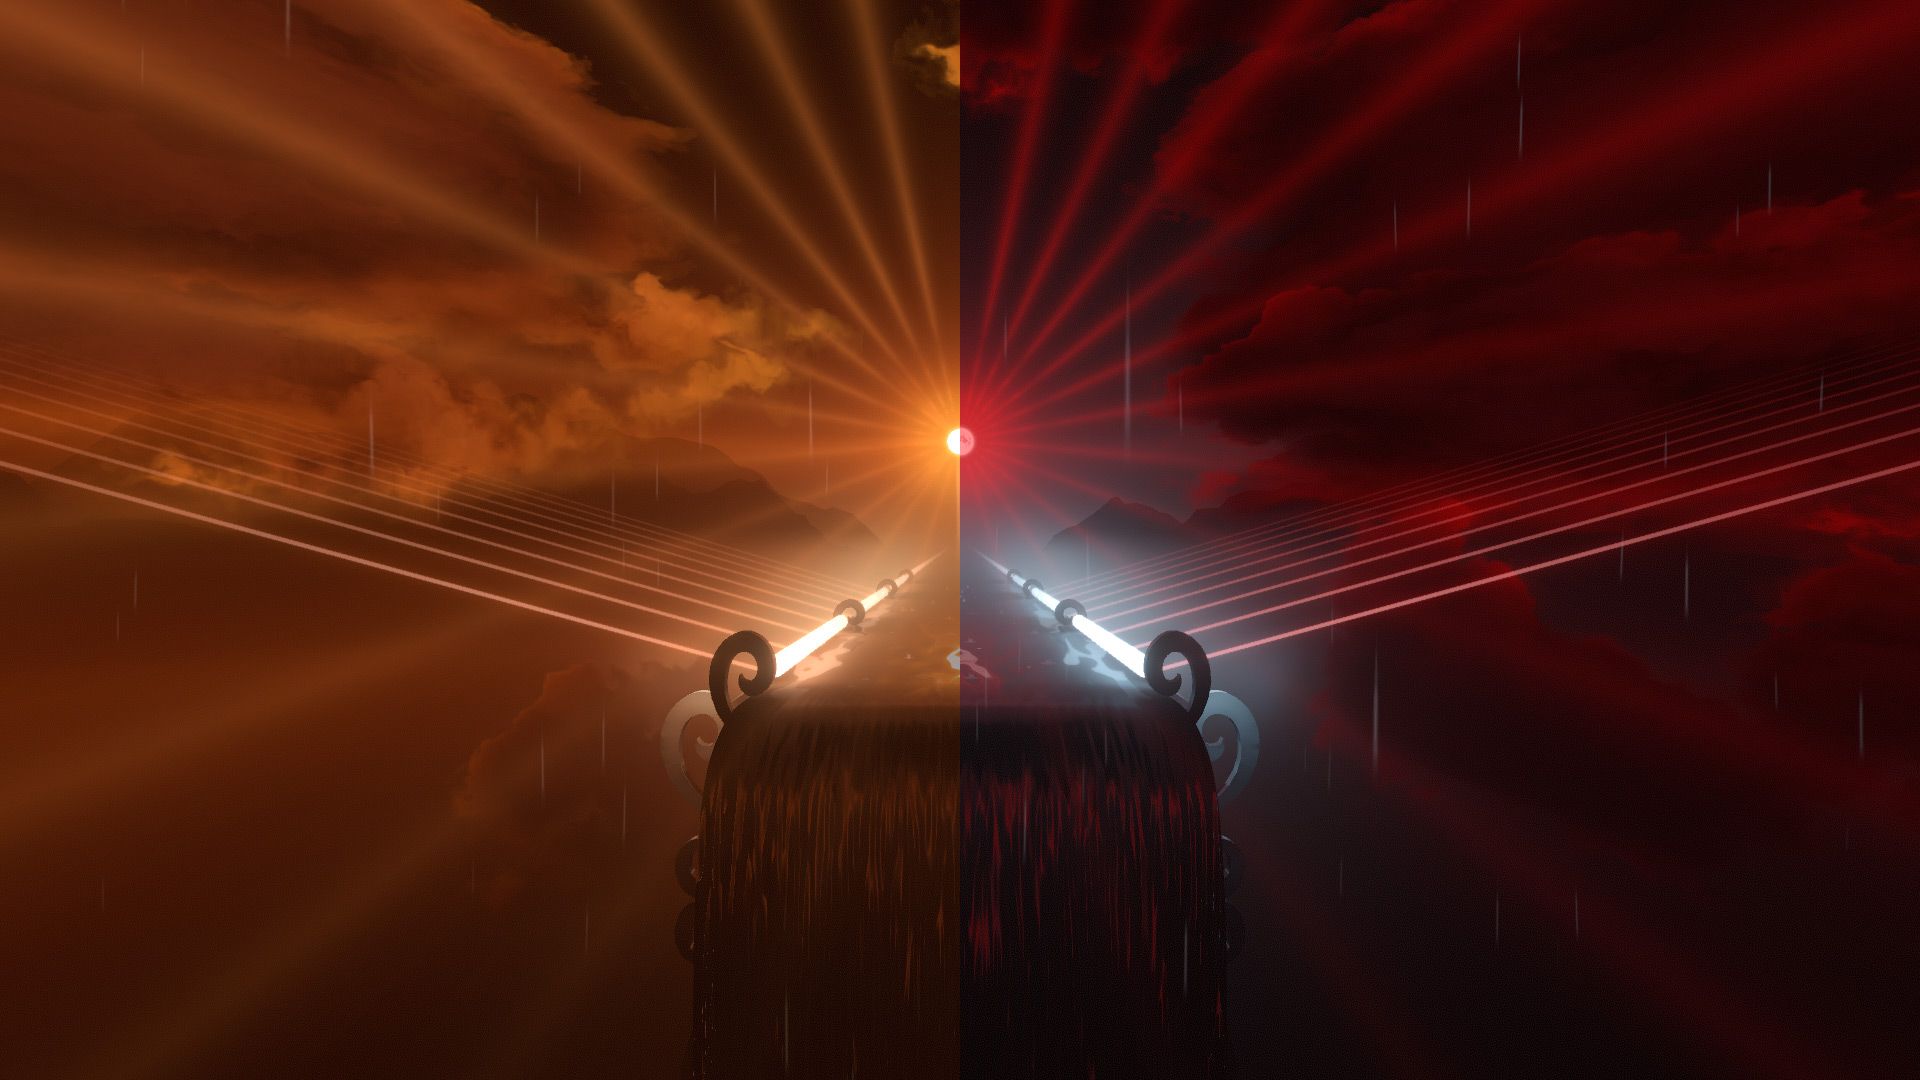
| Billie Eilish Environment Lights: Water channel lights, left & right rays, sun/moon, left & right lasers |
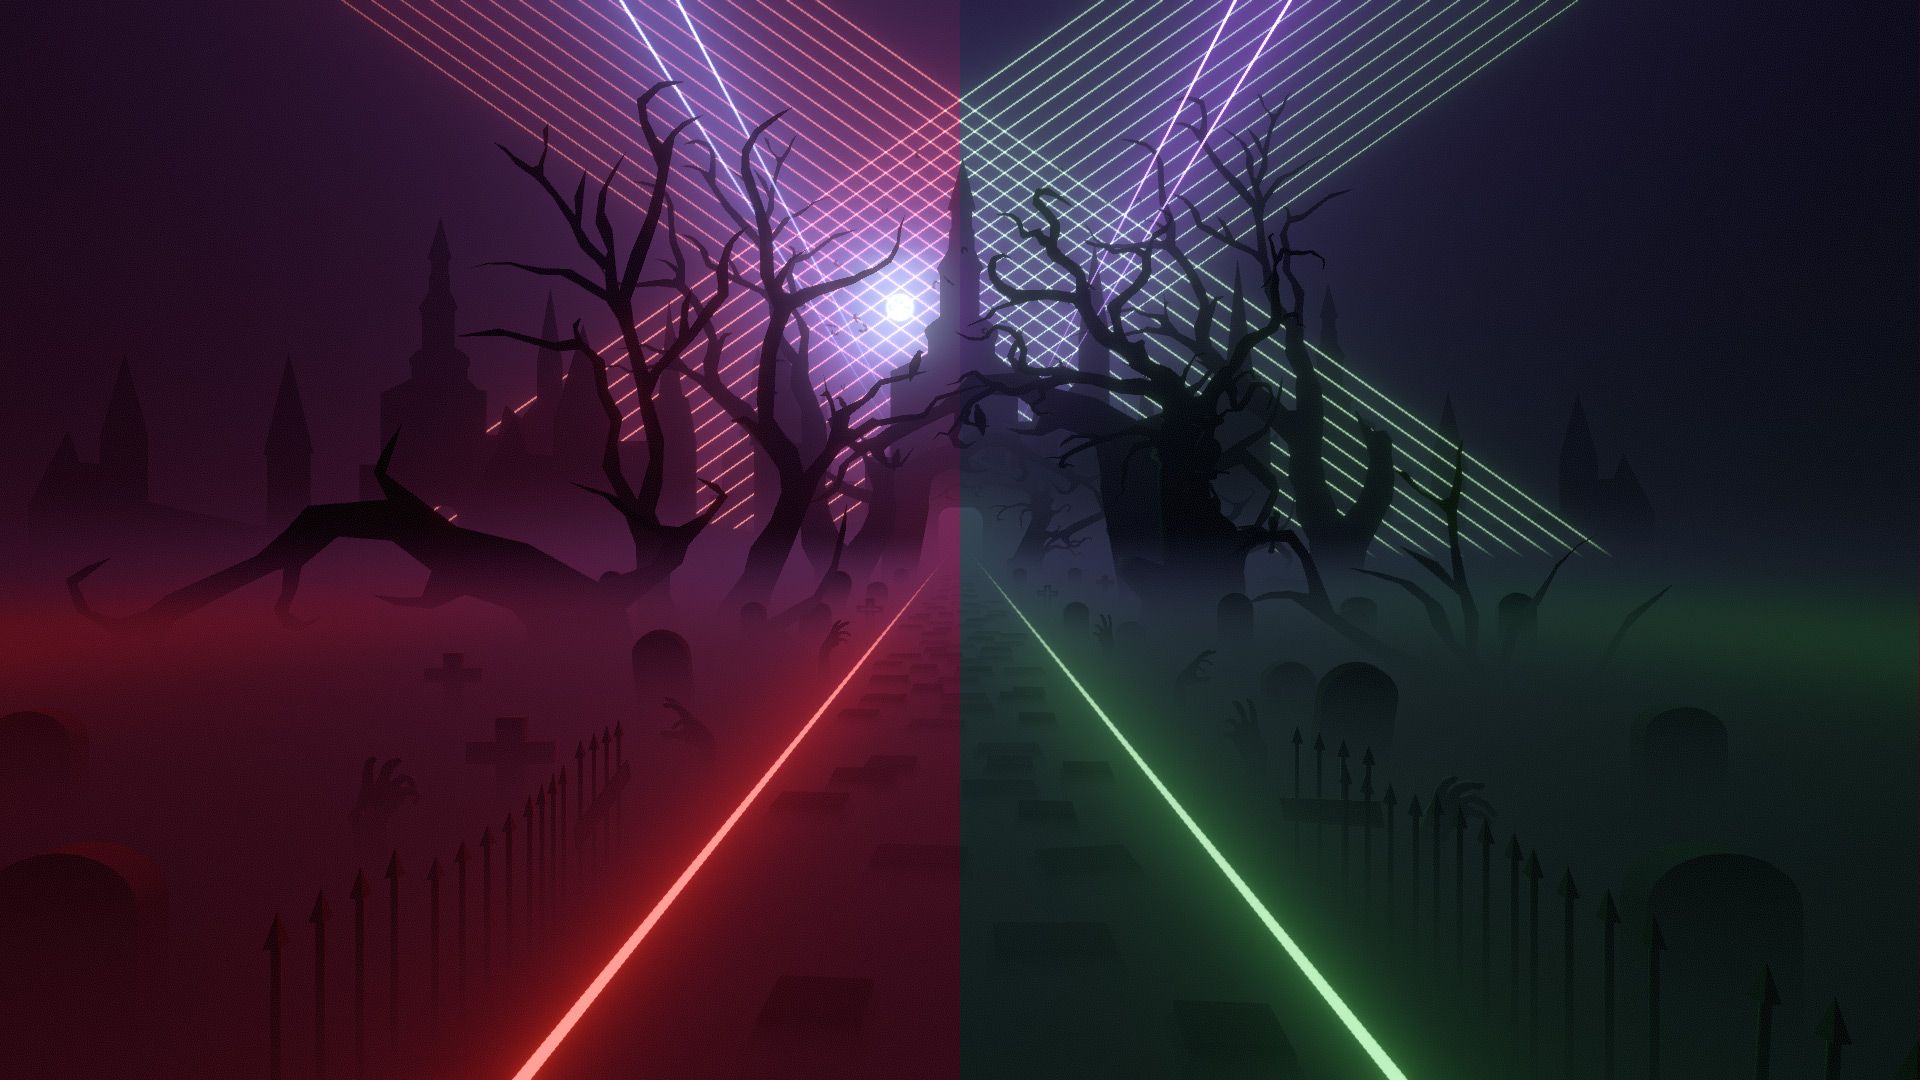
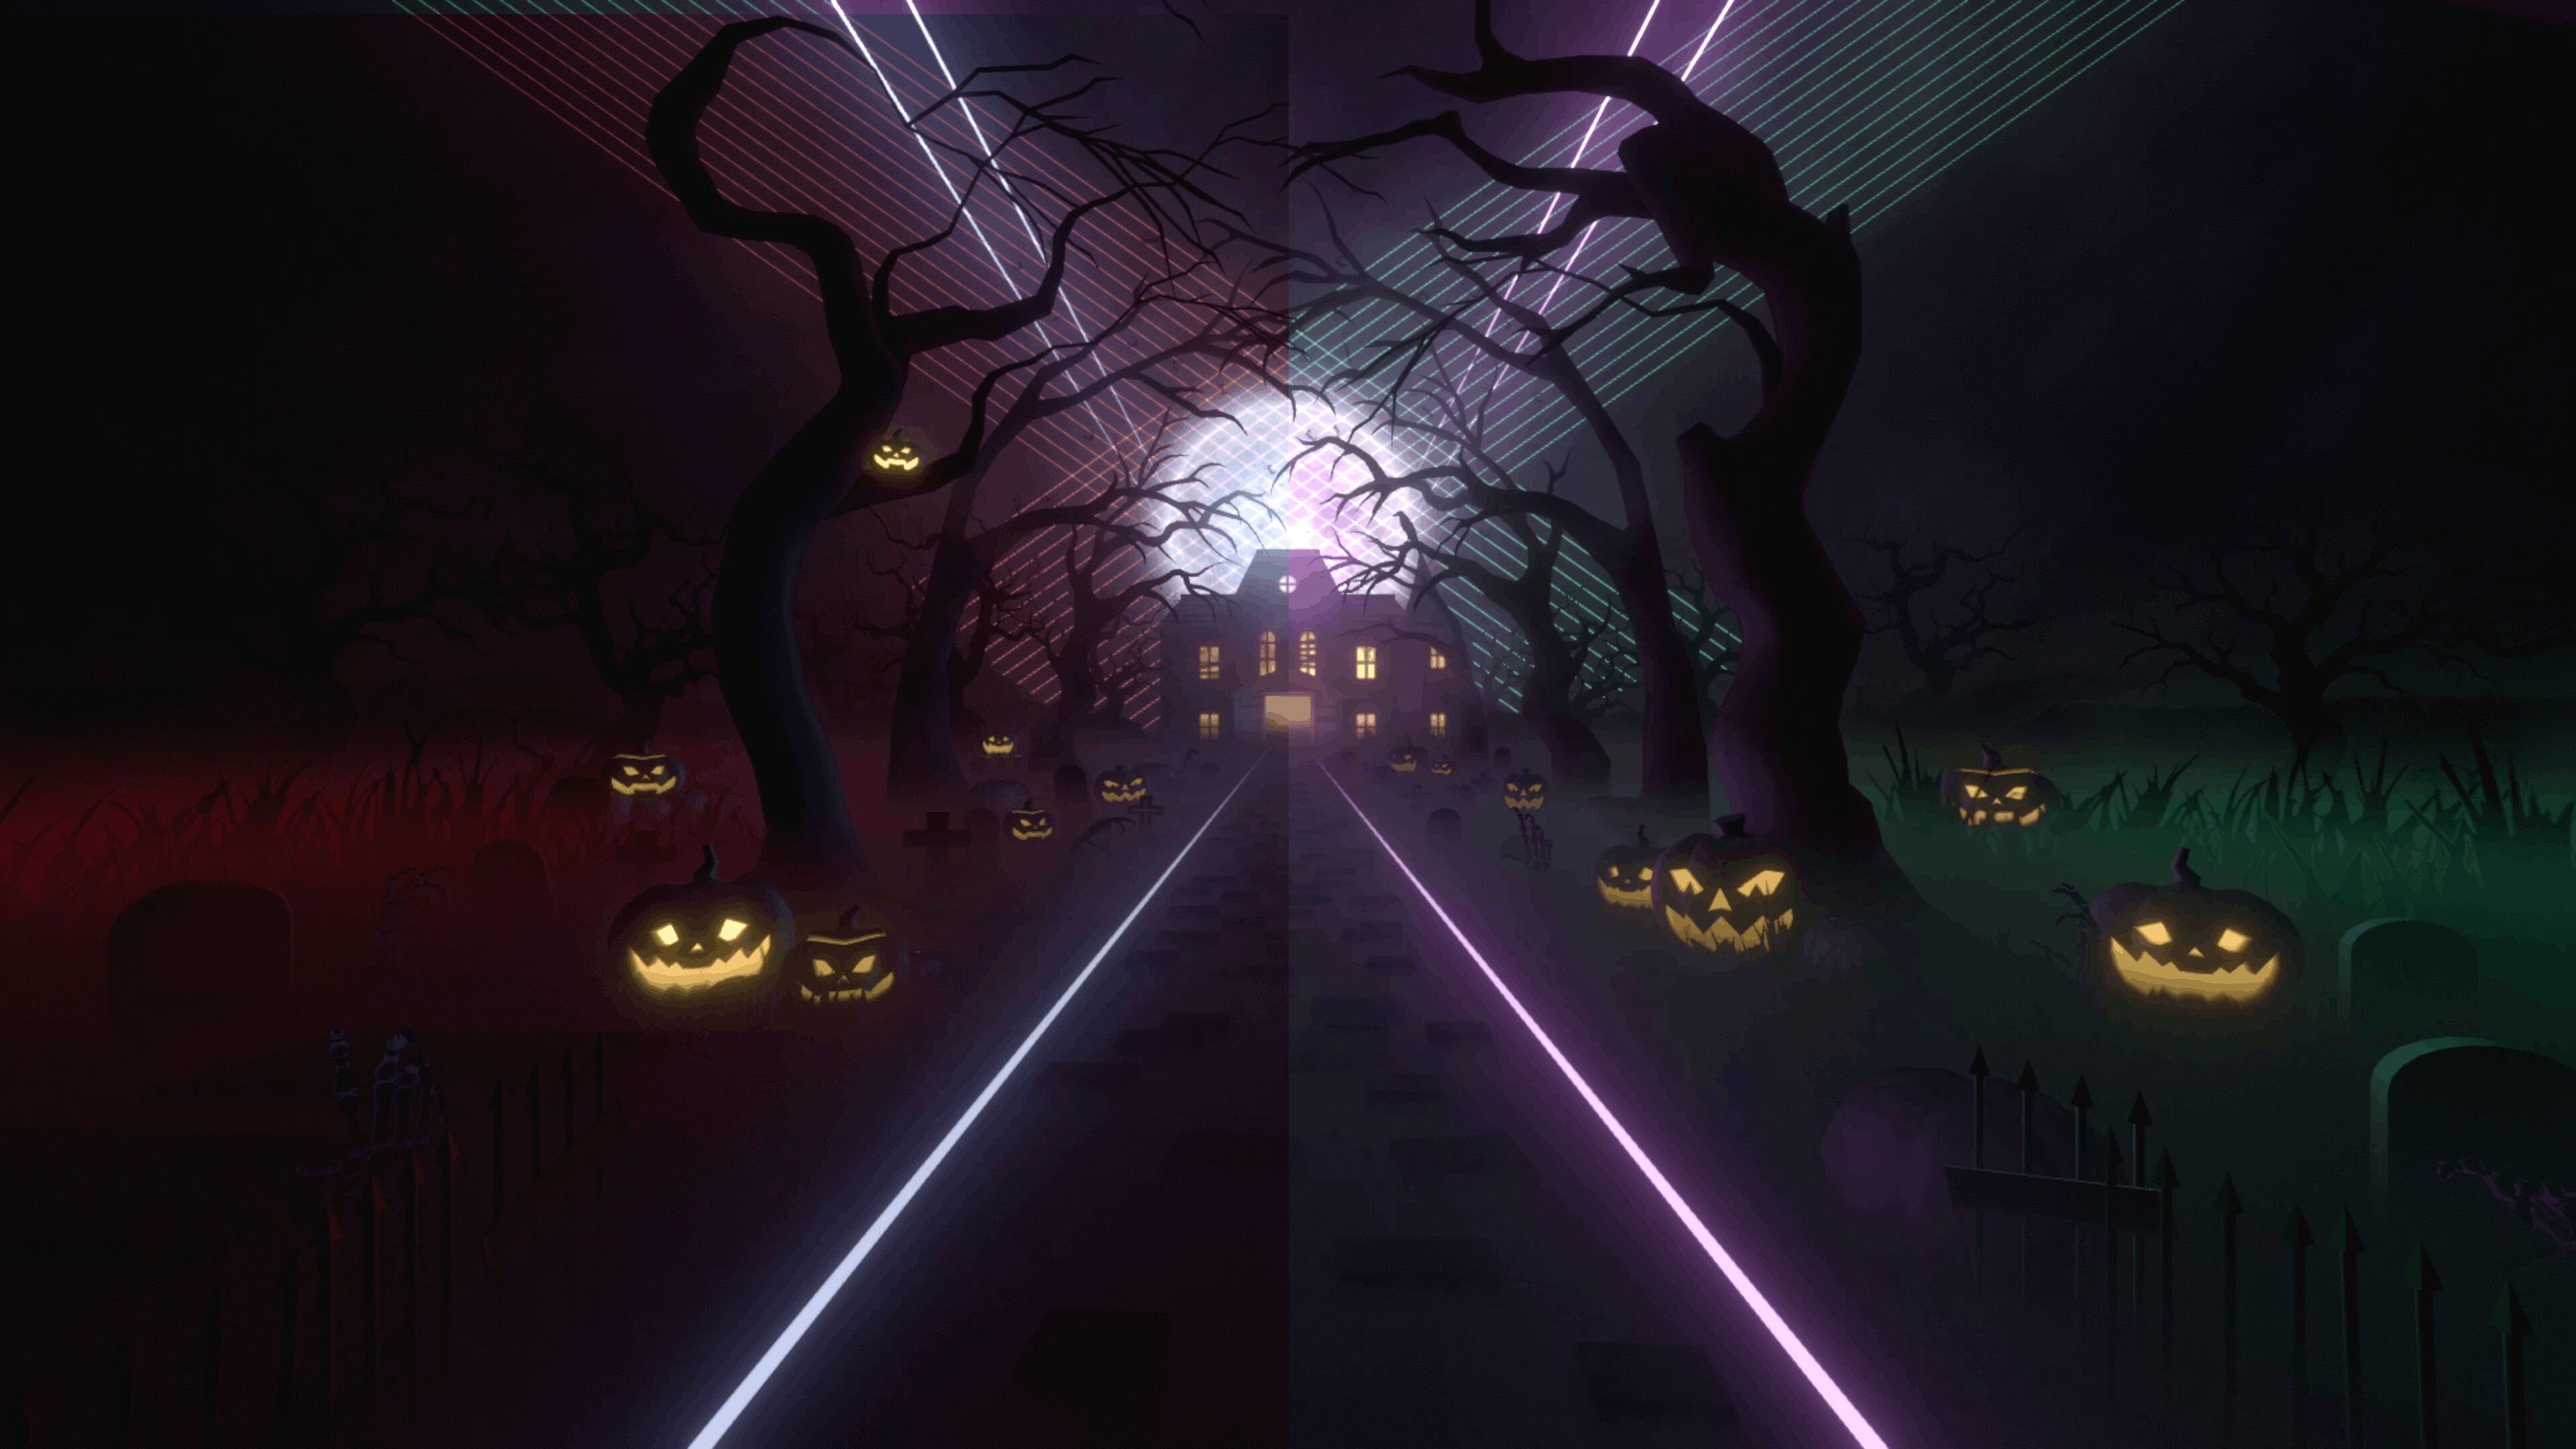
| Spooky Environment Lights: Back lasers, moon, left & right lasers, walkway lights Video Preview: YouTube |
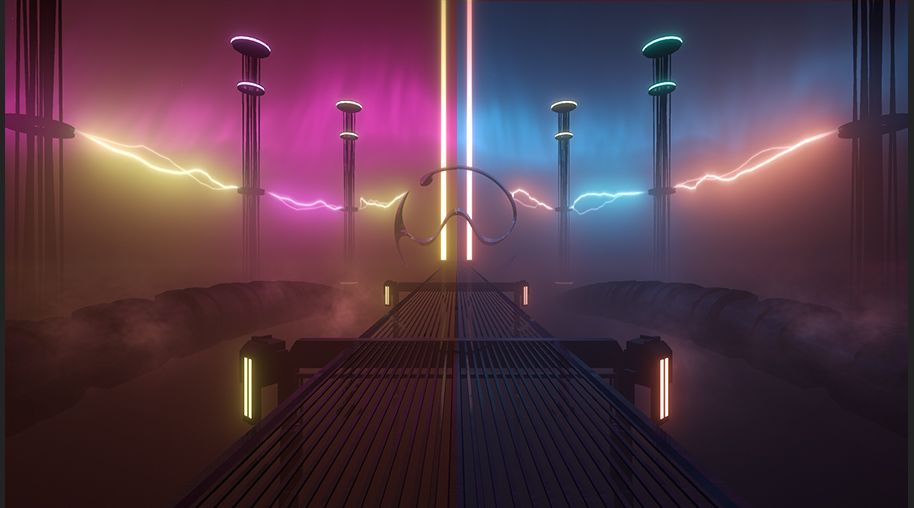
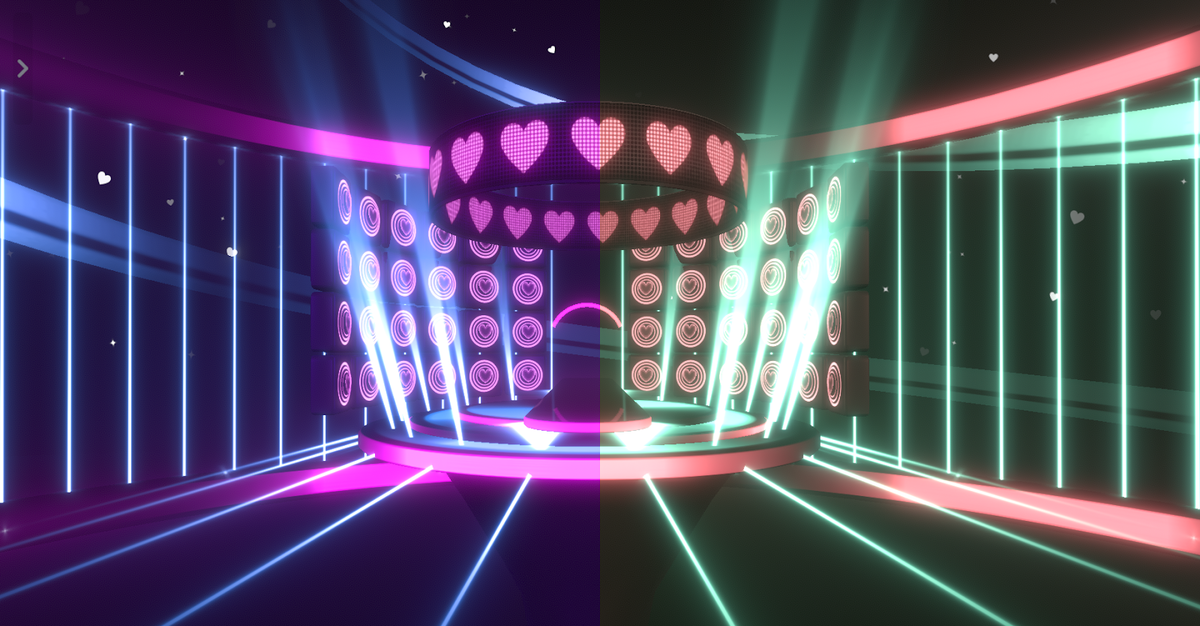
| Lady Gaga Environment Lights: Upper & lower auroras, tower lights, center lights |
| Spoooky Environment Lights: Back lasers, moon, left & right lasers, walkway lights Video Preview: YouTube |
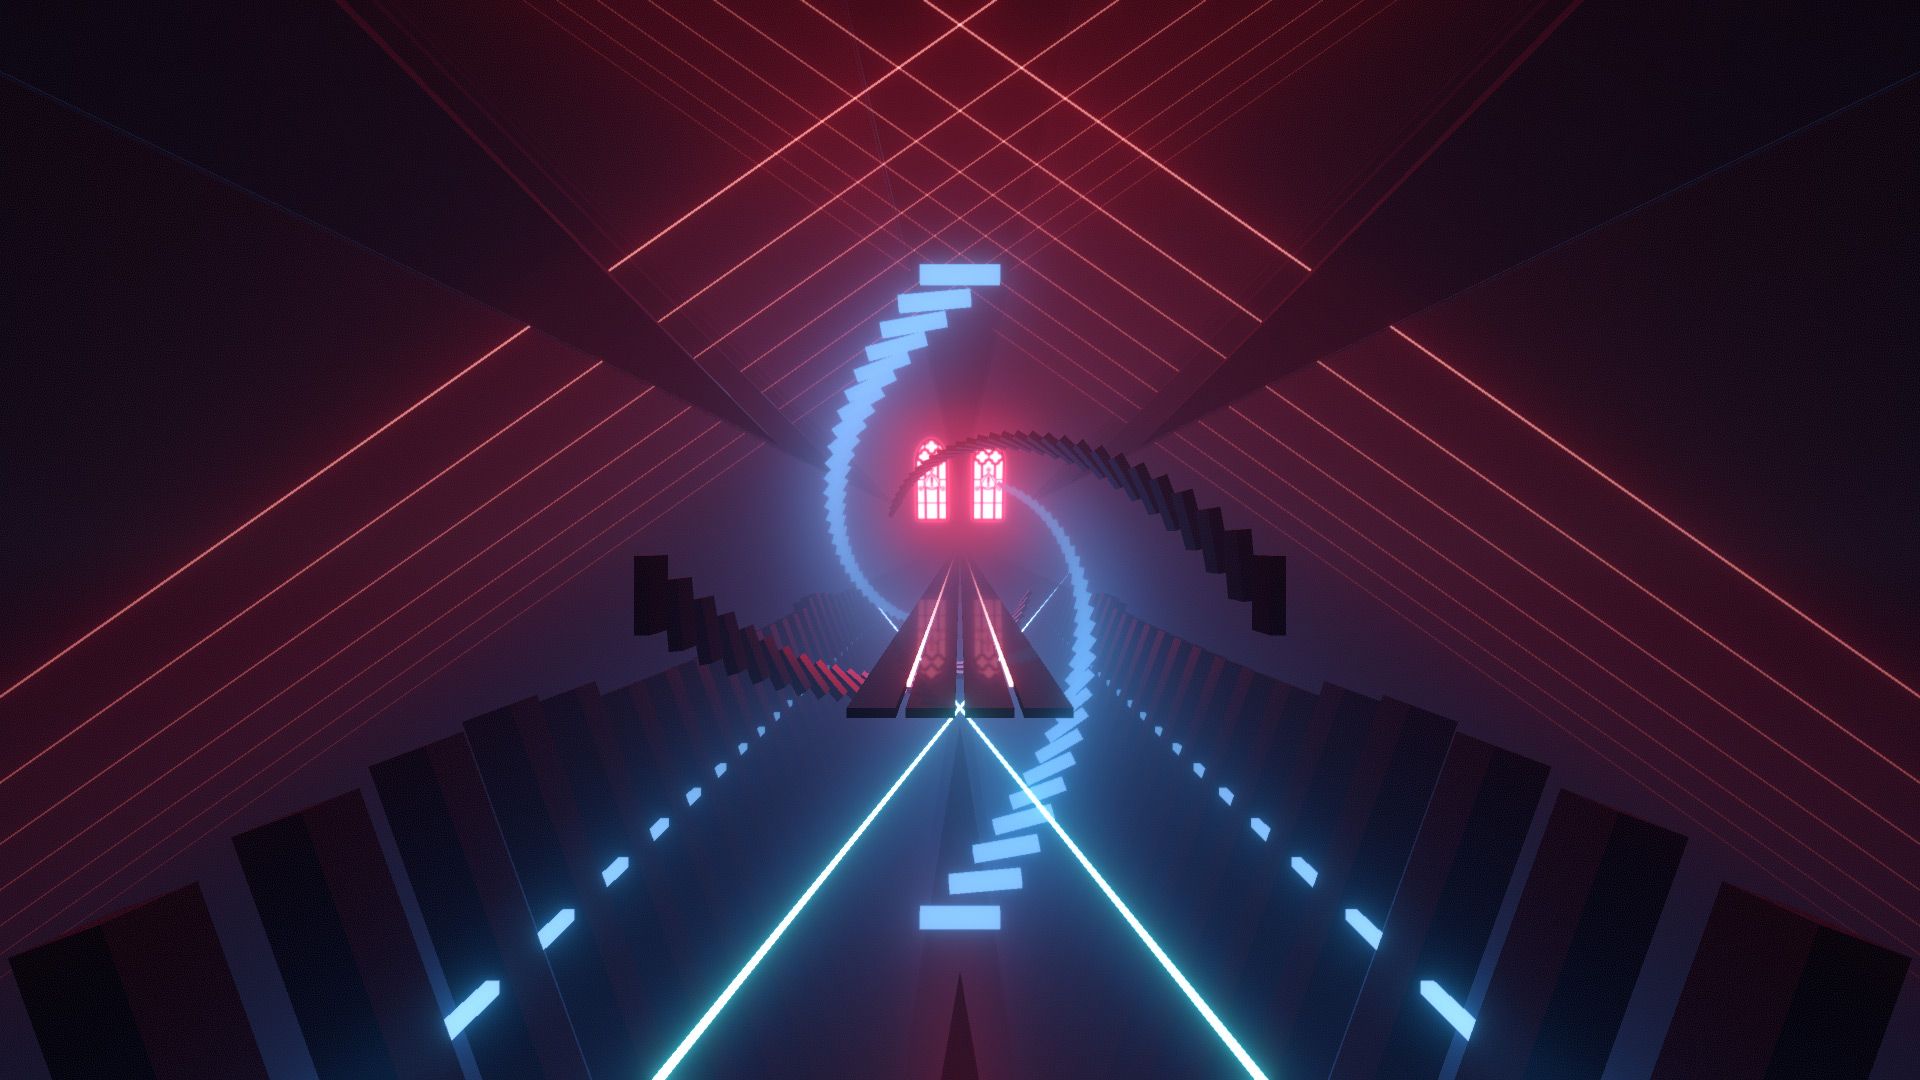
| Glass Desert Environment Lights: Ceiling lights, back lasers, left & right lasers, chevron Video Preview: YouTube |
Group Lighting System
| Video and Screenshot (click to open full size) | Environment |
|---|---|
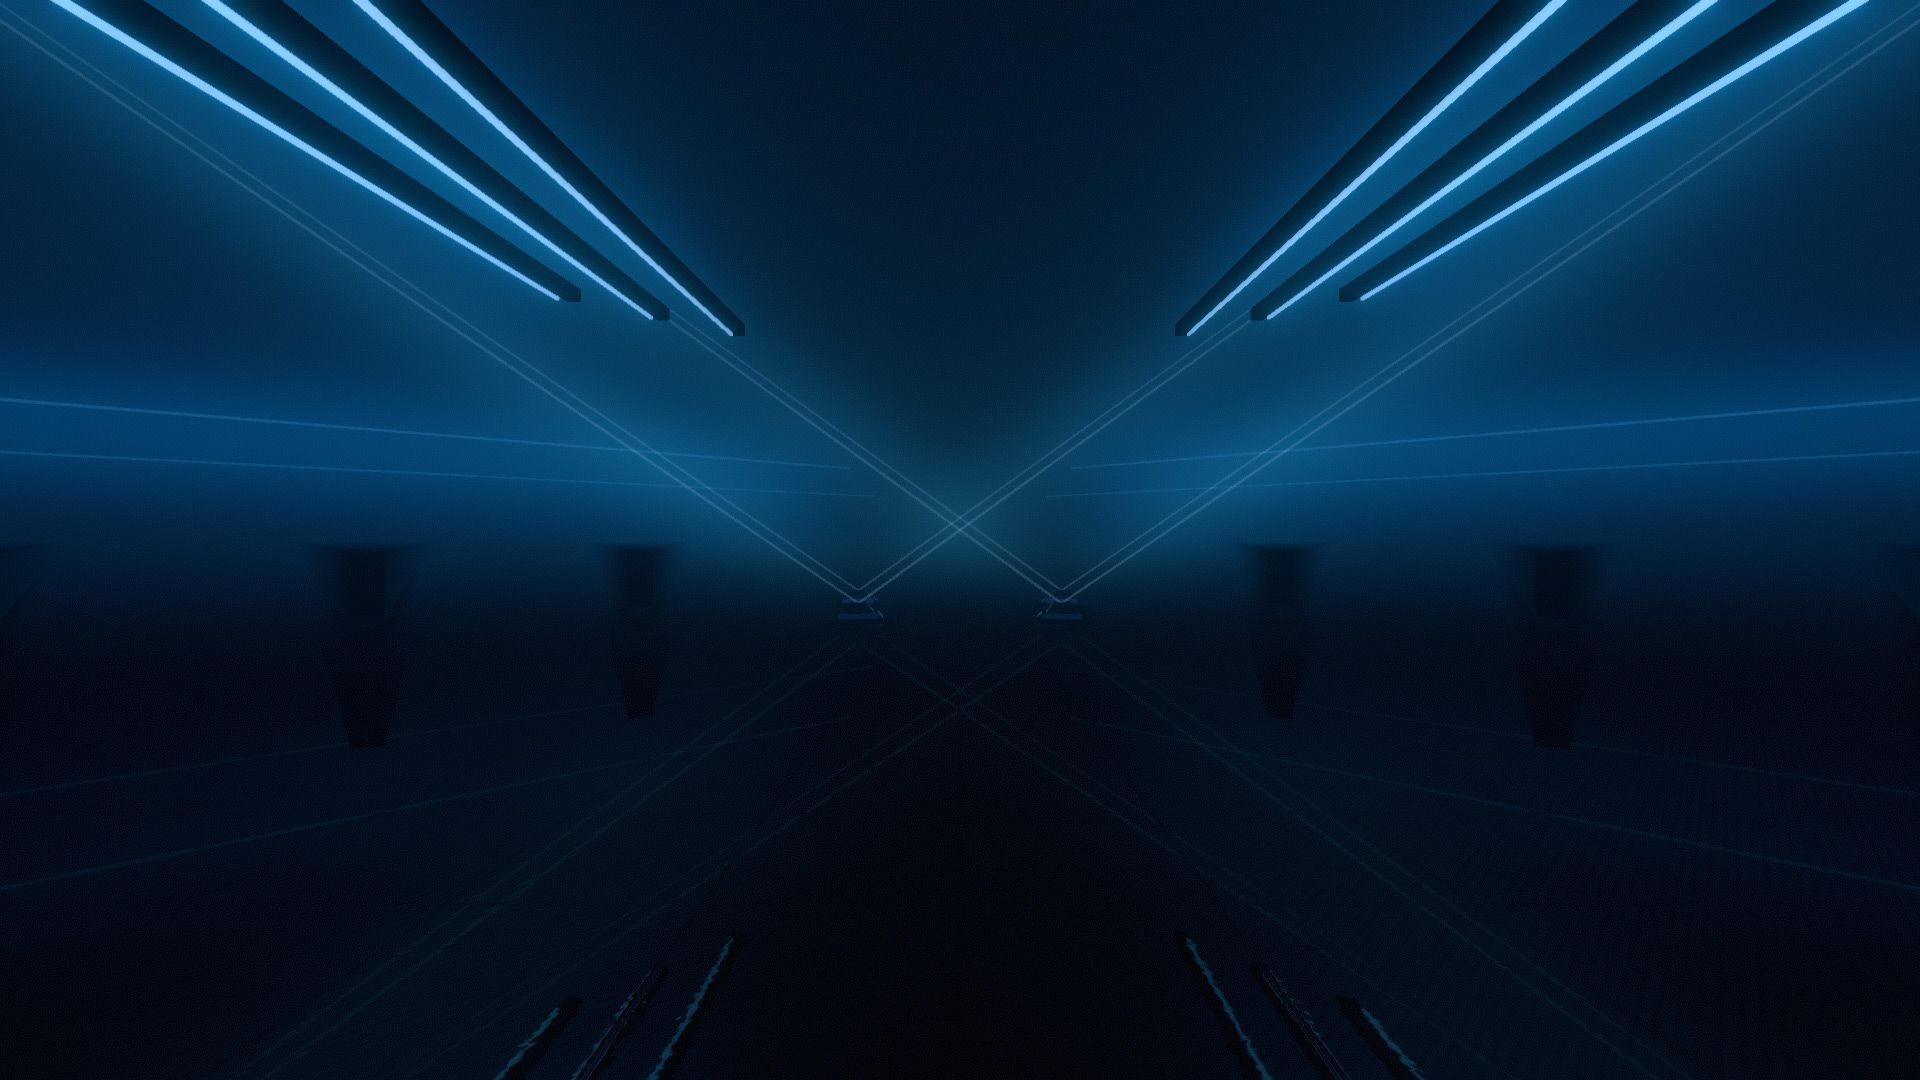
| Weave Environment Lights: Platform lights |
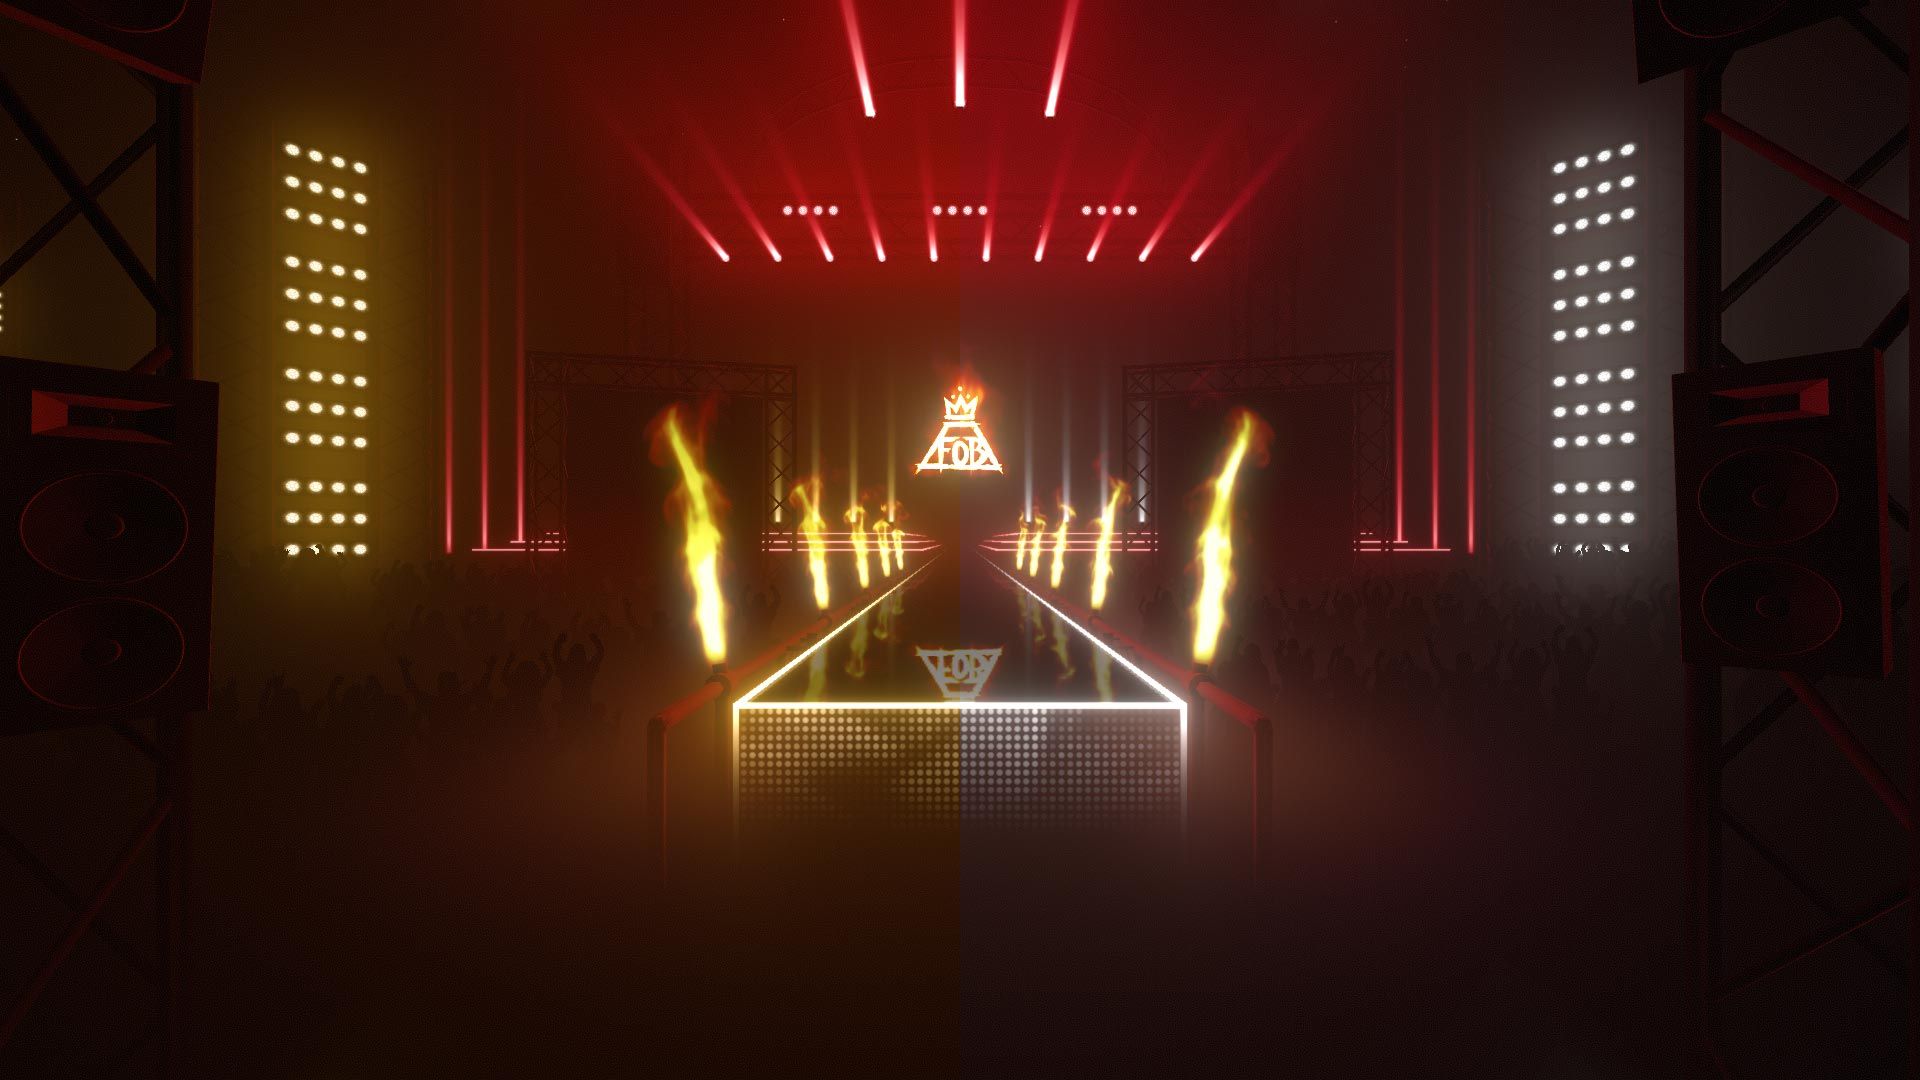
| Fall Out Boy Environment Lights: Video, logo, left & right projector, runway lights, ambient lights Note: Fire is always colored orange. Even-numbered segments fire burst flames (when the first segment is numbered 1), while odd-numbered segments fires continuously burning flames. Off events turn the flames off, while on events of any value turn flames on and fire burst flames; the color and type (static or fade) is ignored. Rotation can be applied to the stage, the truss lights, the side panels and the fire in the official editor, but does not work. |
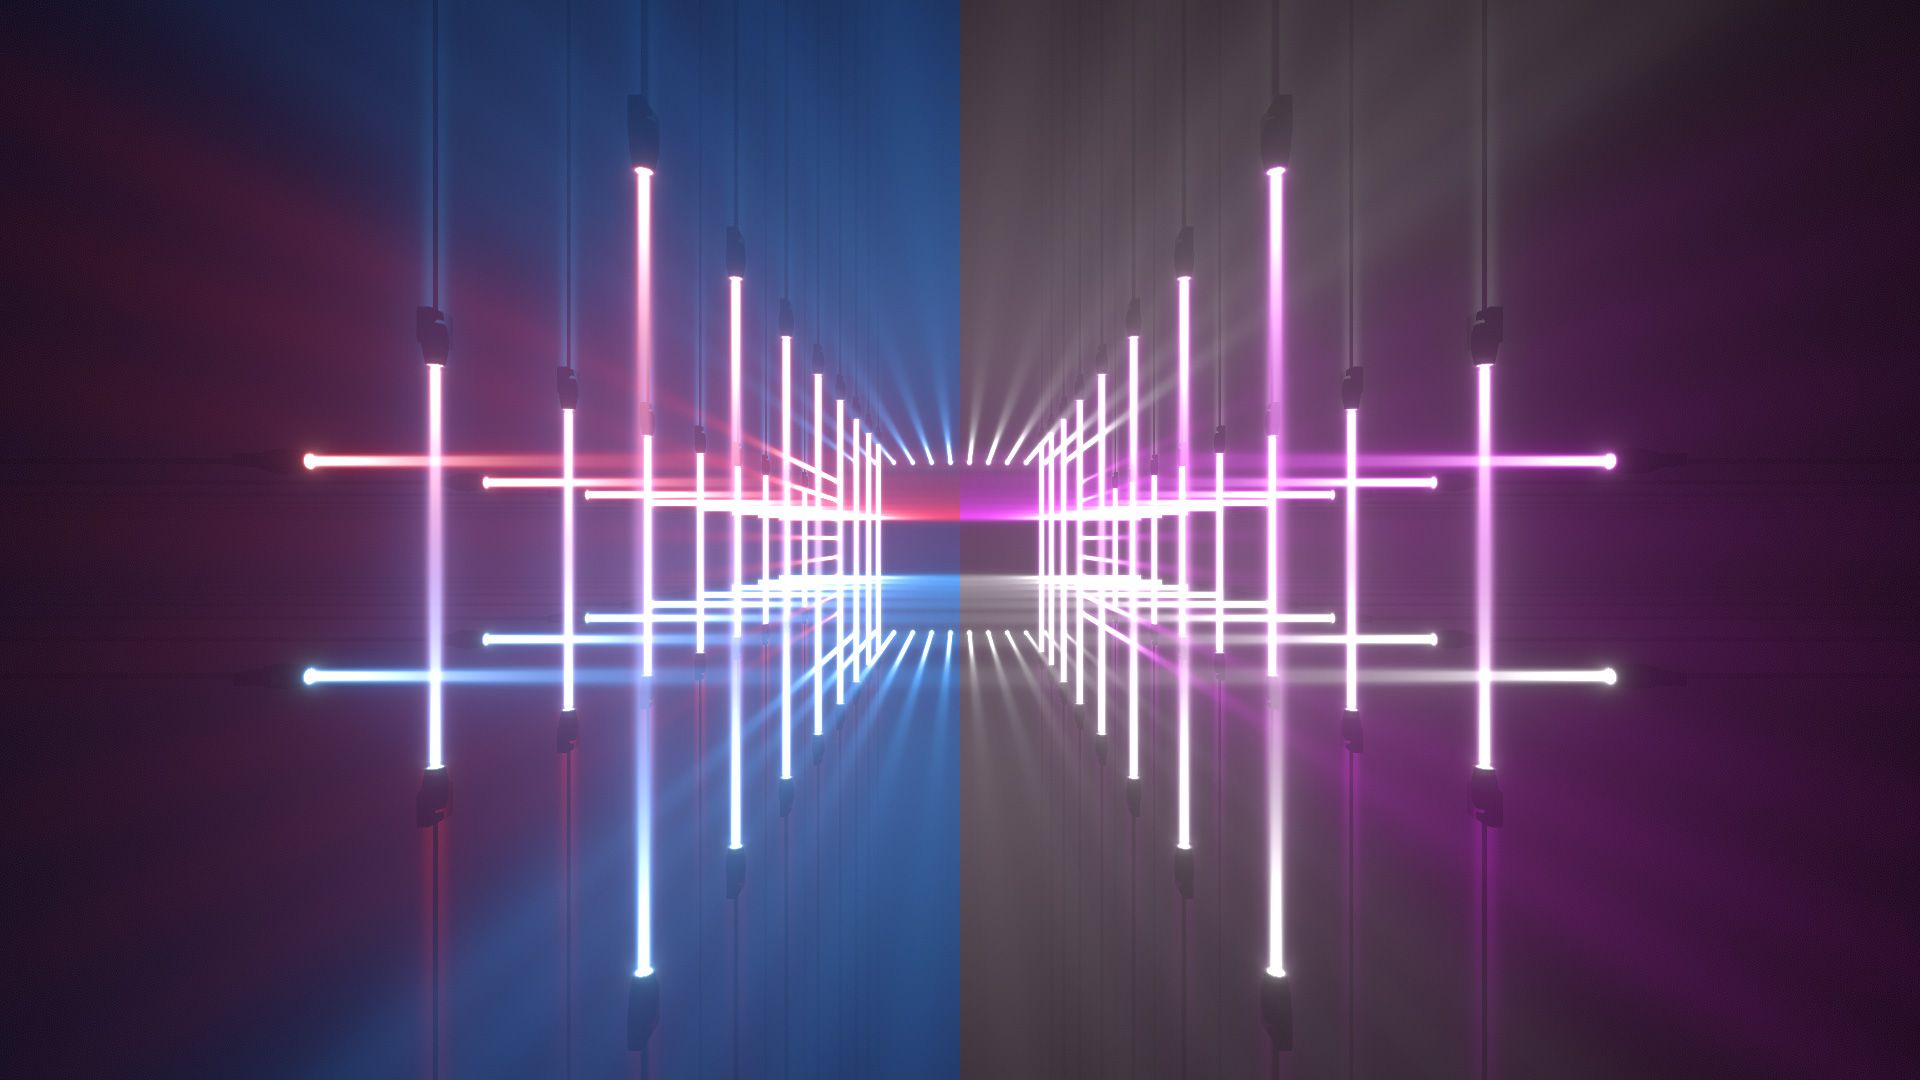
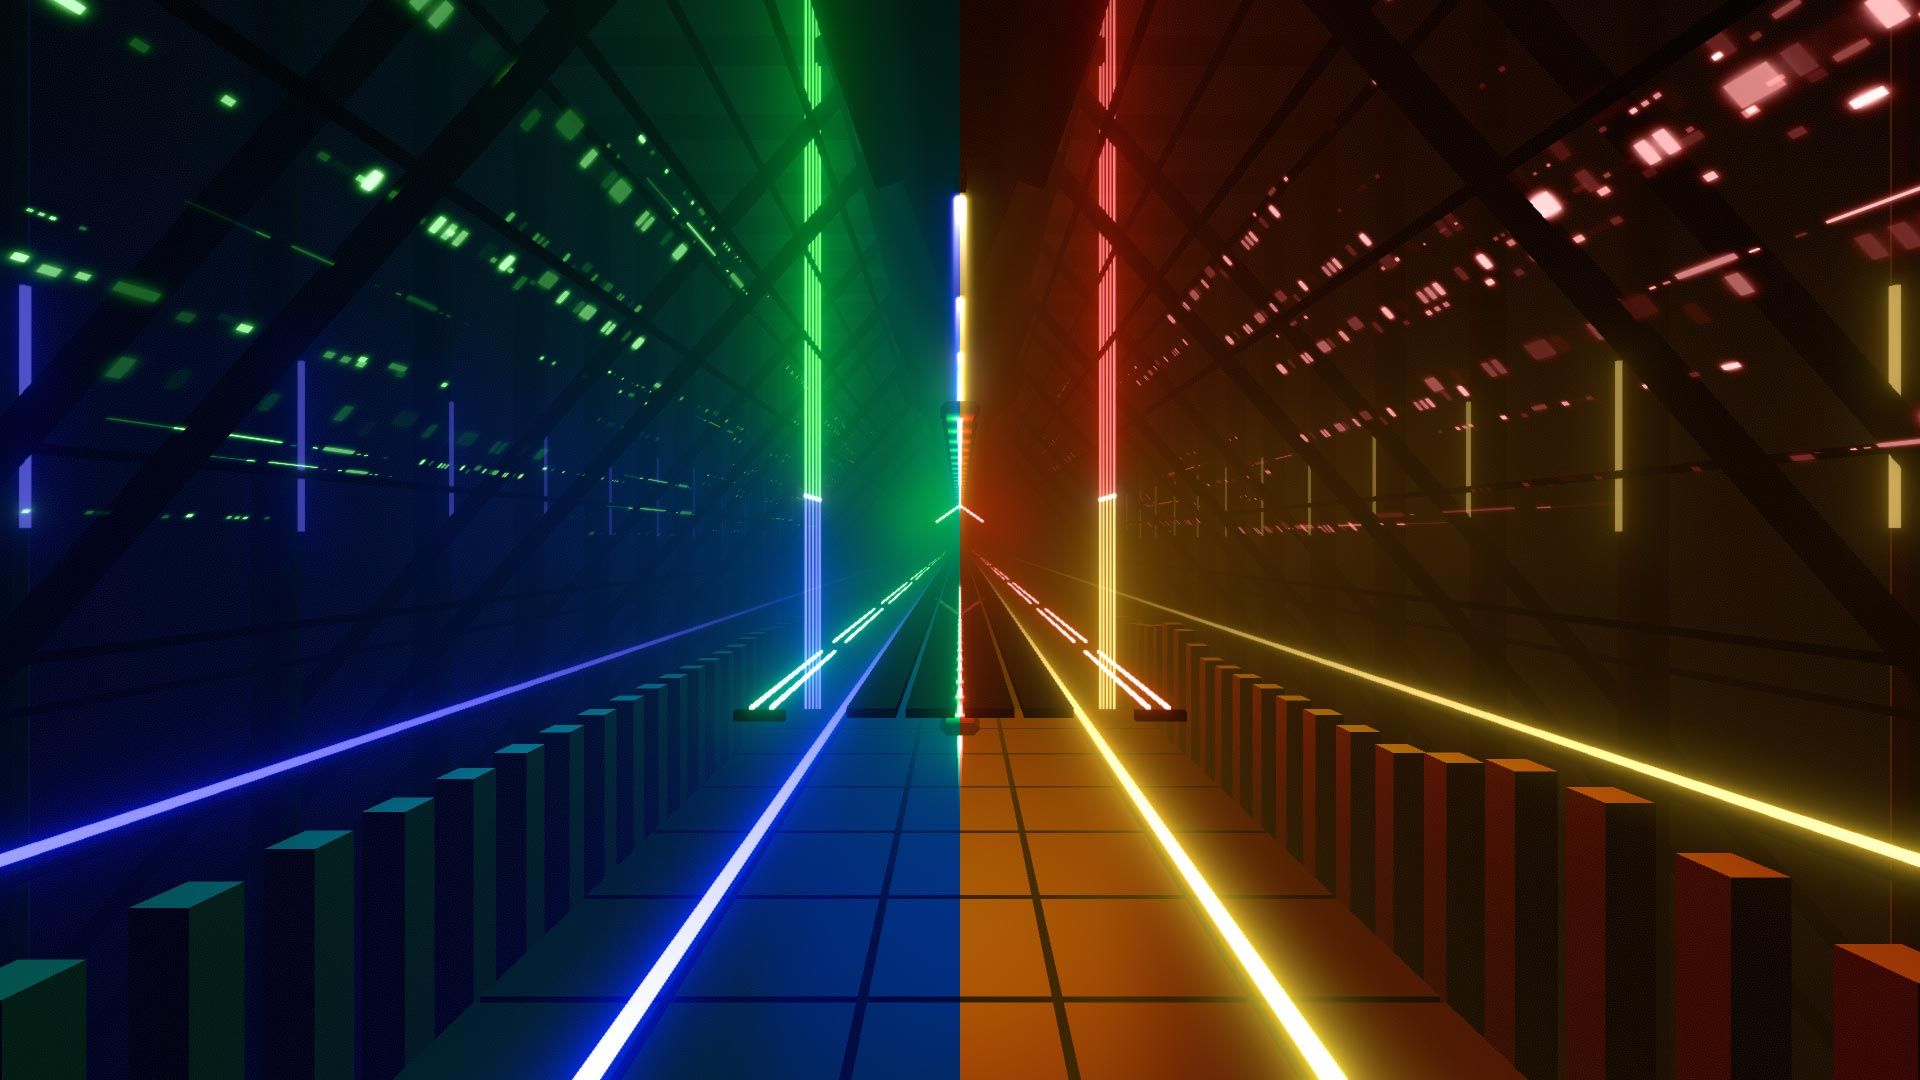
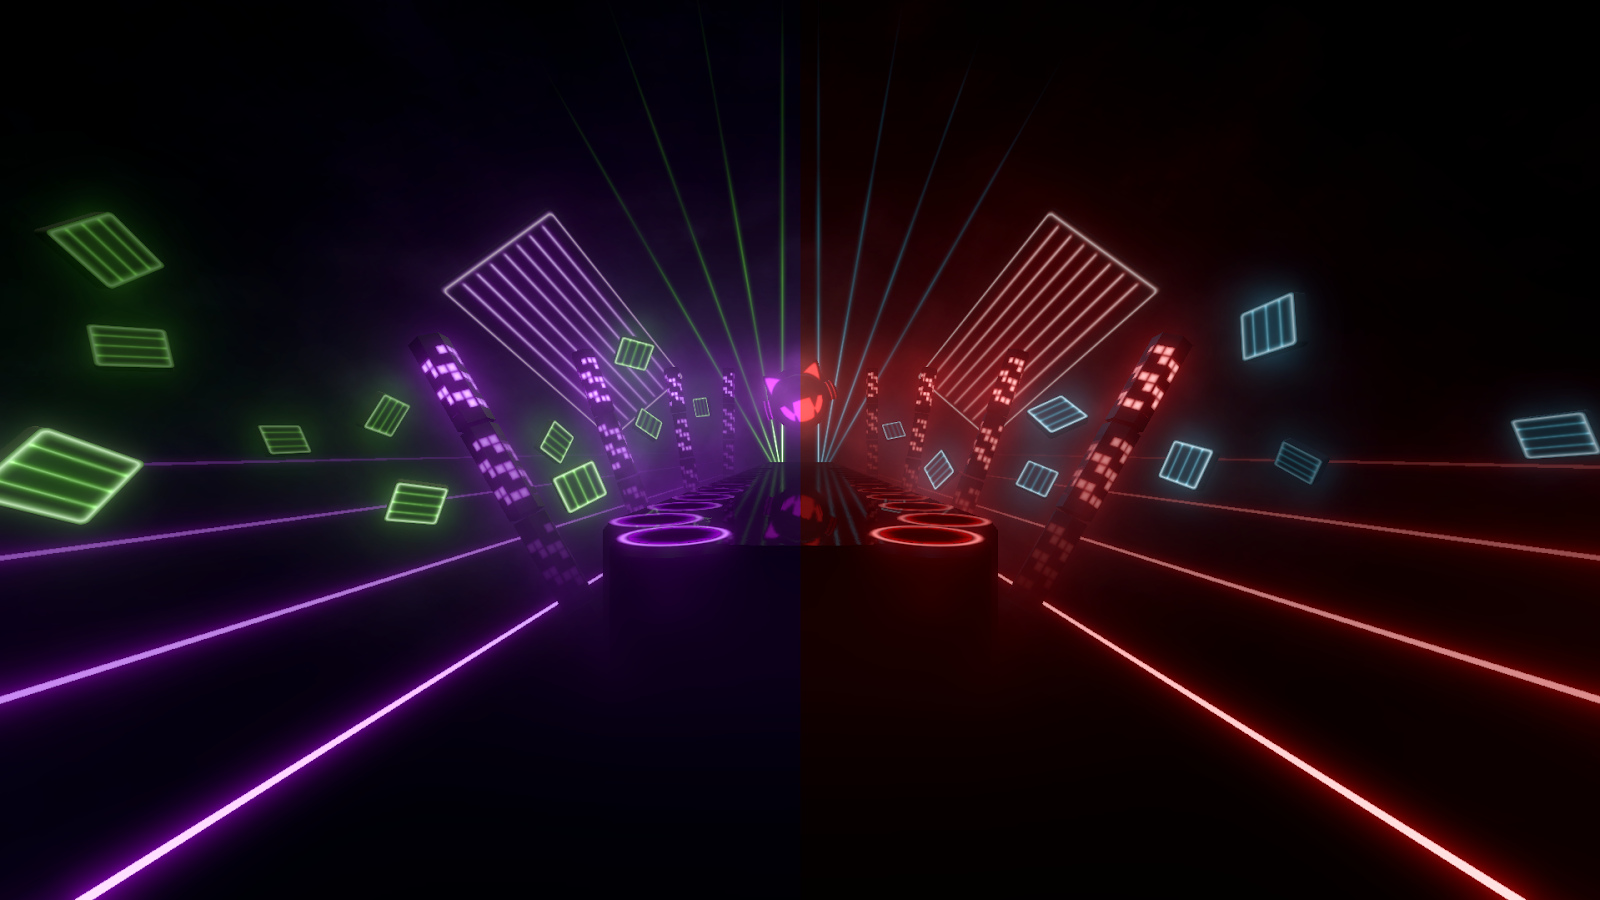
| EDM Environment Lights: Bottom & top lane lights, floor lights |
| The Second Environment Lights: Logo, runway fences, buildings, left & right flags |
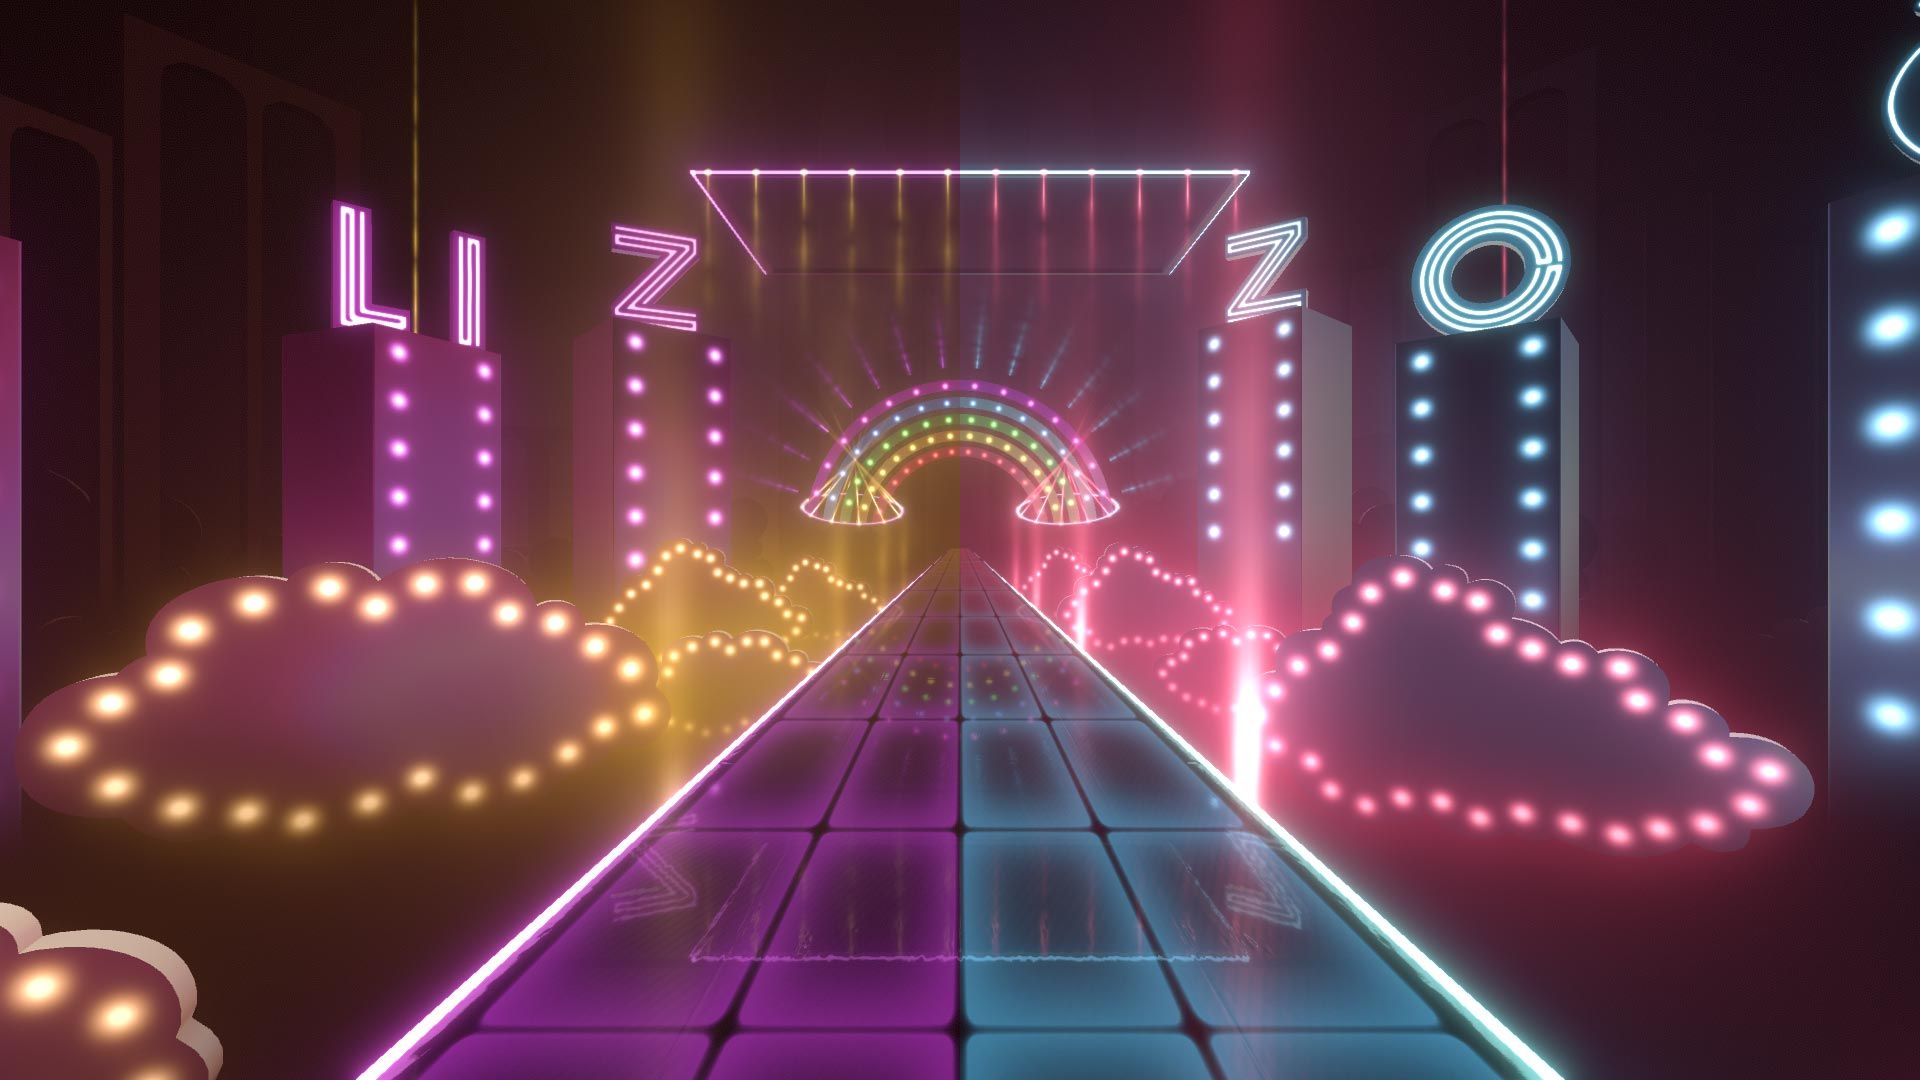
| Lizzo Environment Lights: Top square, rainbow rings, runway, ambient lights, signs |
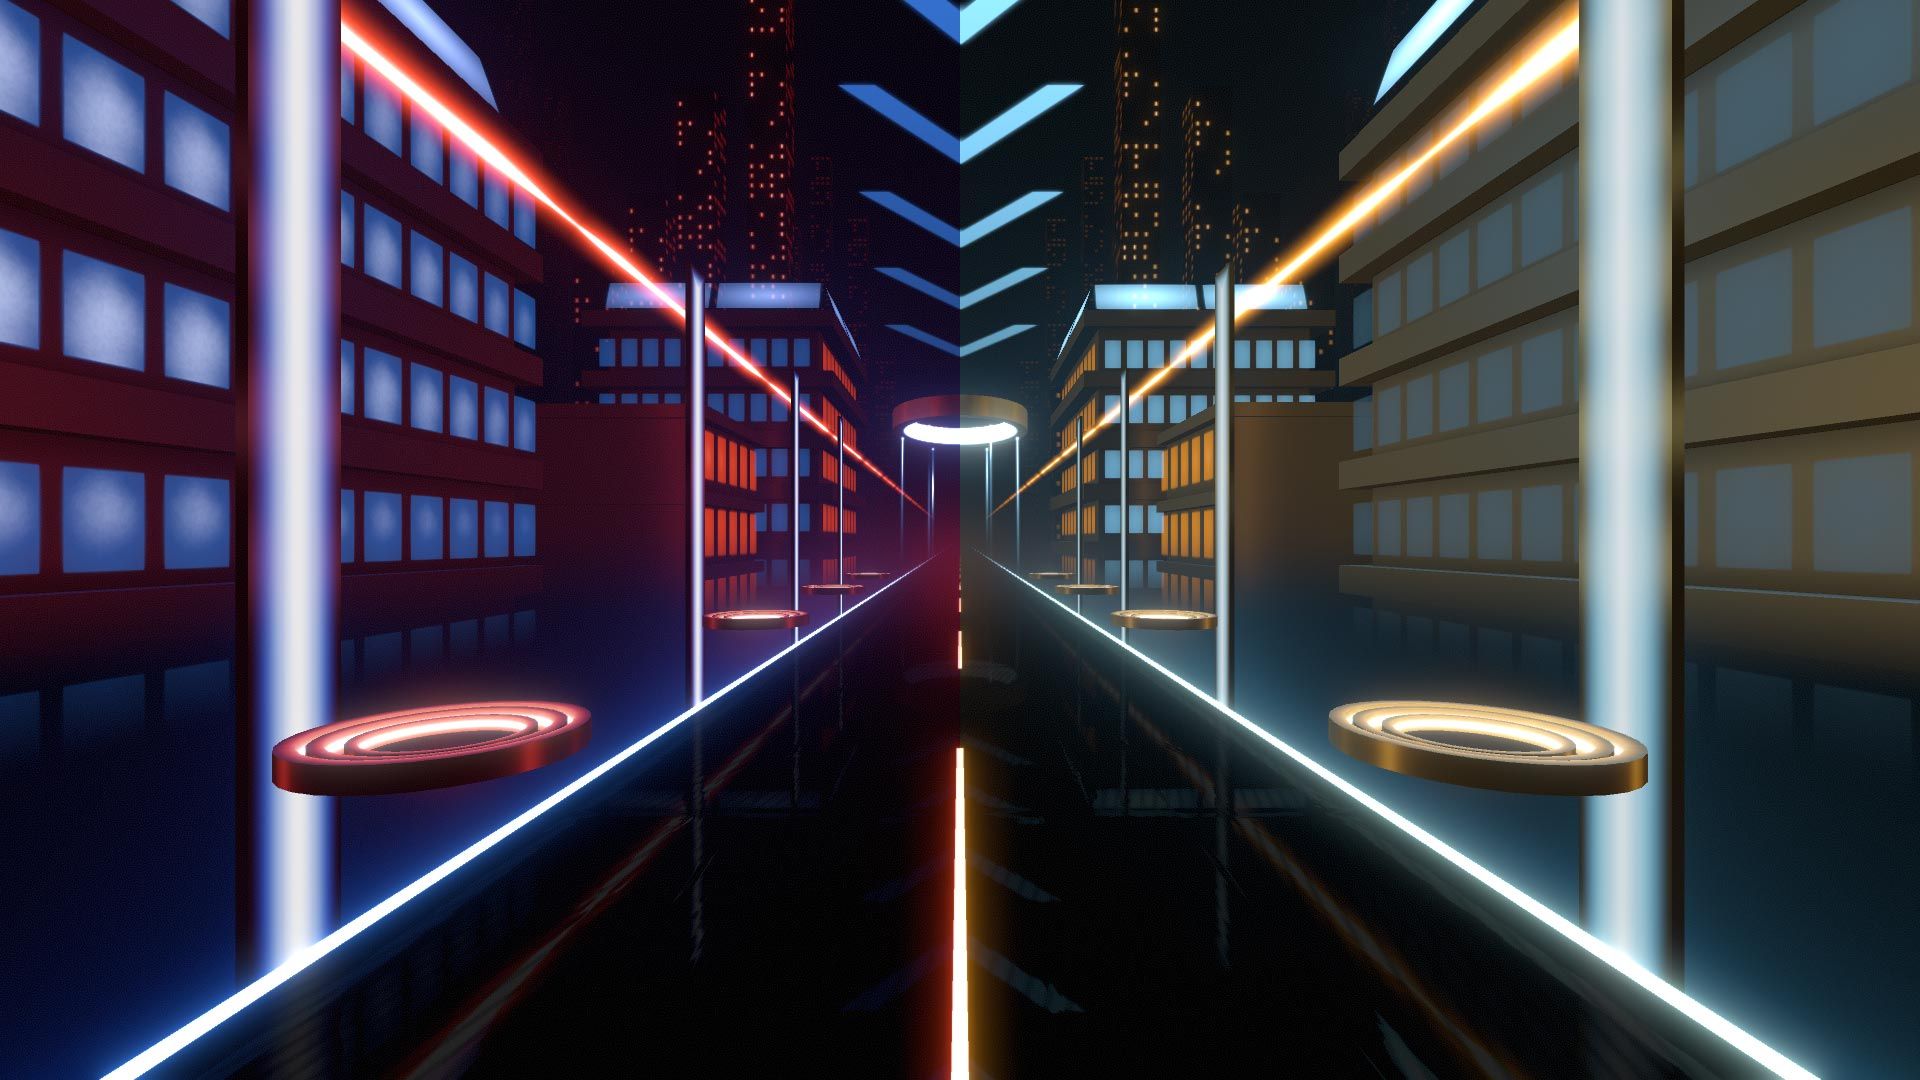
| The Weeknd Environment Lights: Runway, ambient lights |
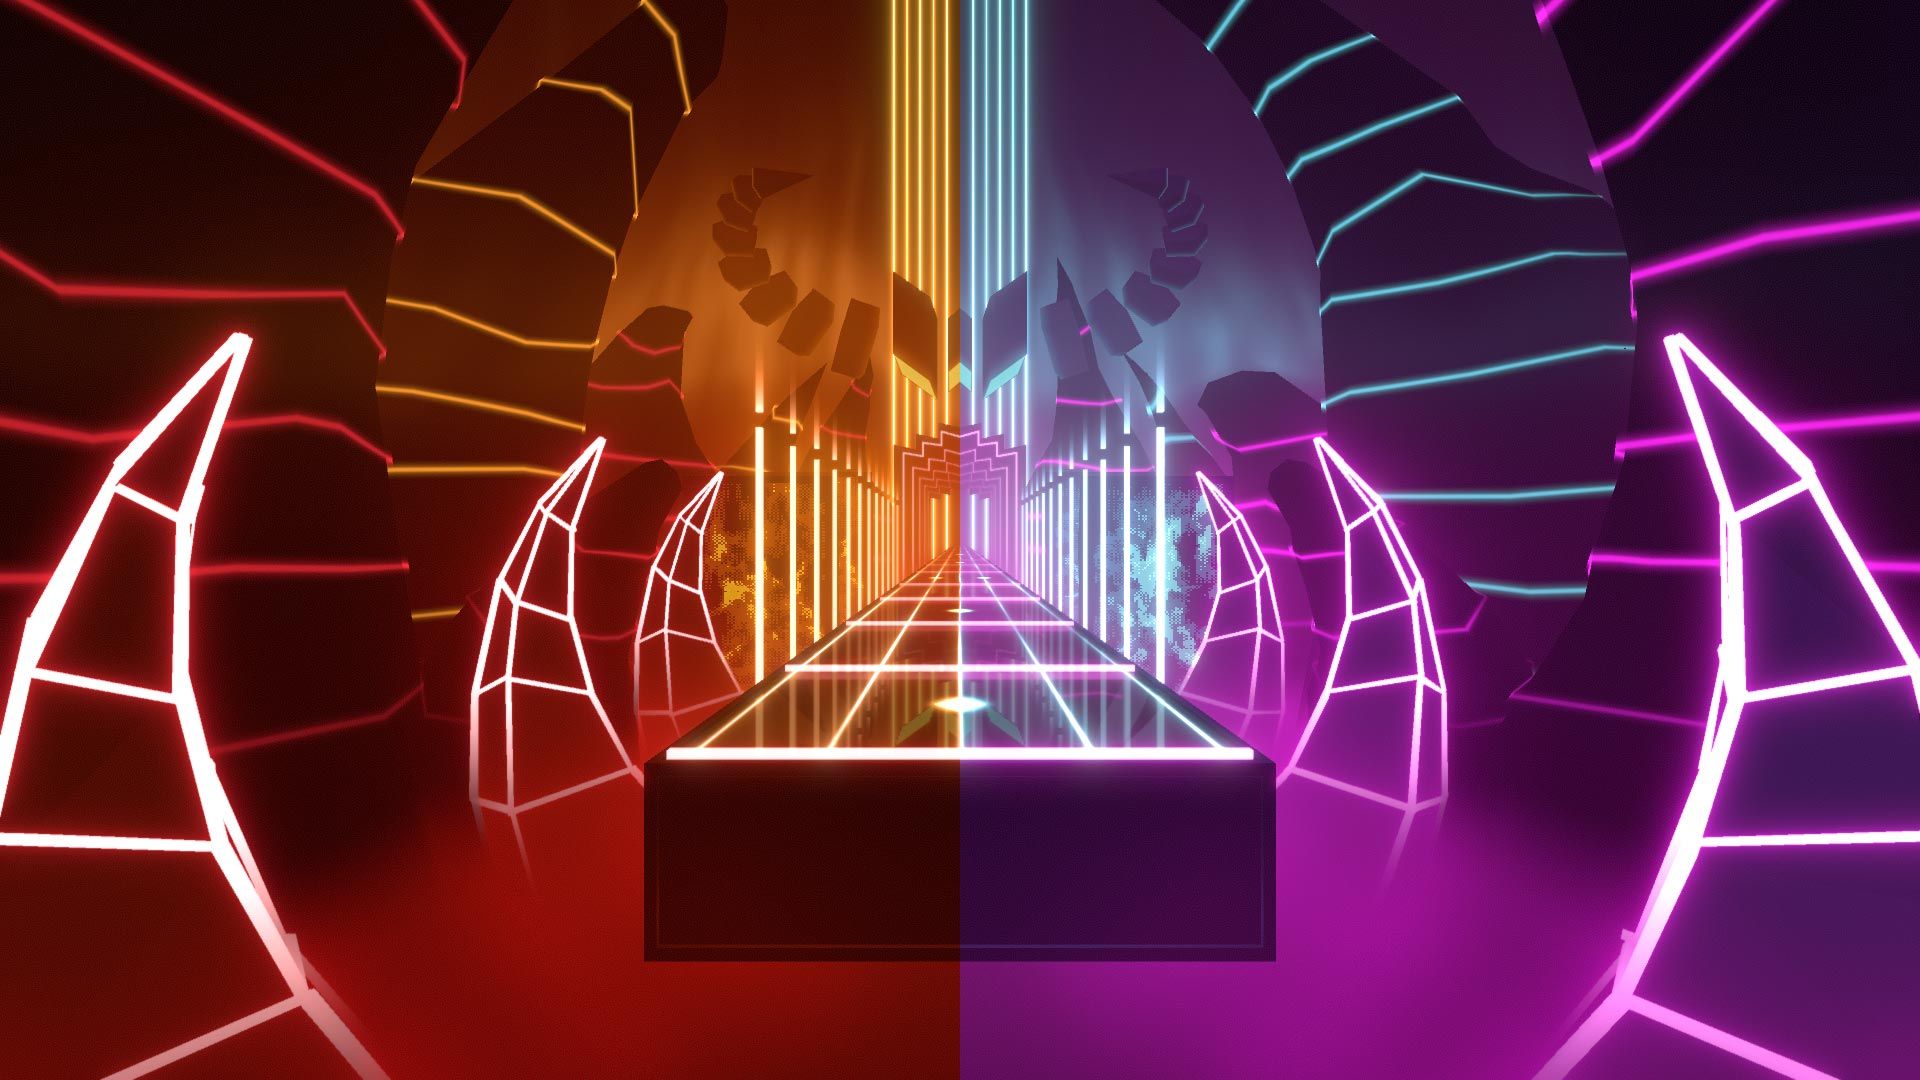
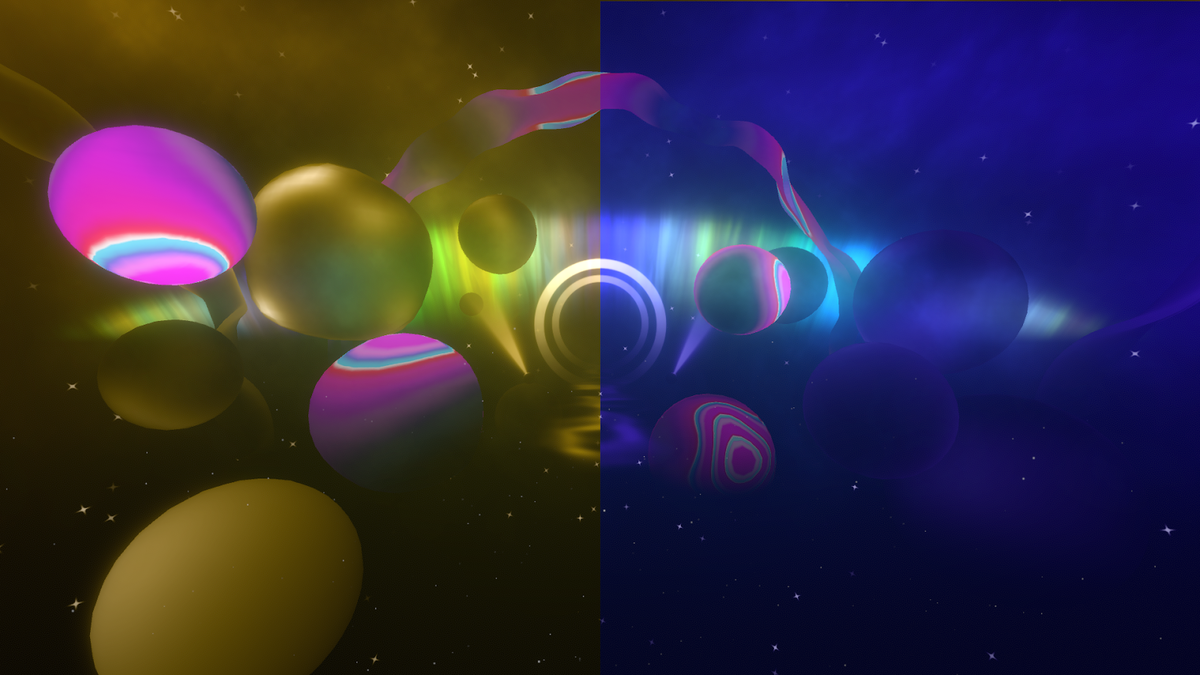
| Rock Mixtape Environment Lights: Aurora, ambient lights, back bloom |
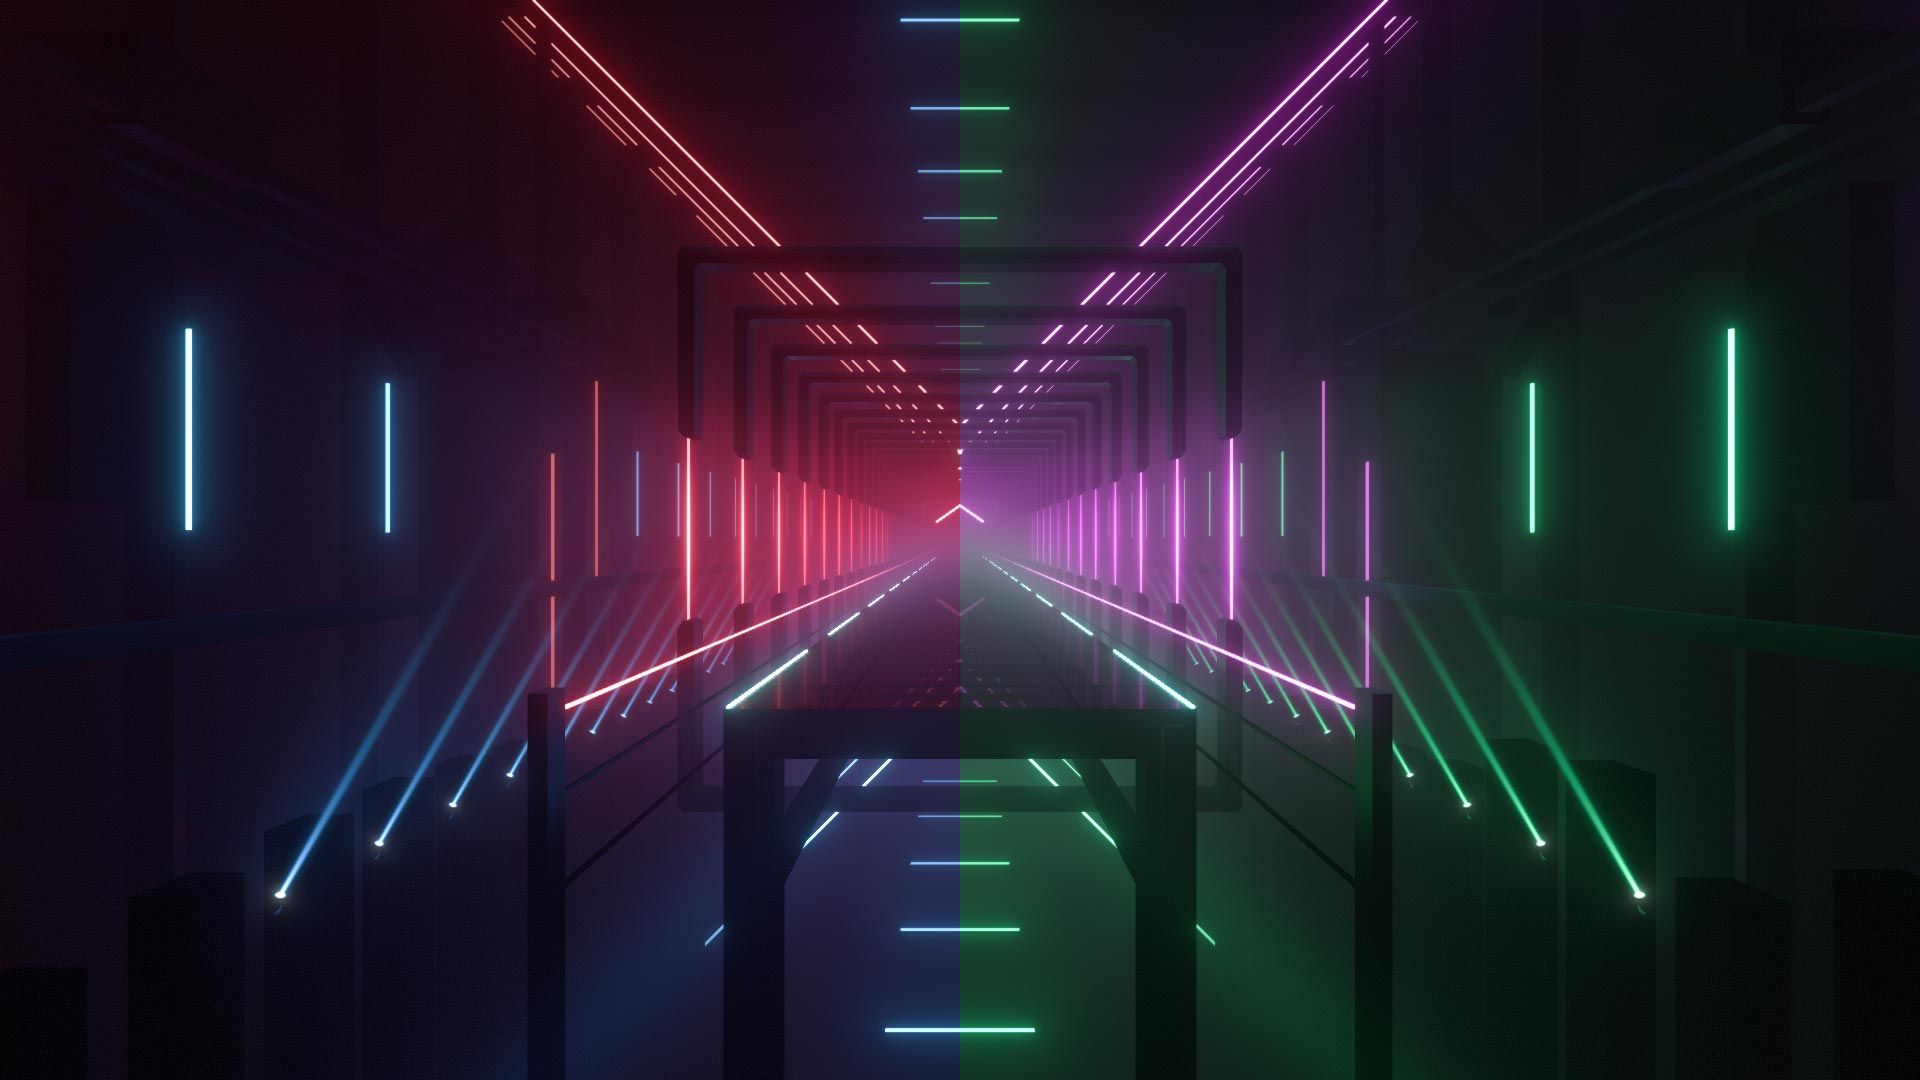
| Imagine Dragons Environment 2 Lights: Floor lasers, chevron, ambient lights |
| Panic! at the Disco Environment 2 Lights: Ambient lights |
| Queen Environment Lights: Ambient lights |
| Linkin Park 2 Environment Lights: Ambient lights |
| The Rolling Stones Environment Lights: Ambient lights |
| Lattice Environment Lights: Ambient lights |
| Daft Punk Environment Lights: Ambient lights, Helmet 01 Switch, Helmet 02 Switch |
| Hip Hop Environment Lights: Ambient lights |
| Collider Environment Lights: Ambient lights |
| Britney Environment Lights: Ambient lights, Player place, Dust particles |
| Monstercat 2 Environment Lights: Ambient lights, Player place |
| Metallica Environment Lights: Ambient lights, Player place |
| Cube Environment Lights: Ambient lights, Player place |
| Coldplay Environment Lights: Ambient lights, Player place |


NOTE
You can find more information on the Group Lighting System environments in this Guide to the Group Lighting System.
Setting Your Environment
New default environments become available reasonably often which means that map editors don't always have the complete list available. If the environment you want to use is not an option in your favorite editor's settings you will have to edit your Info.dat file to add the environment name.
- Decide which environment you want to use then copy the
Info.dat namefrom the Environment Previews section above. - Open your
Info.datfile in the text editor of your choice. - Scroll down to the
"_environmentName":section. - Paste in the name you copied in Step 1.
NOTE: You cannot use a custom platform in this field. This will be covered in Advanced Lighting.
Map Color Overrides
You can force your own map color scheme in-game as long as the user has the SongCore mod installed and has enabled the Enable Custom Song Colors option in the mod settings.
Since Beat Saber version 1.4, users can set the Red/Green/Blue (RGB) colors of notes, lights, and walls for their game. However, they will be overridden with the colors defined in the Info.dat if the user has the Enable Custom Song Colors option enabled.
TIP
When choosing color overrides for the notes. It is HIGHLY recommended that you keep reddish/warm/aggressive colors on the left and blueish/cold/soft colors on the right to avoid confusing players.
See Environment Default Colours for a list of default colors used in the environments.
ChroMapper, MMA2, and Beatmapper, natively support color overrides. Check their respective guides for more information.
Manually Adding Color Overrides
- Decide what RGB colors you want notes and/or lights and/or walls to be. Use a color scheme utility like Paletton to find complimentary colors.
- Your red, green, and blue values will need to be converted from the normal 0-255 scale to the 0-1 scale. Use a site like EasyRGB to convert your values.
- Open your
Info.datfile in the text editor of your choice - Scroll down to the
"_customData": {section of the difficuty you want to color.- Using the global
"_customData": {outside of the"_difficultyBeatmapSets": [array may not work as expected.
- Using the global
- Paste whichever code blocks below correspond to the colors you want to force within the
_customDatacurly brackets ({and}) then replace the"r":,"g":, and"b":values with whatever you chose in Step 1.- The
"r":and"g":values must have commas after them.
- The
See lines 29-60 and 69-100 of this Pastebin clip for an example of these code blocks in action in a .DAT file.
Previewing Your Lights
These tools will help PC Beat Saber users preview their lighting more accurately. Most editors do not show true-to-life lighting effects.
In-game with FPFC
First Person Flying Controller (FPFC) is a launch parameter that can be used by either Steam or Oculus users. FPFC will open an instance of Beat Saber on your desktop and allow you to control it with your keyboard and mouse.
While a map is playing, pressing:
PPauses the mapMReturns to menu if pausedRRestarts the map if pausedCUnpauses and continues playing
You will need the SiraUtil mod in order move the camera while a map is playing. Without it, the camera is fixed in the floor at an undesirable angle. Install SiraUtil from your mod installer and run Beat Saber to create a config json file. SiraUtil also adds additional useful features such as camera FOV, sensitivity, and rebindable pause and exit controls. Edit the SiraUtil.json file in your UserData folder to tweak settings.
For Steam Users:
Open the game properties and add fpfc to the Steam launch options in the General tab. 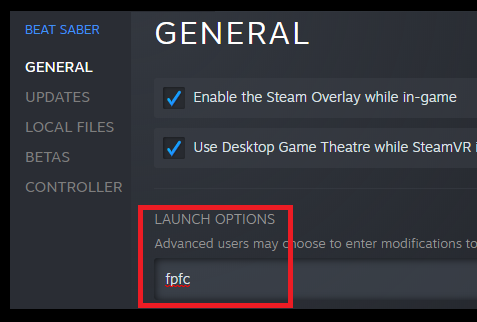
For Oculus Users:
- Right click on Beat Saber.exe and create a shortcut.
- Edit the Target to add "fpfc" to the end of it. For example:
C:\Program Files\Oculus\Software\Software\hyperbolic-magnetism-beat-saber\Beat Saber.exe" fpfc
After installing the mods and adding the launch parameter you can then now move around and pause in a map. The default toggle key to switch between headset and mouse/keyboard control is G.
NOTE
If you go back into vr and the game doesn't load in the headset either:
- Press the G key until the headset displays the game
==OR== - Quit the game, remove the launch option, and relaunch the game.
- Press the G key until the headset displays the game
If the mod doesn't seem to be working, make sure the in-game Smooth Camera setting is disabled.
For difficulties other than Expert+, the game defaults to a
No Flickeroption for lighting which reduces the amount of strobes and ring spin events shown. Check to make sure thisPlayer Optionsetting is set what you intend to view!
Online with BS Viewer
BS Viewer by +1 Rabbit is an online tool that is a convenient way to checkout how your map might look in game without the game. Just upload your map zip to the website and preview! Unfortunately IOS and Safari are currently not supported.
Credits
Content in this section was authored by LittleAsi, Kolezan, Sonoluminn, and McEndu or derived from guides by Puds and MandyNasty. With visual media contributions from Aeroluna and Bullet.