Quest User Interface
WARNING
This is a stub page, content is a work in progress! Ask in #quest-mod-dev if you want more info!
UI is used by many mods to show configuration options. In this section, we'll show you how to use bsml to create a settings screen for your mod using code. bsml also supports creating UI with xml which can be found on the BSML docs.
Prerequisites
- Install
bsmlby runningqpm dependency add bsmlin your project directory. - You also need to install
custom-typeseven if you don't use it in your mod:qpm dependency add custom-types
Make sure to restore after adding the dependencies.
Creating a DidActivate method
DidActivate is a method you can register with bsml that allows you to make a simple mod settings page.
Take a look at this example:
- You should only create your components on first activation to prevent duplication.
- You can utilize containers (such as Scrollable, HorizontalLayout and VerticalLayout) to manipulate the locations of components.
#include "bsml/shared/BSML.hpp"

void DidActivate(HMUI::ViewController* self, bool firstActivation, bool addedToHierarchy, bool screenSystemEnabling) {
    // Create our UI elements only when shown for the first time.
    if(firstActivation) {
        // Create a container that has a scroll bar
        UnityEngine::GameObject* container = BSML::Lite::CreateScrollableSettingsContainer(self->get_transform());

        // Create a text that says "Hello World!" and set the parent to the container.
        BSML::Lite::CreateText(container->get_transform(), "Hello World!");
    }
}
There are too many UI components and methods to document in this guide. However, the files in the BSML-Lite/Creation folder have comments that document almost all the methods.
Registering DidActivate
bsml contains a few locations you can register to:
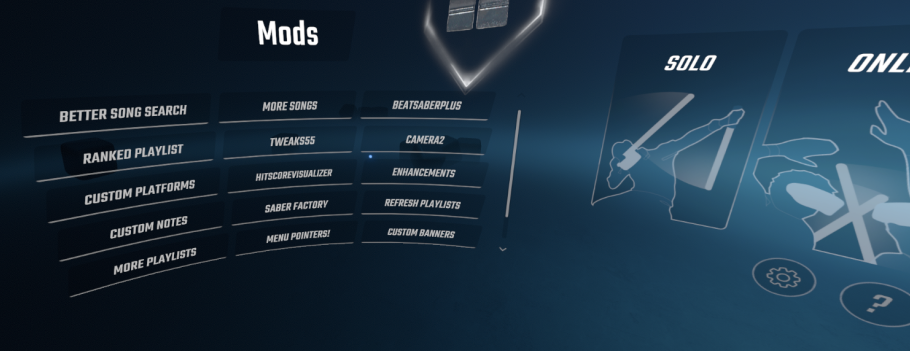
- Main Menu Mod Tabs
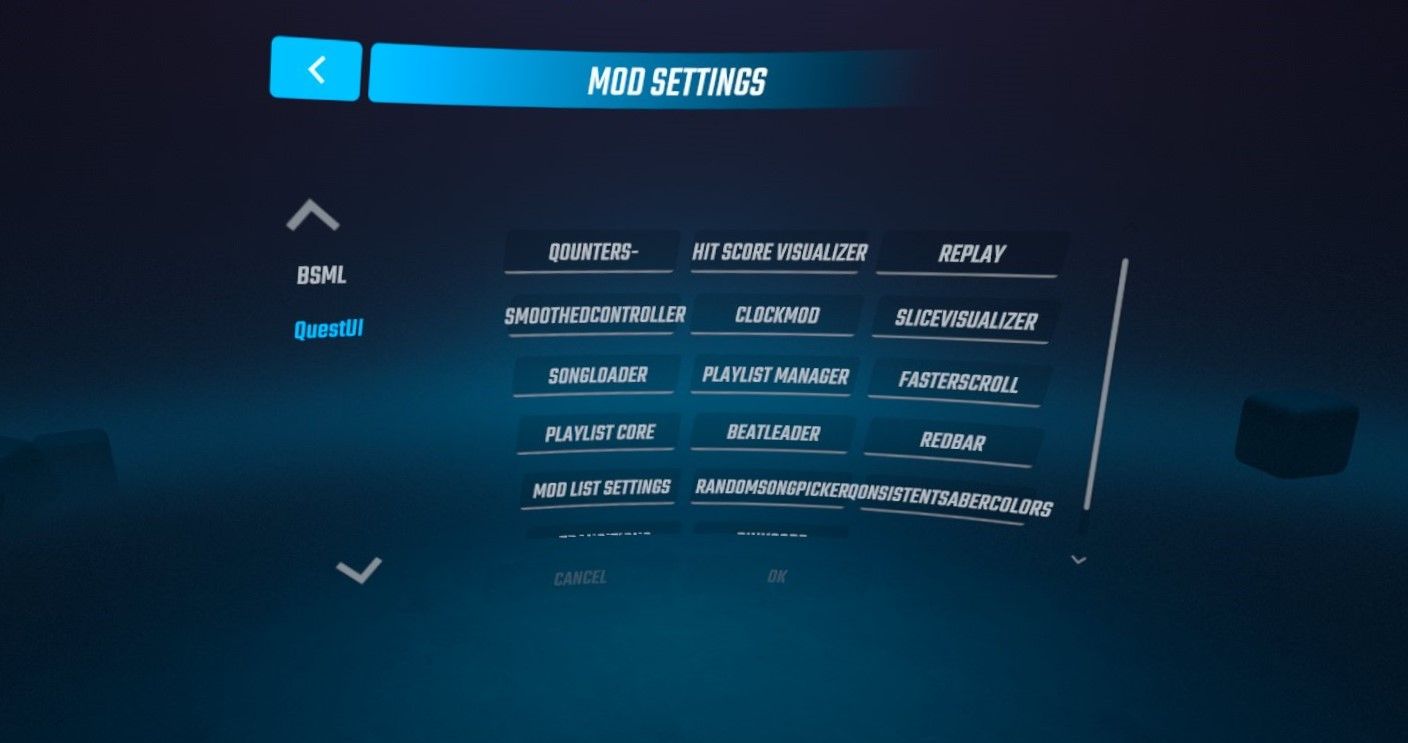
- Mod Settings
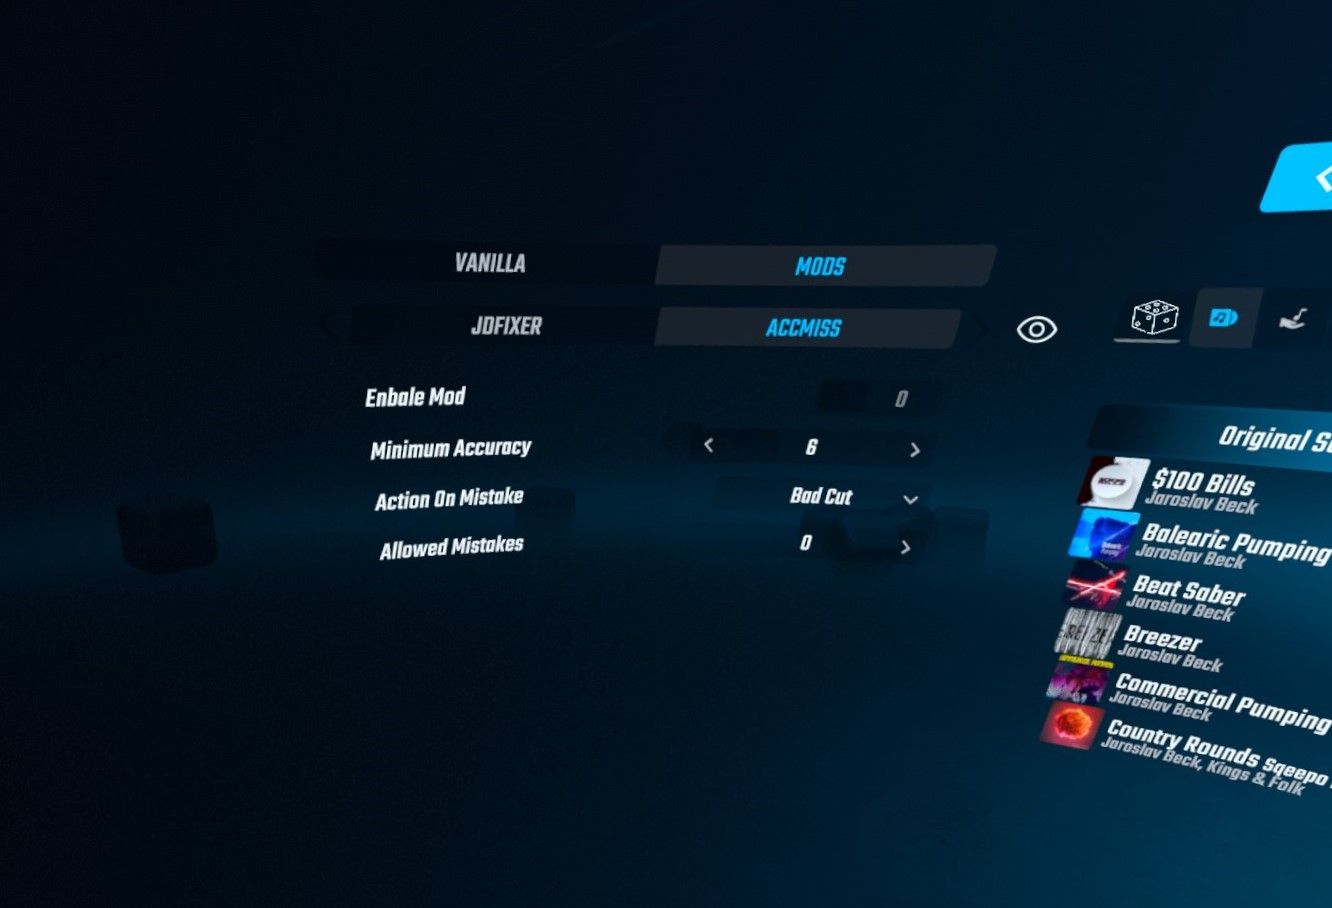
- Gameplay Setup
For bsml to use your DidActivate method, you will need to register it using the BSML::Register class in your late_load() method.
#include "bsml/shared/BSML.hpp"

// other code

extern "C" void late_load() {
    // make sure this is after il2cpp_functions::Init()
    BSML::Init();
    BSML::Register::RegisterMainMenuViewControllerMethod(title, text, hoverHint, DidActivate);

    // other code
}
The gameplay setup location requires a slightly different function signature than the other two, with the arguments being just UnityEngine::GameObject* self, bool firstActivation.
All the register functions can be found in the BSML.hpp file.